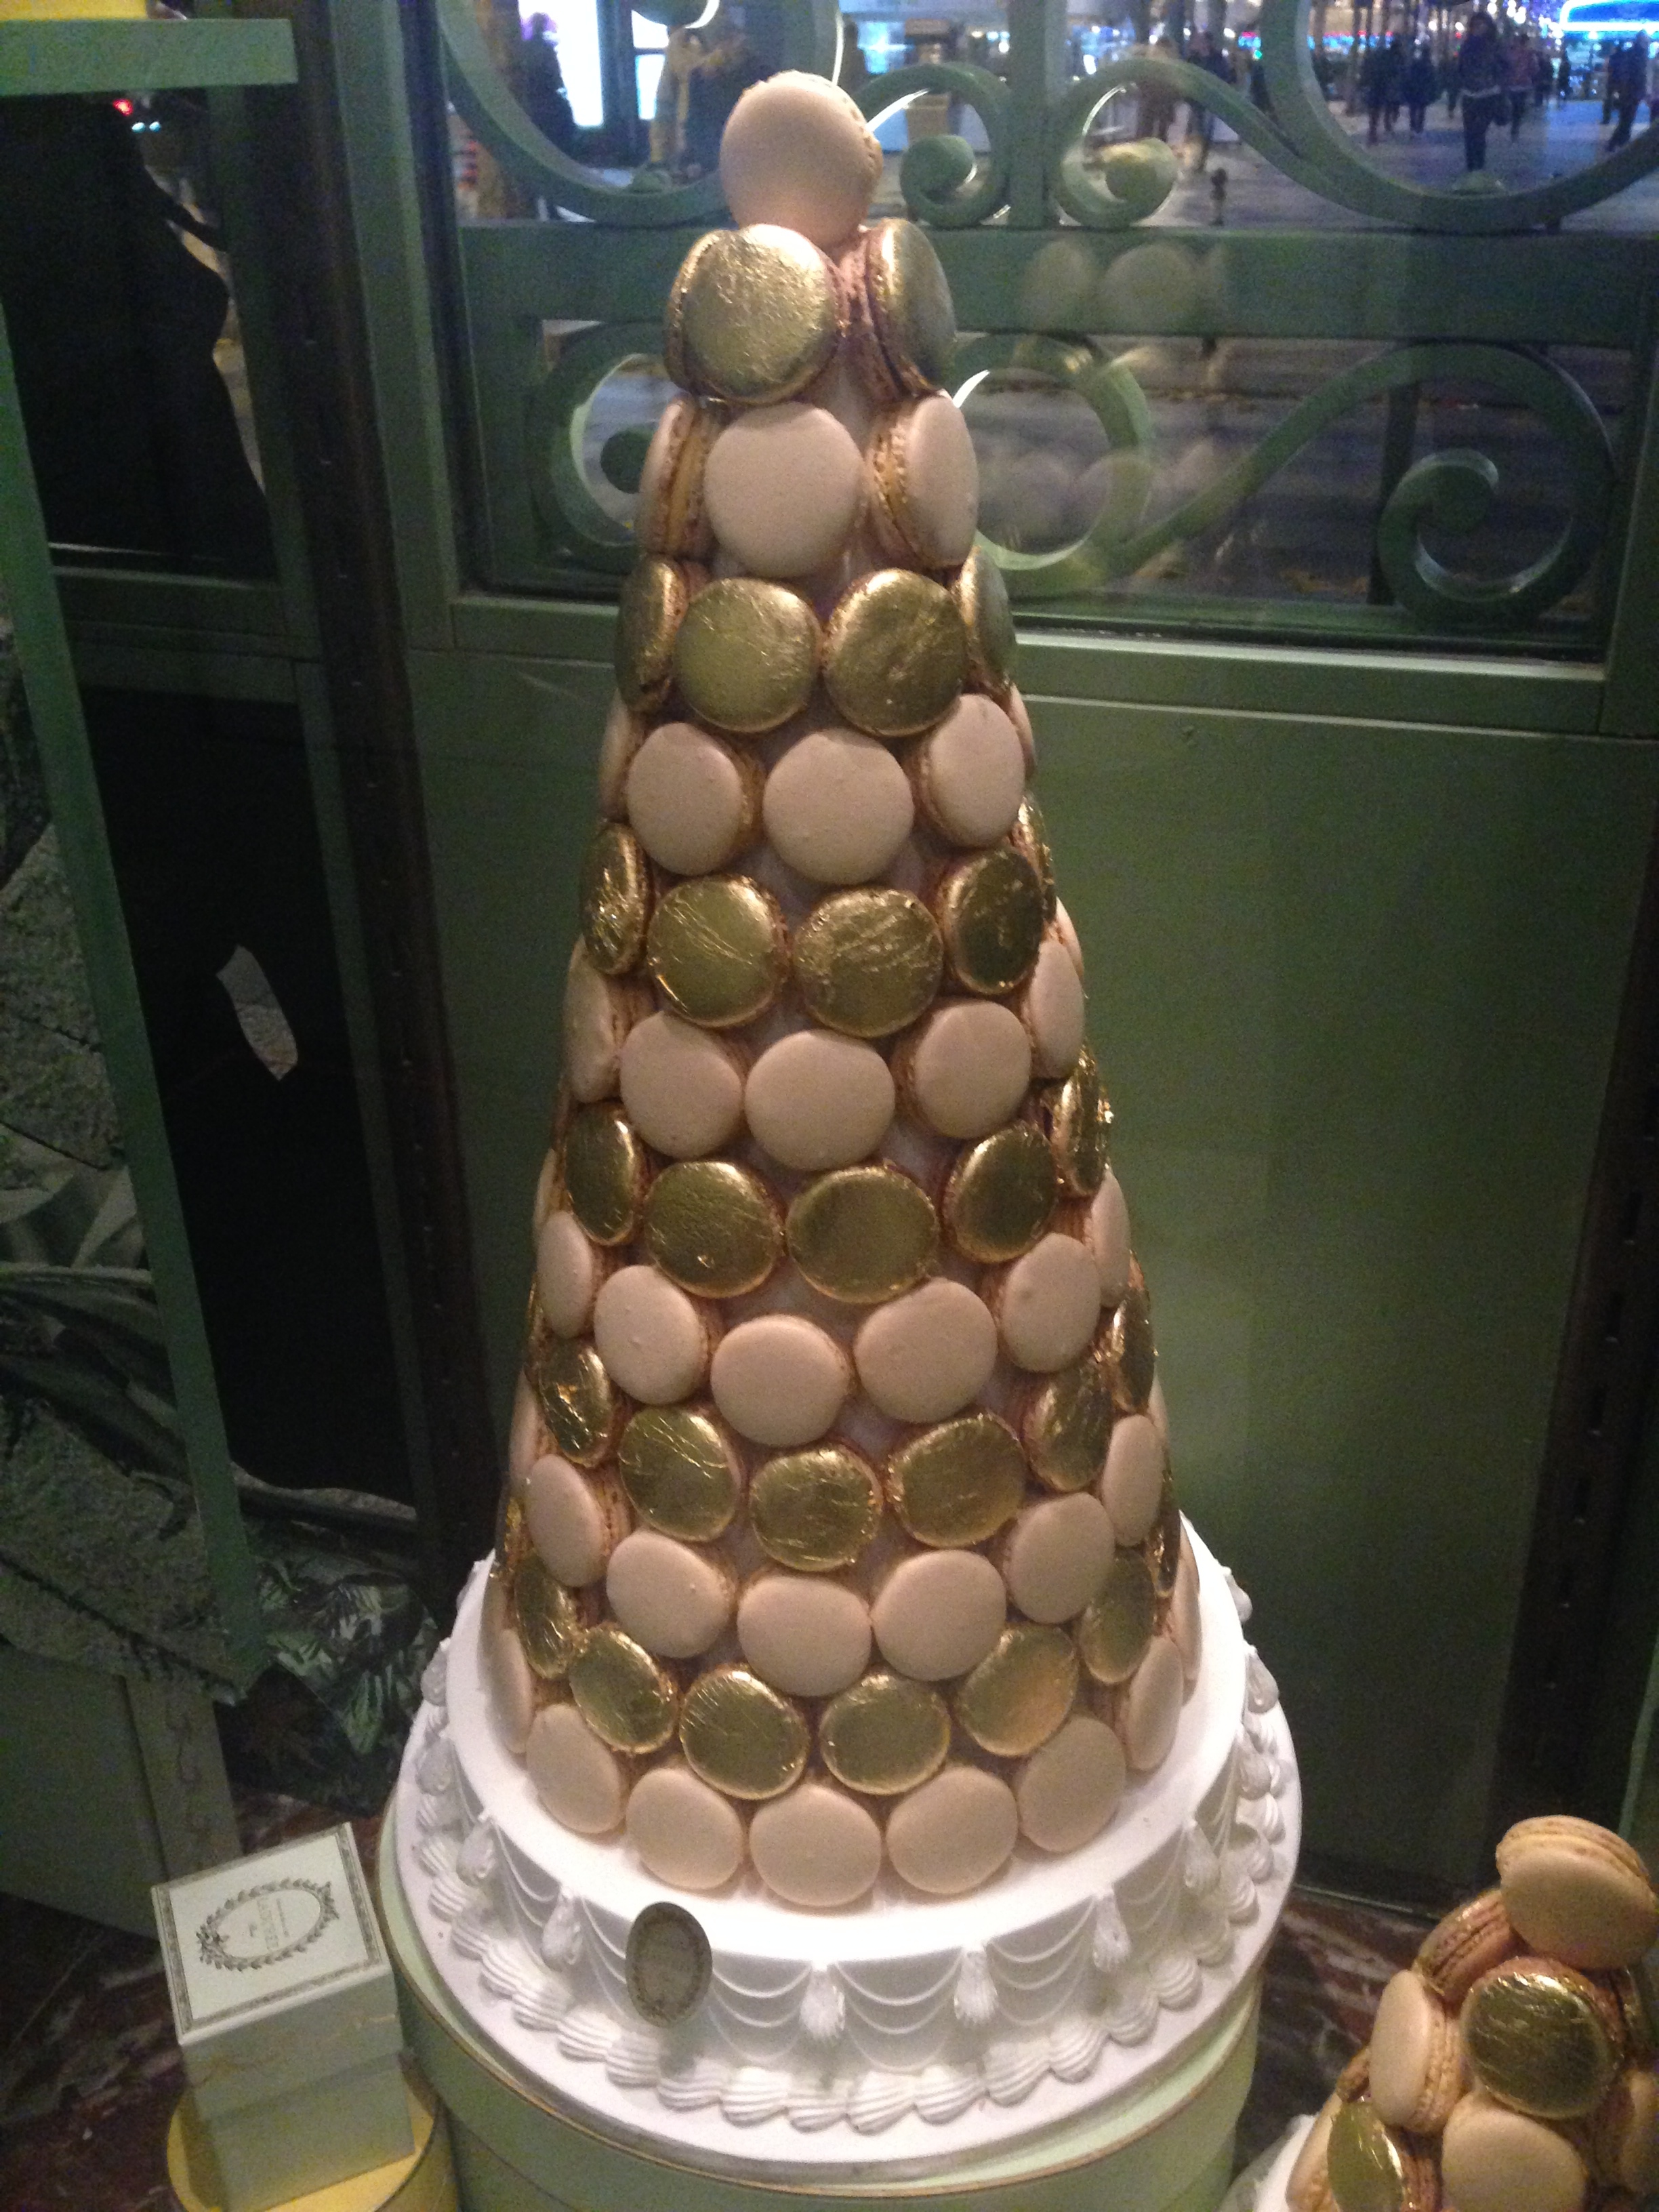
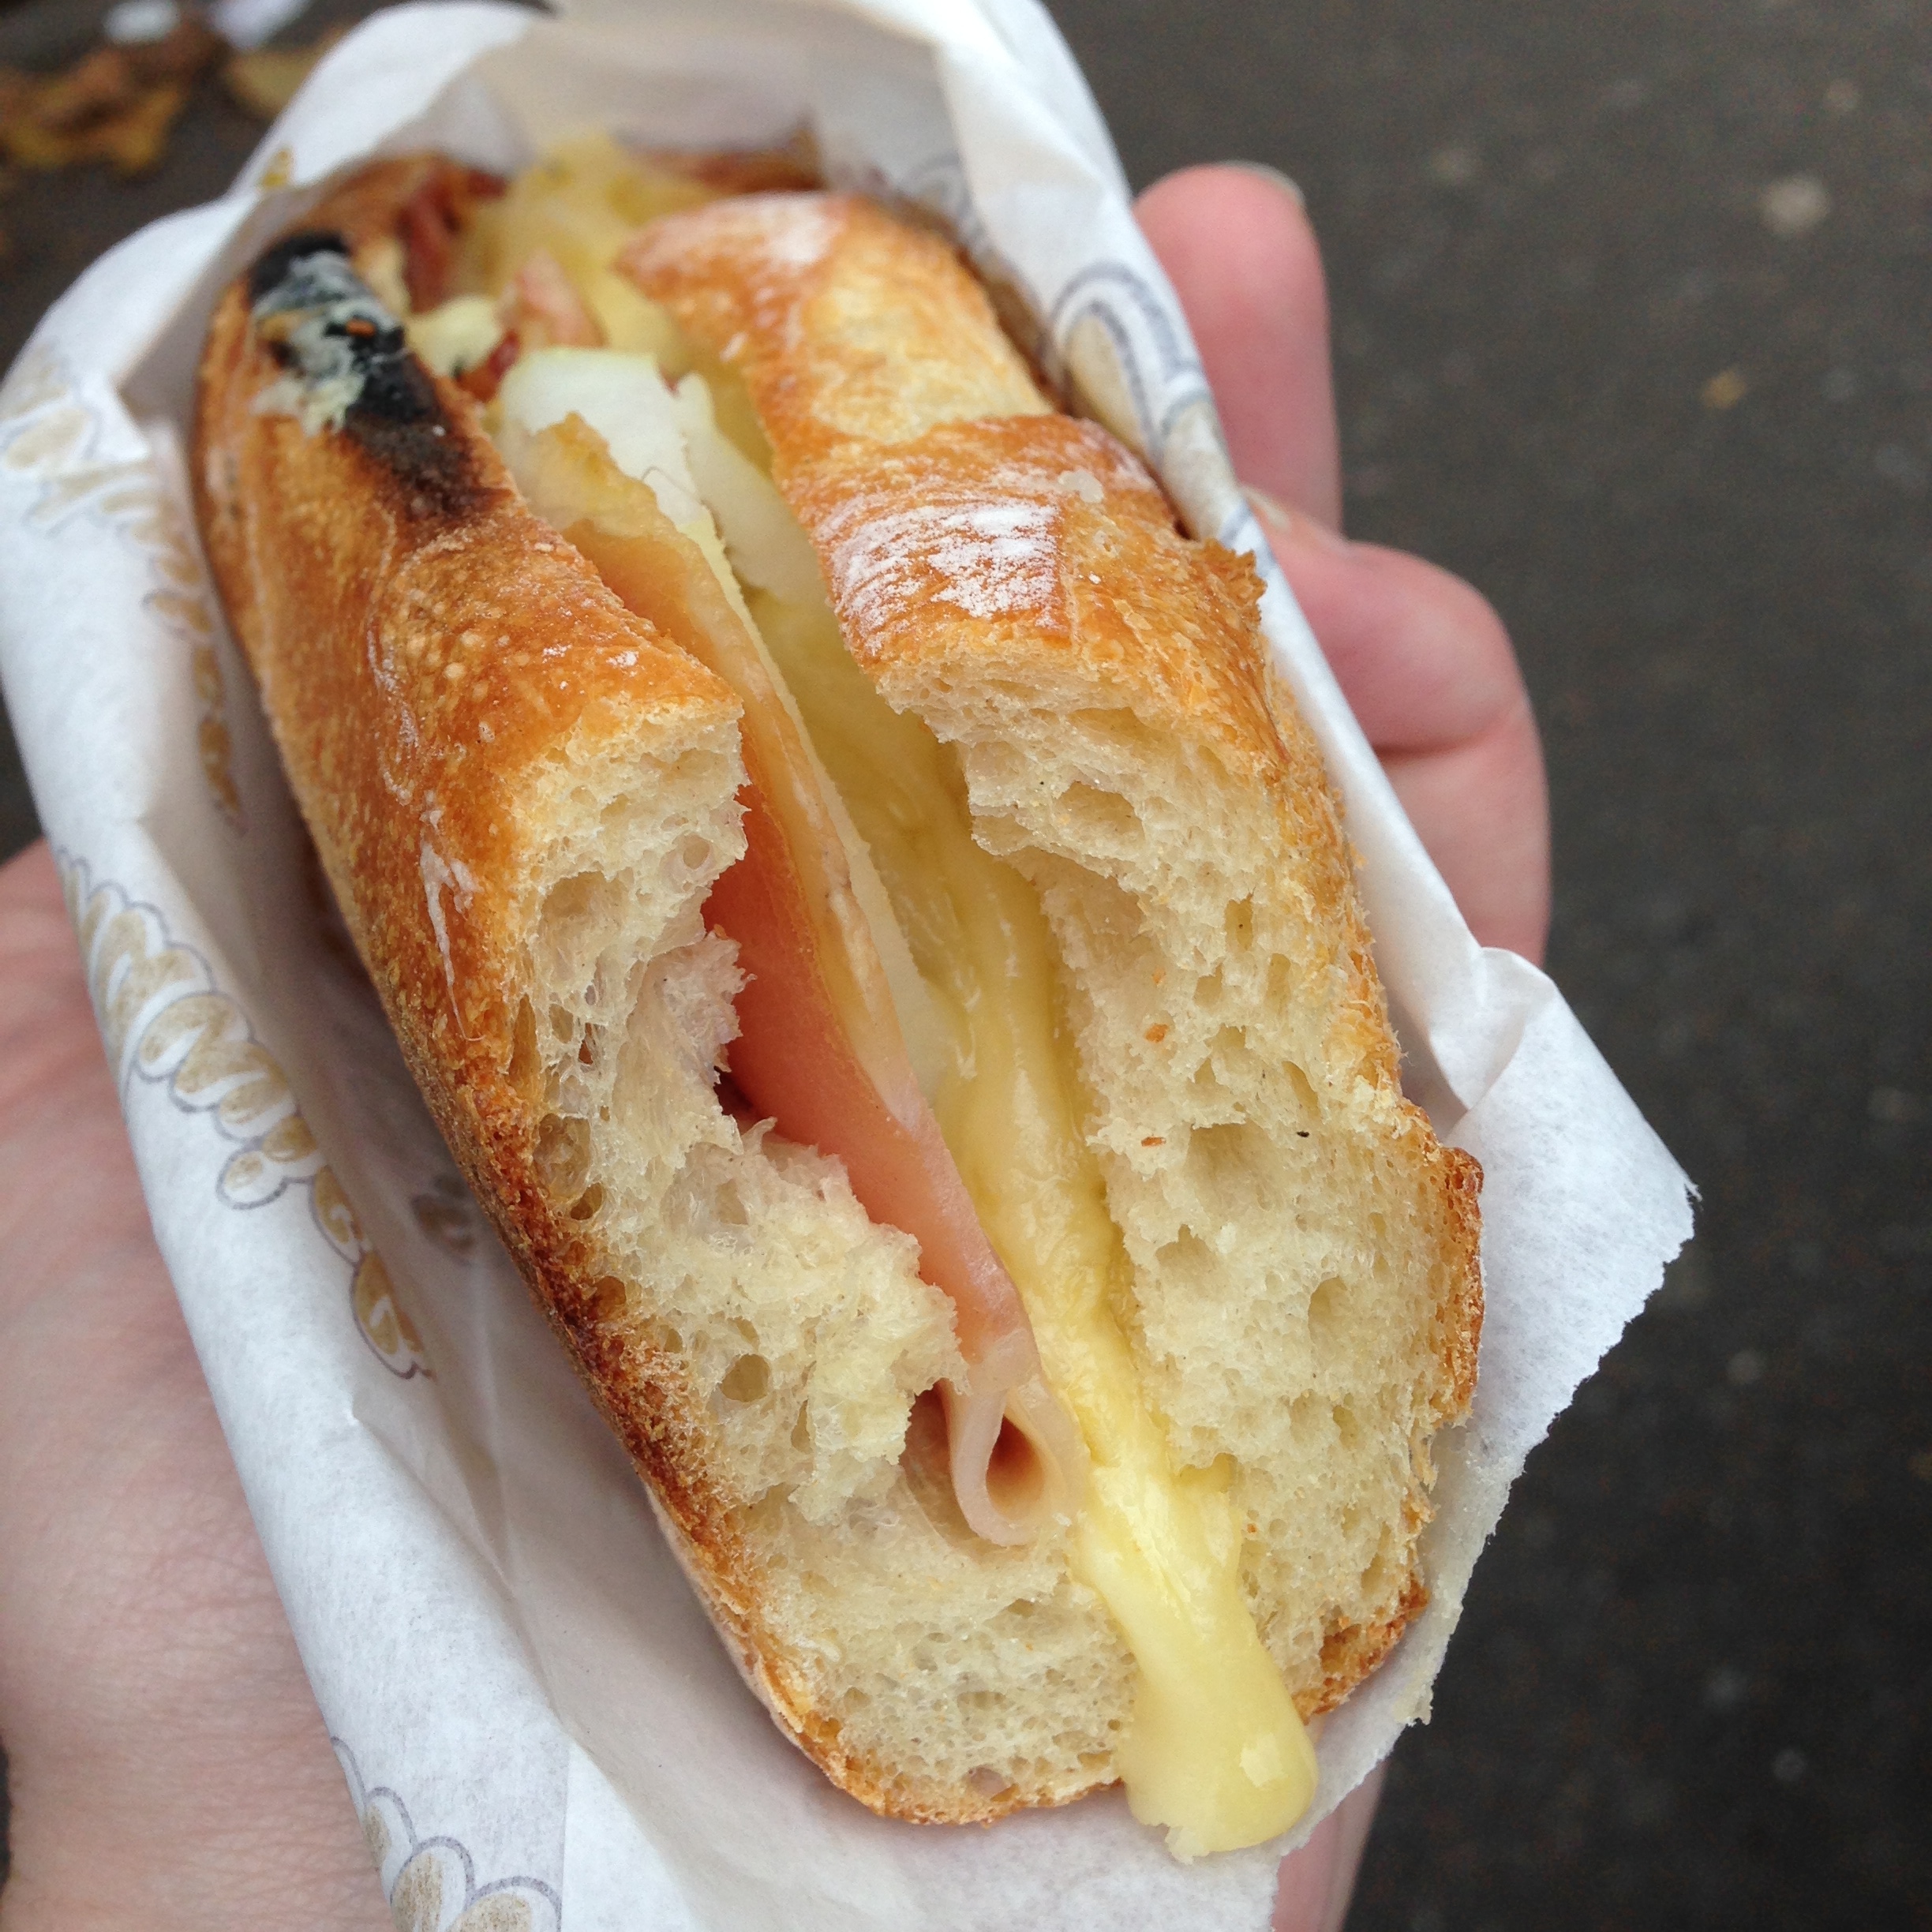
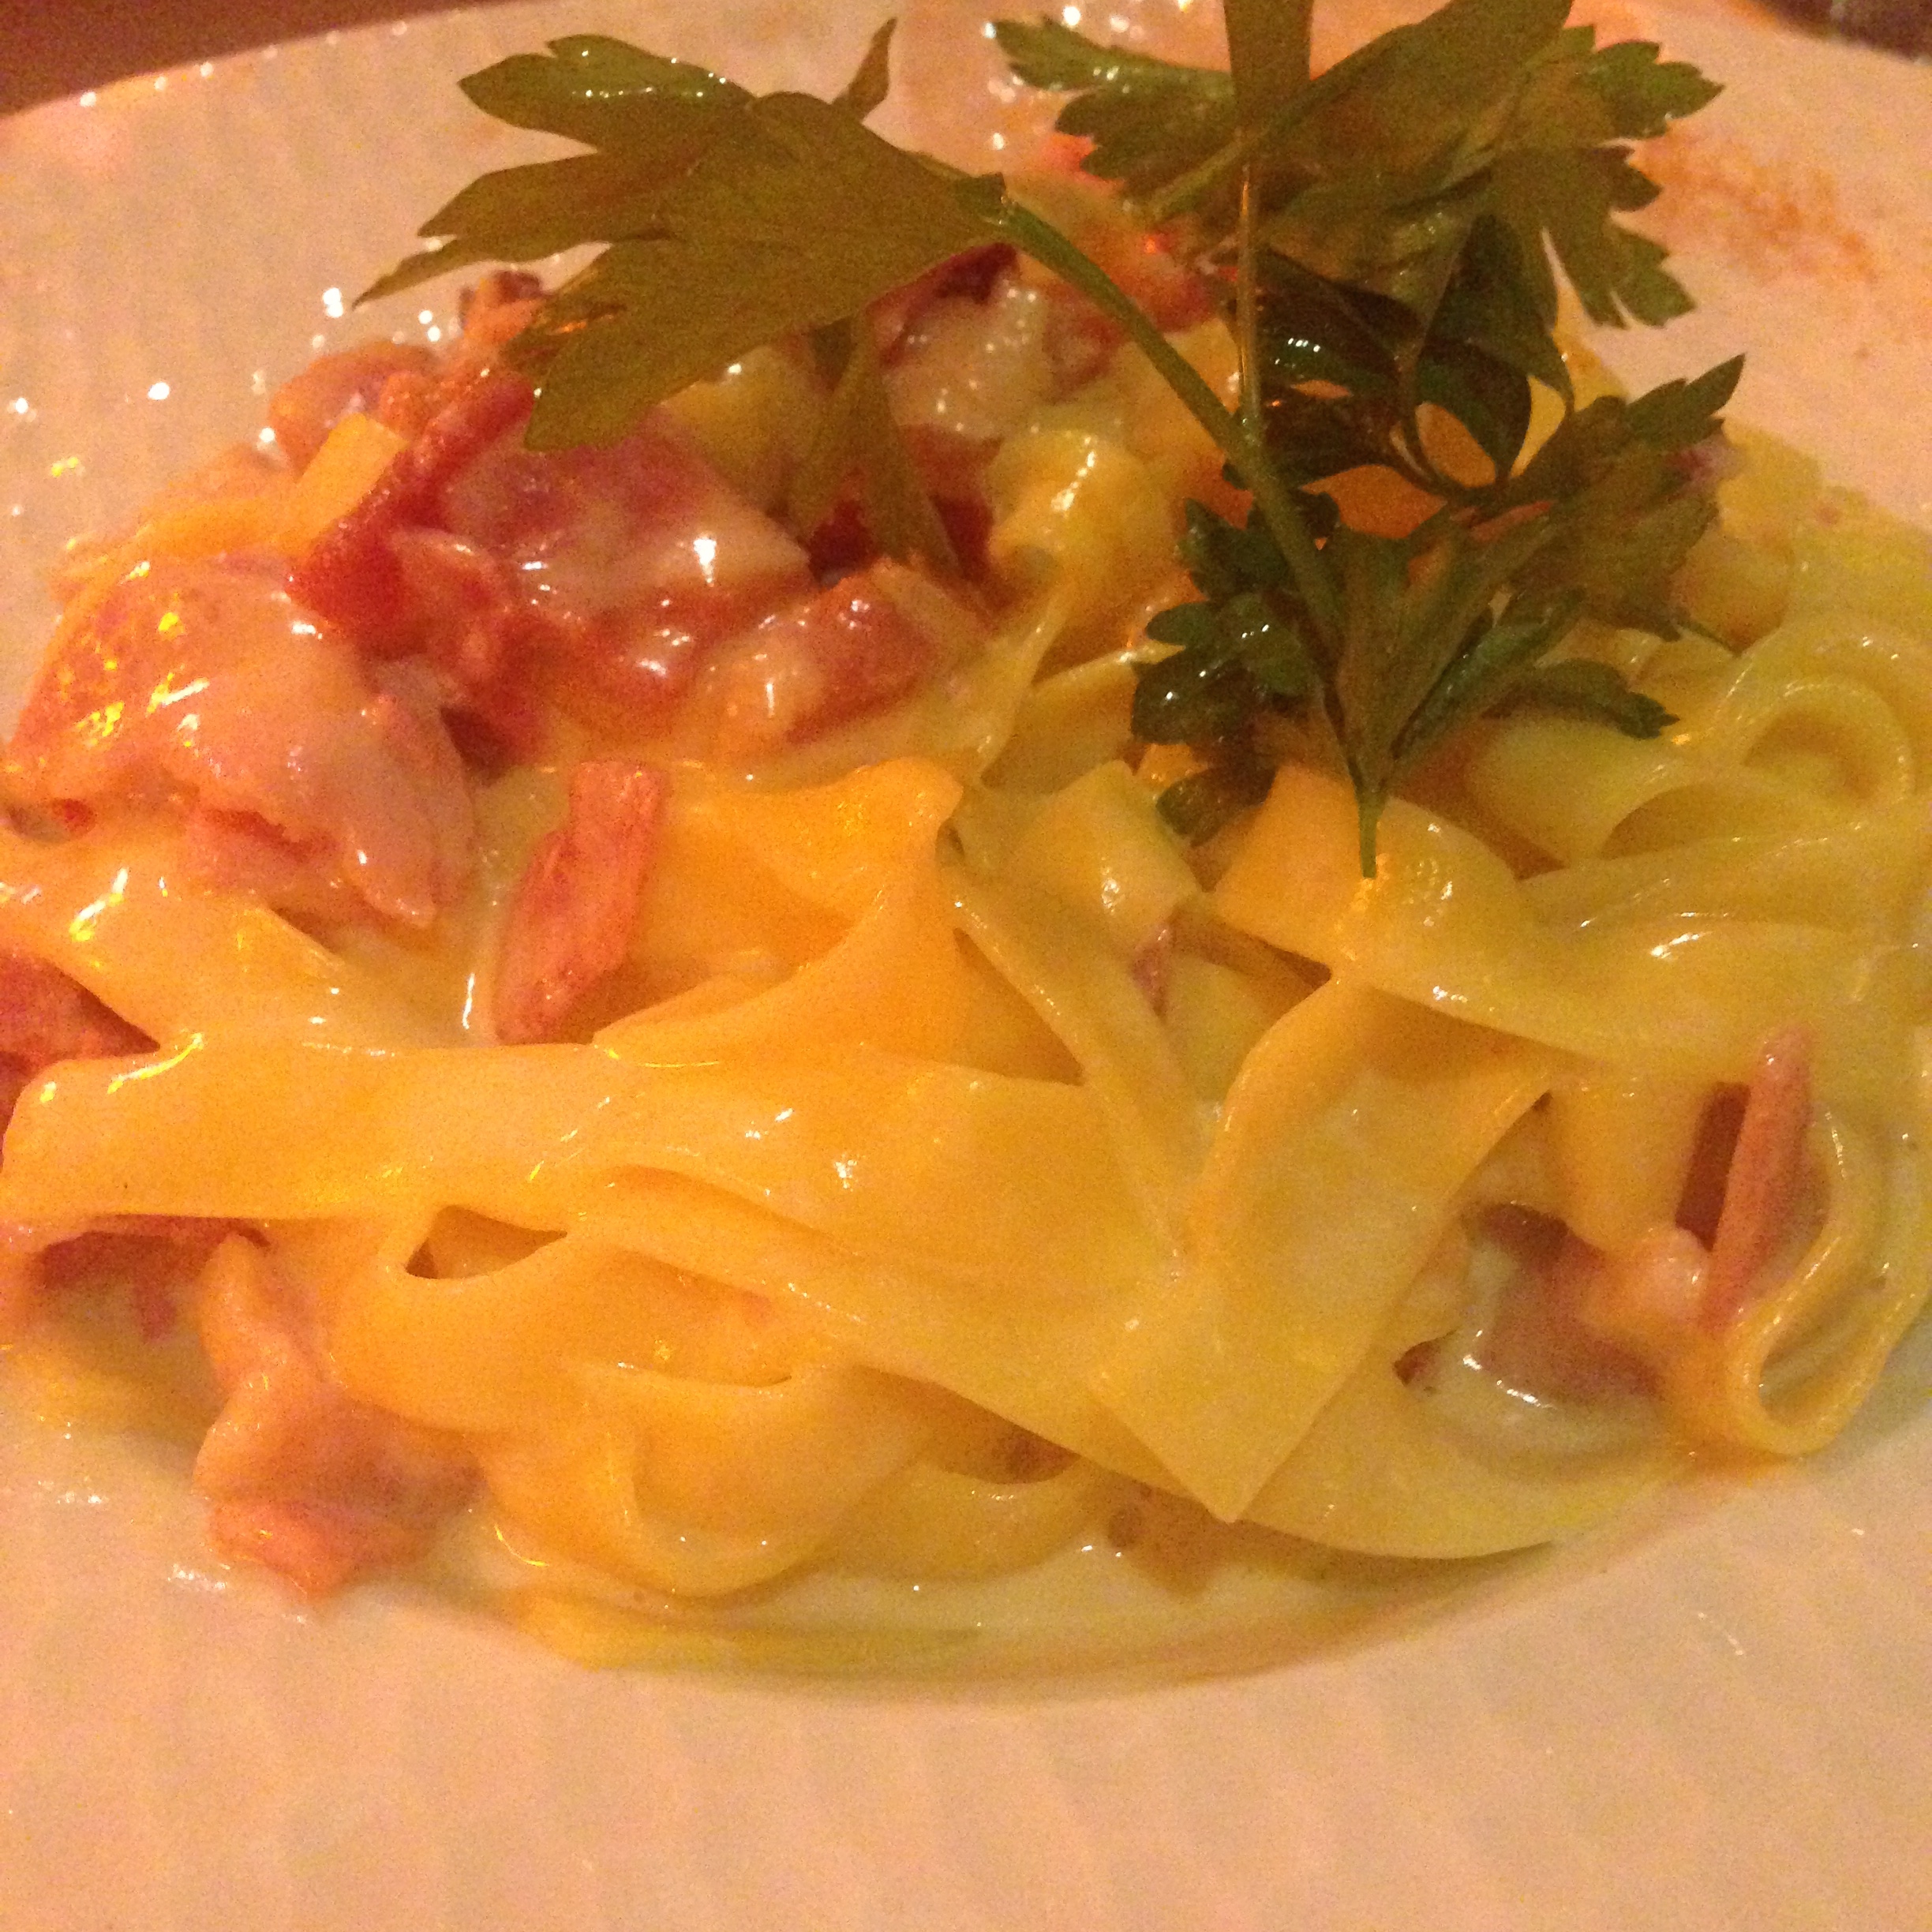
We Ate All The Things (in Iceland & Paris)

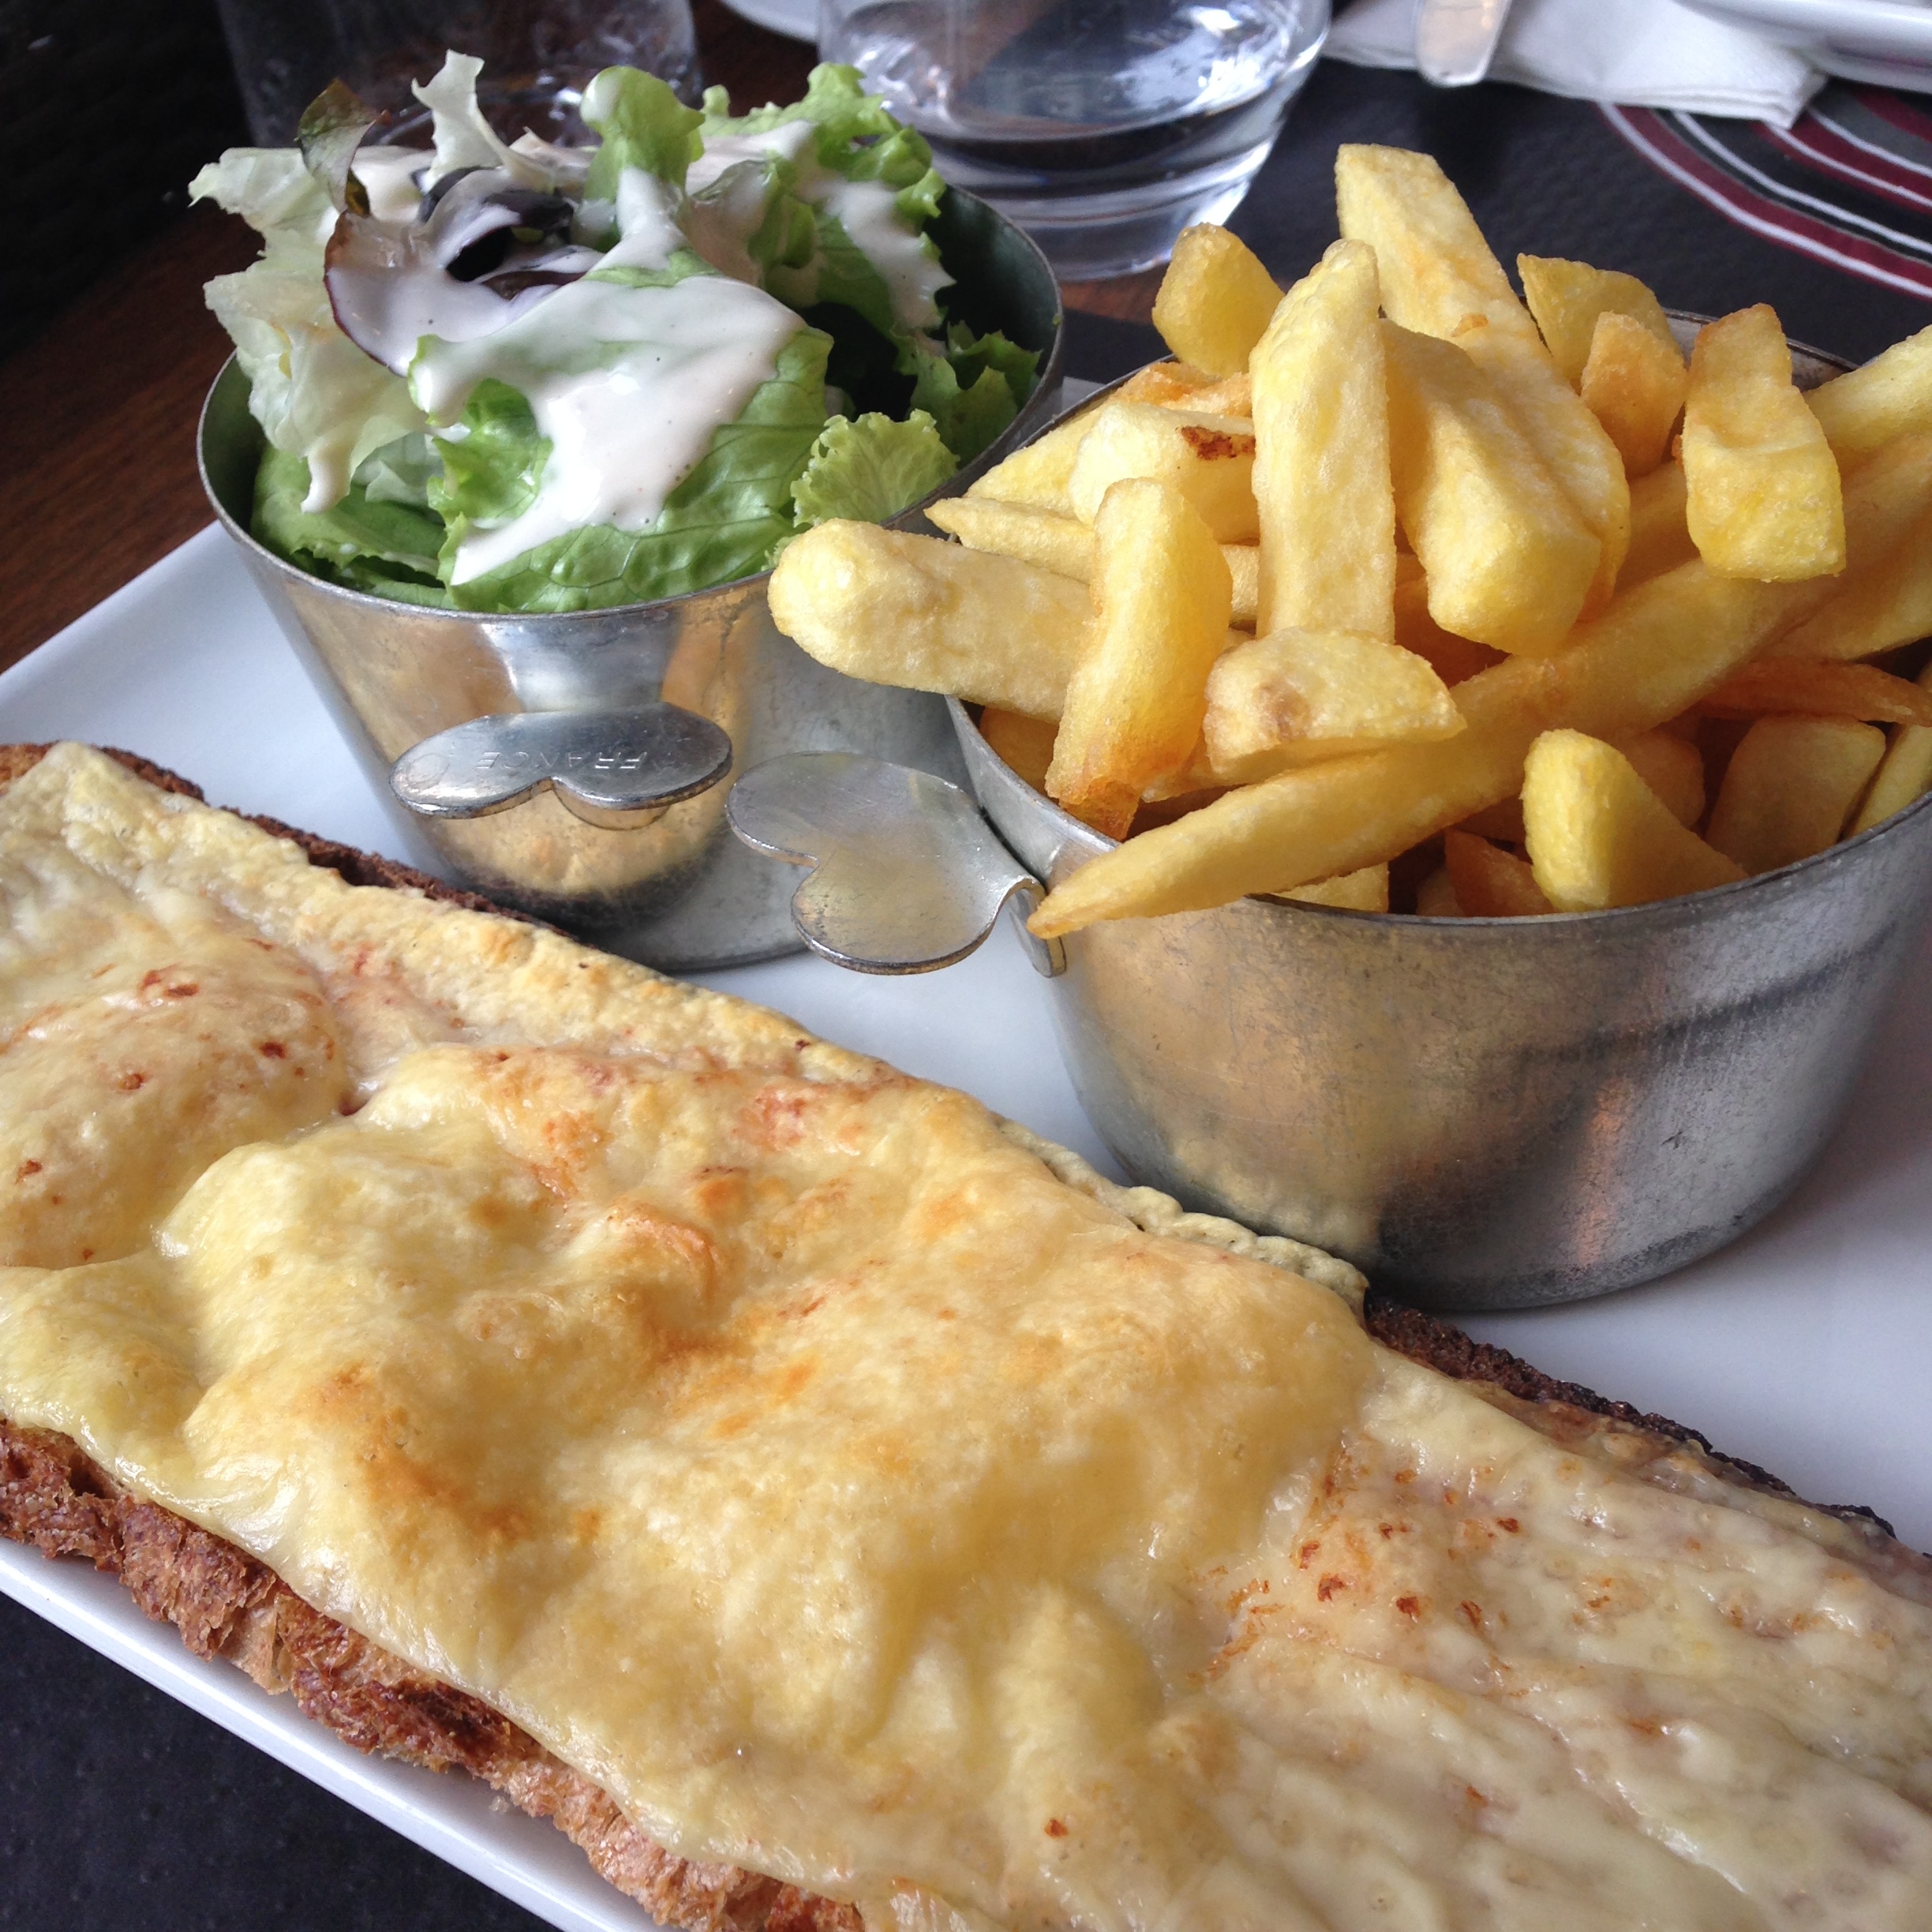
I just recently returned from a vacation to Iceland and Paris where my friend and I set out to see all the sights, walk all the places and eat all the things.  I think we accomplished our goals!  

Among the highlights:

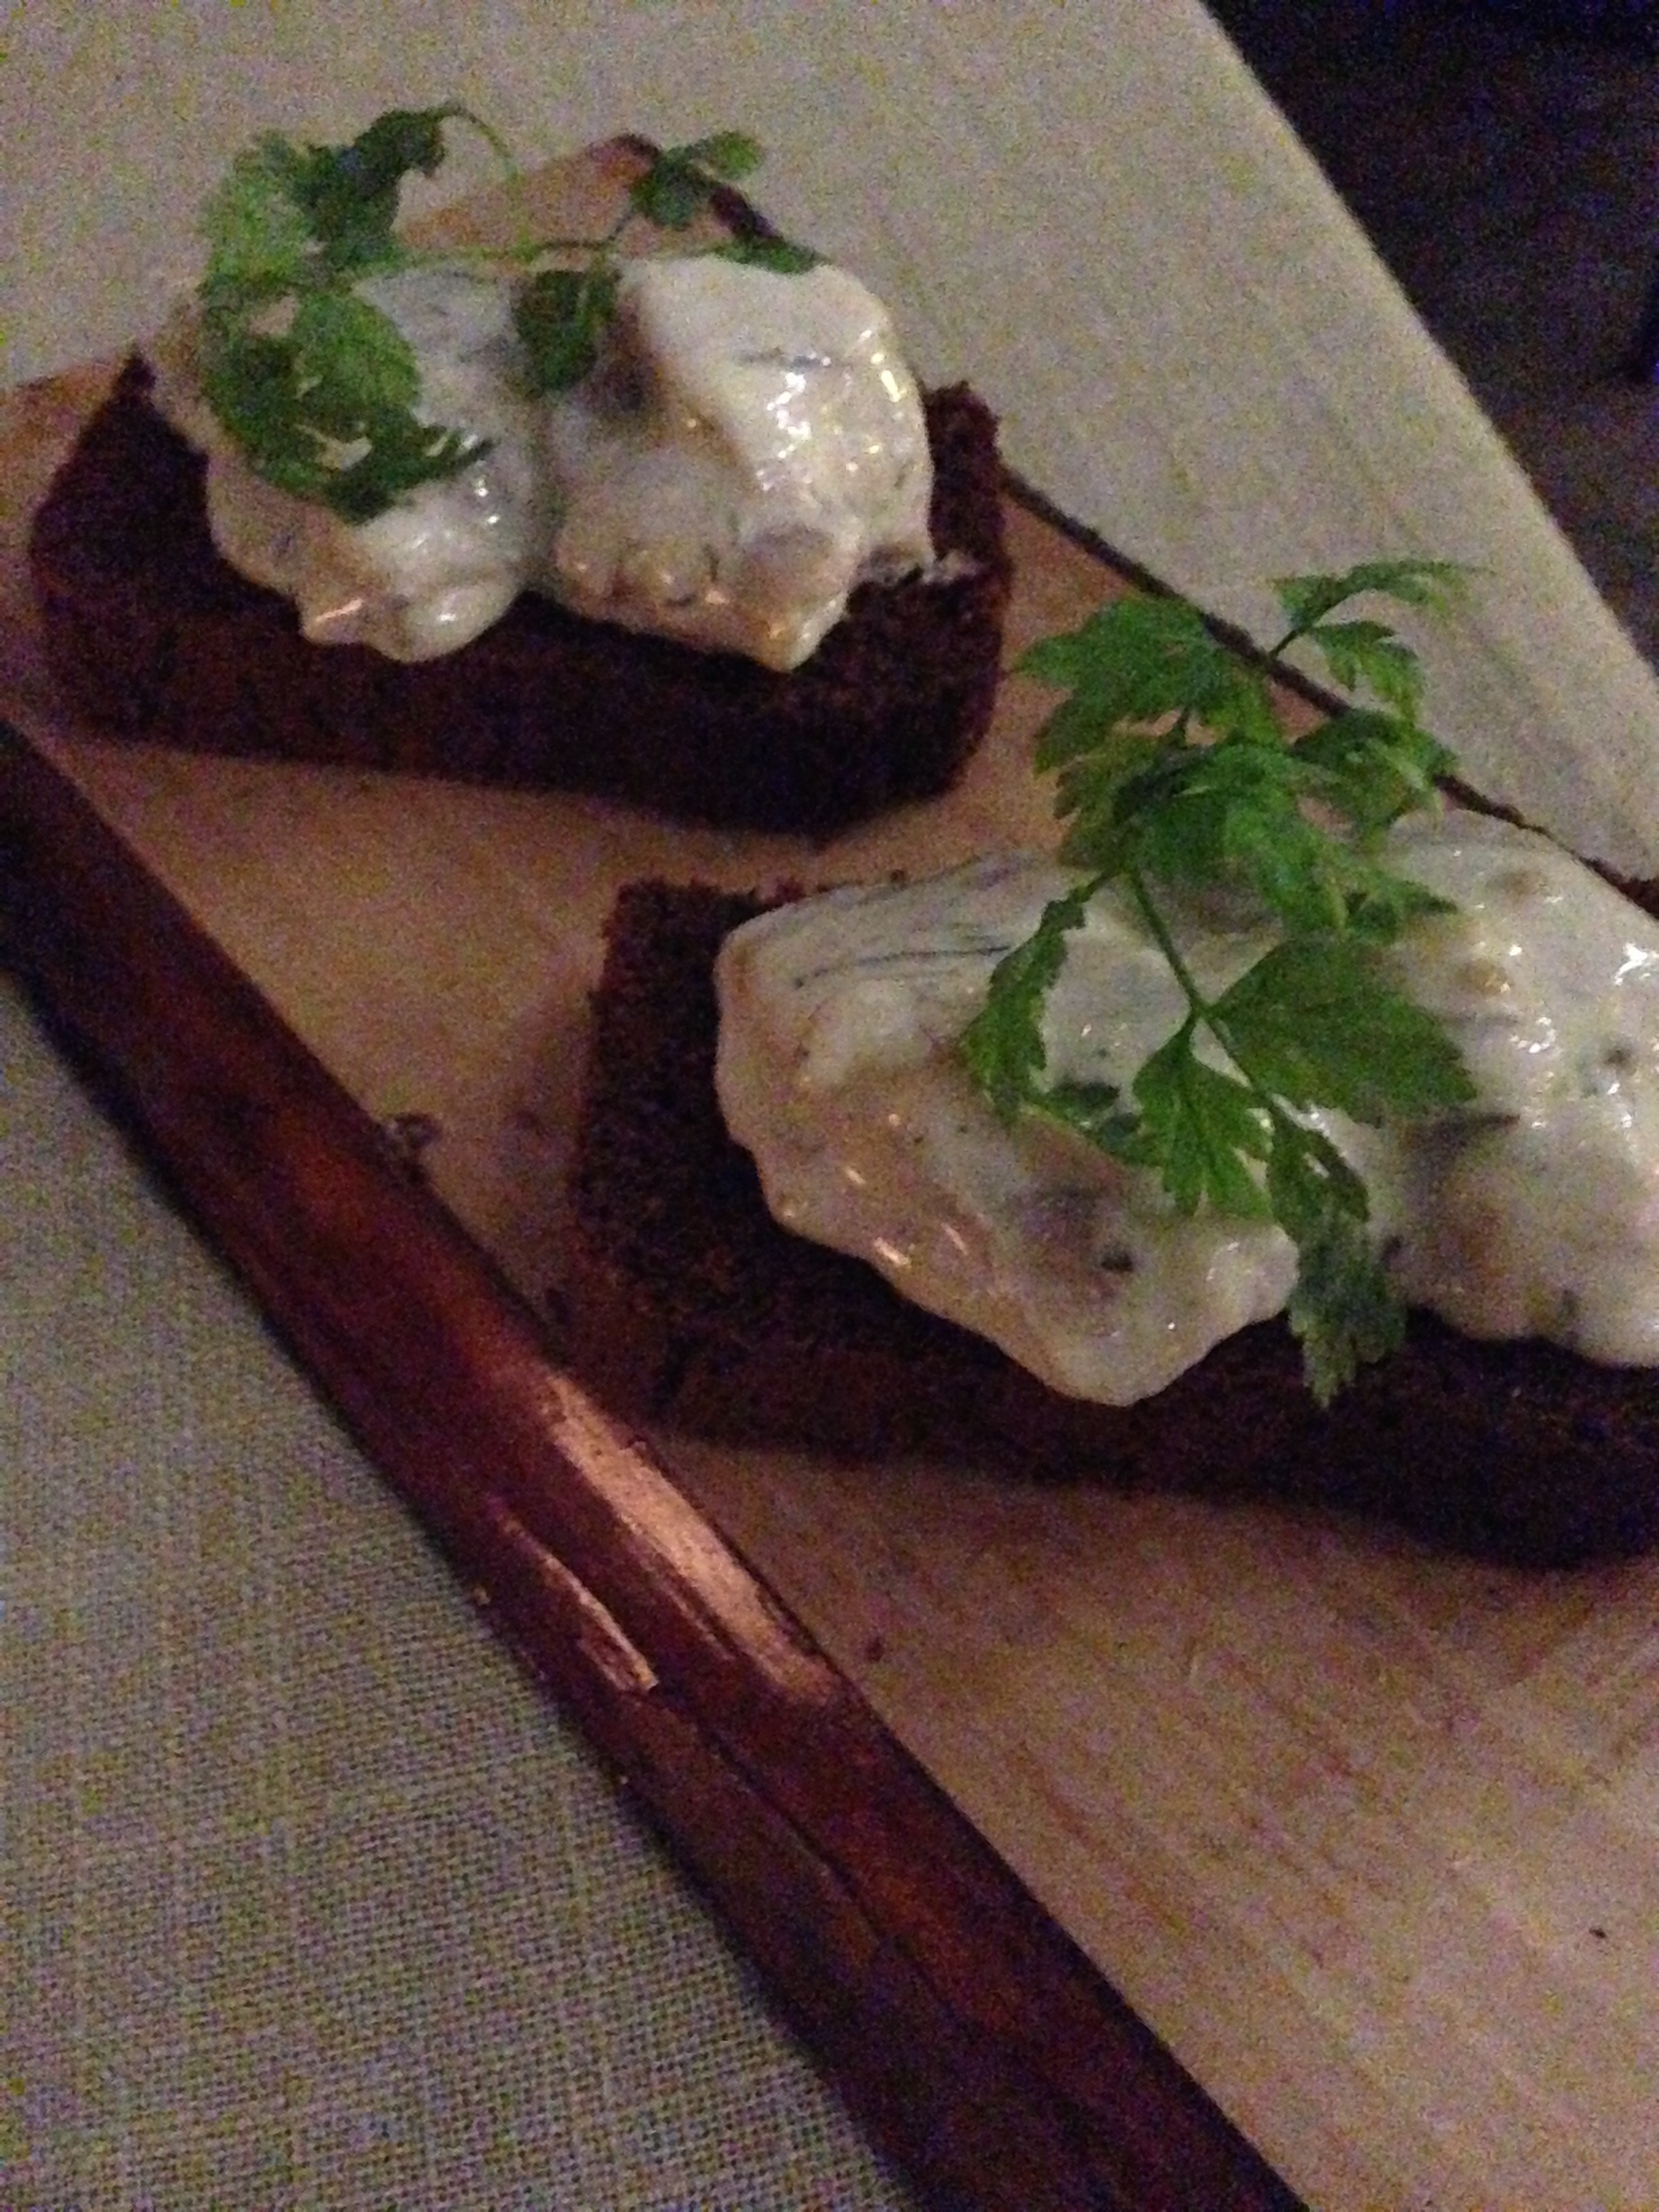
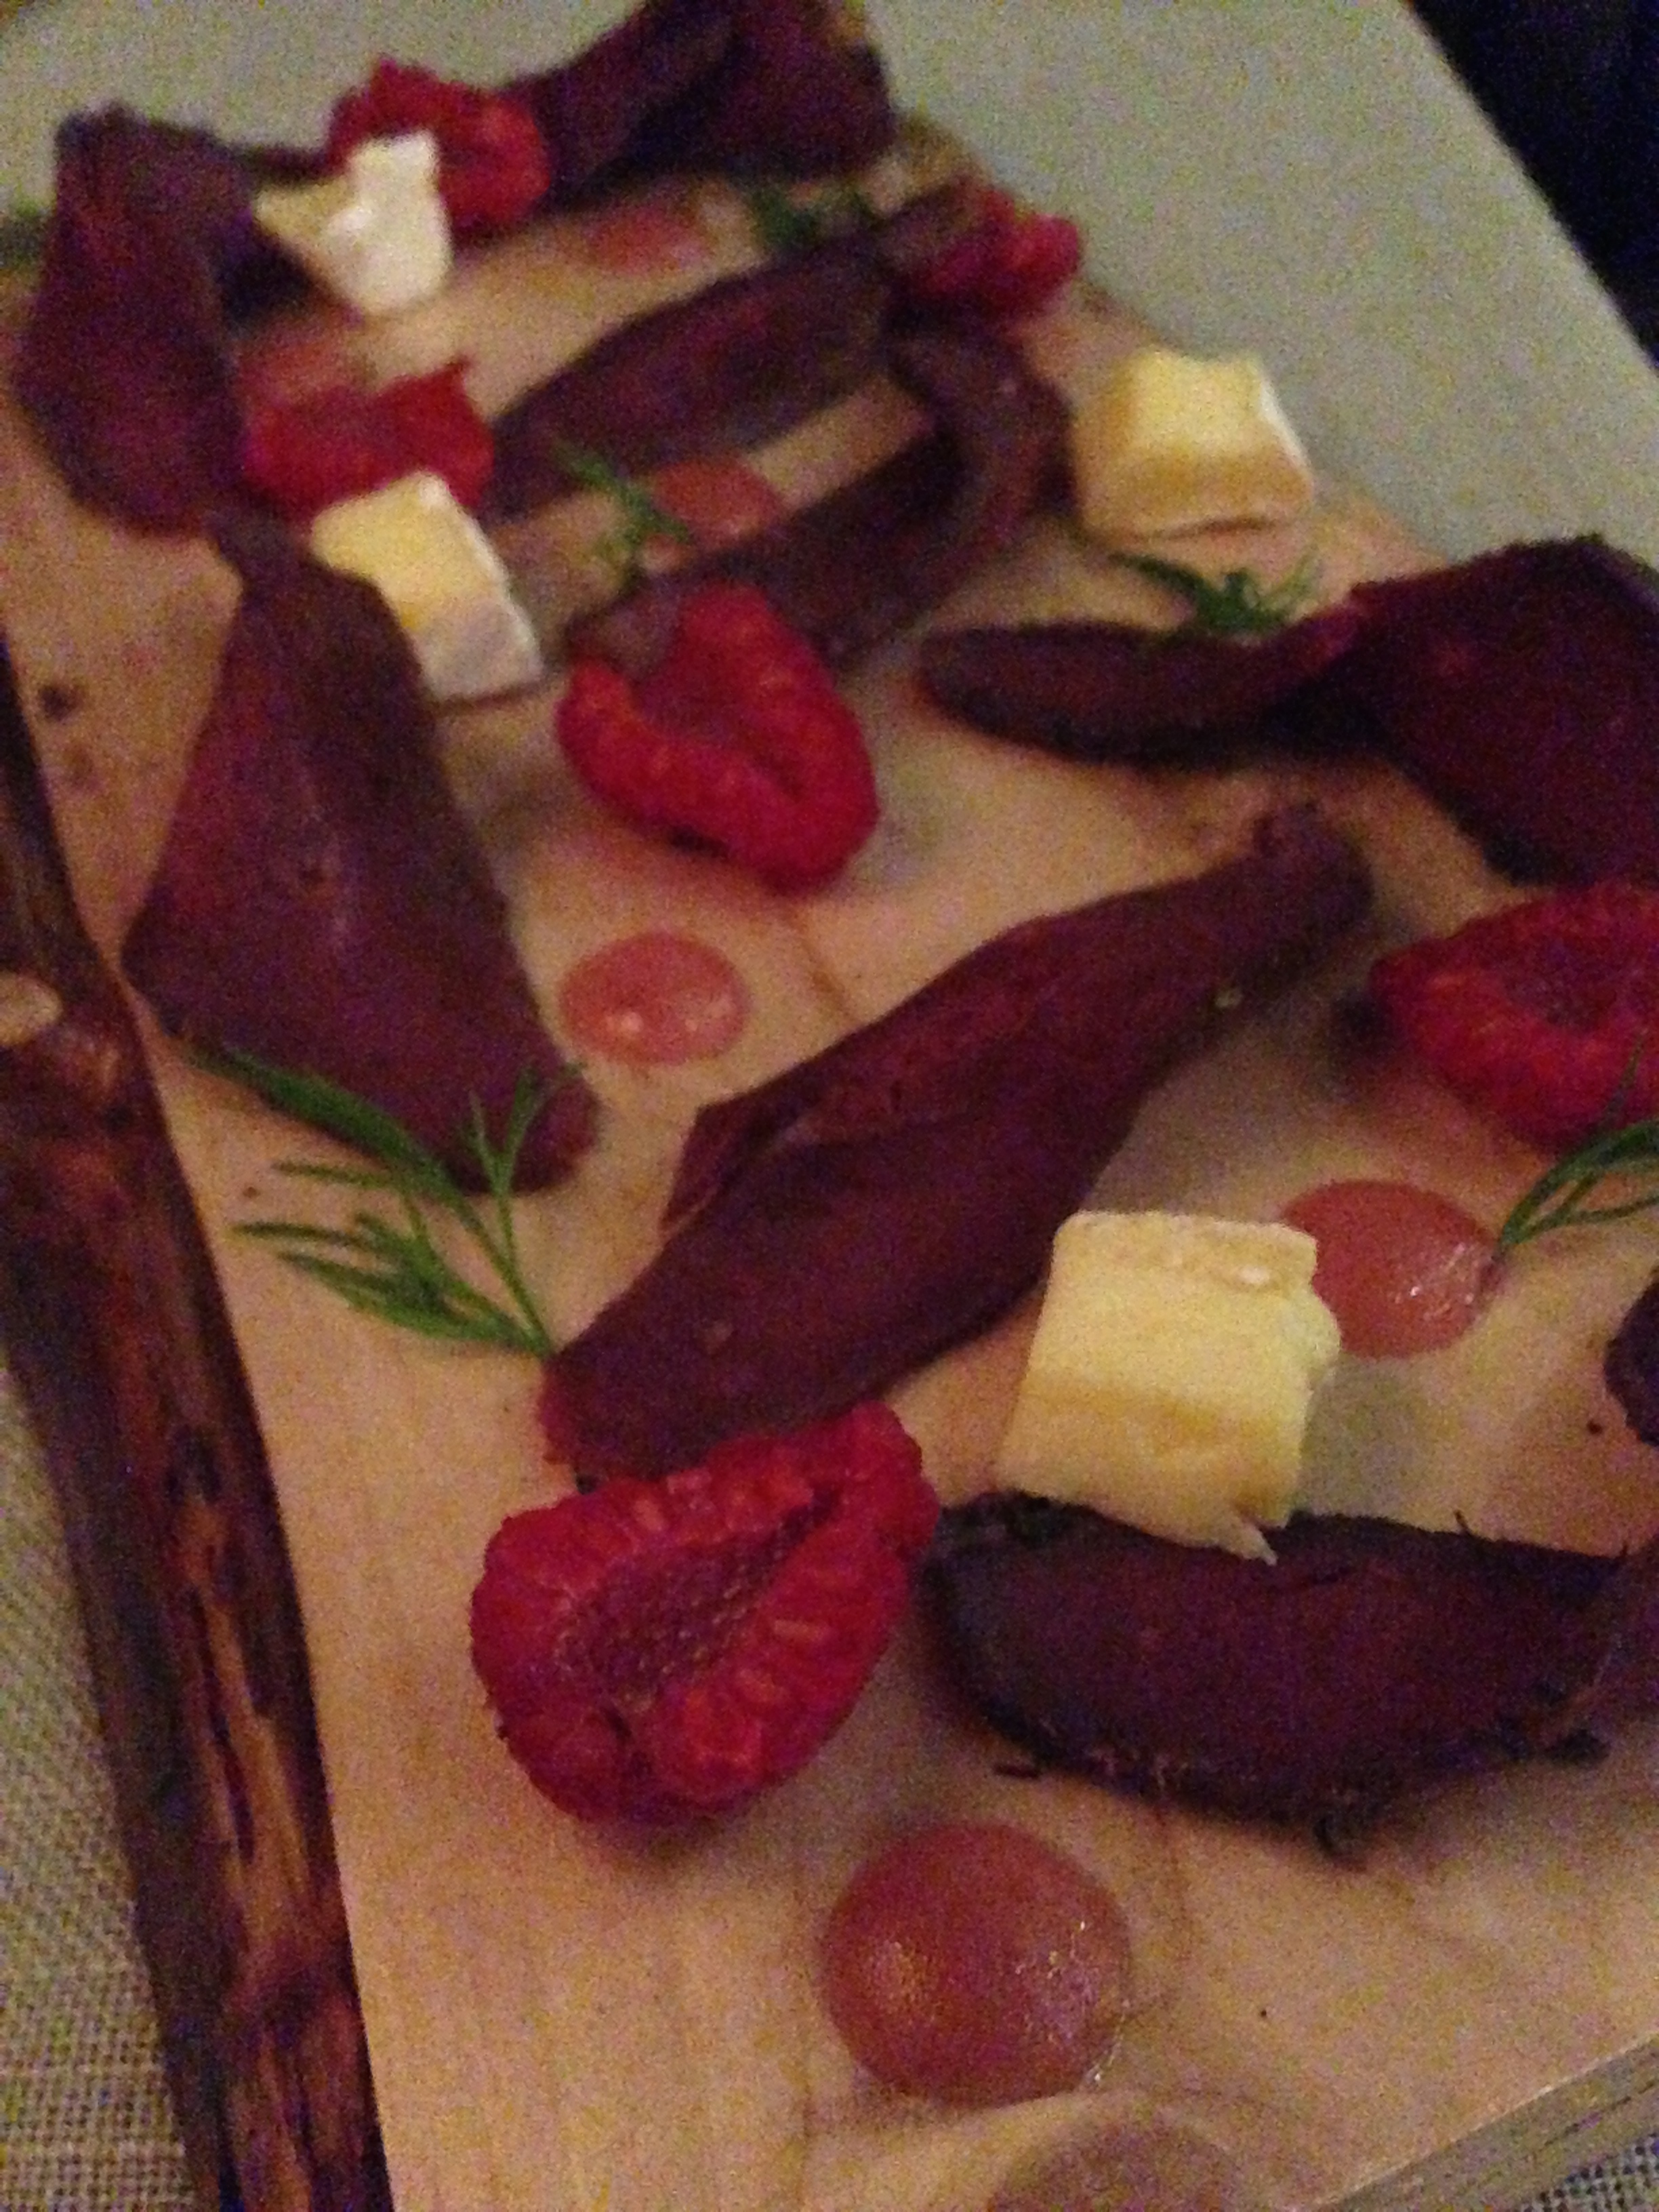
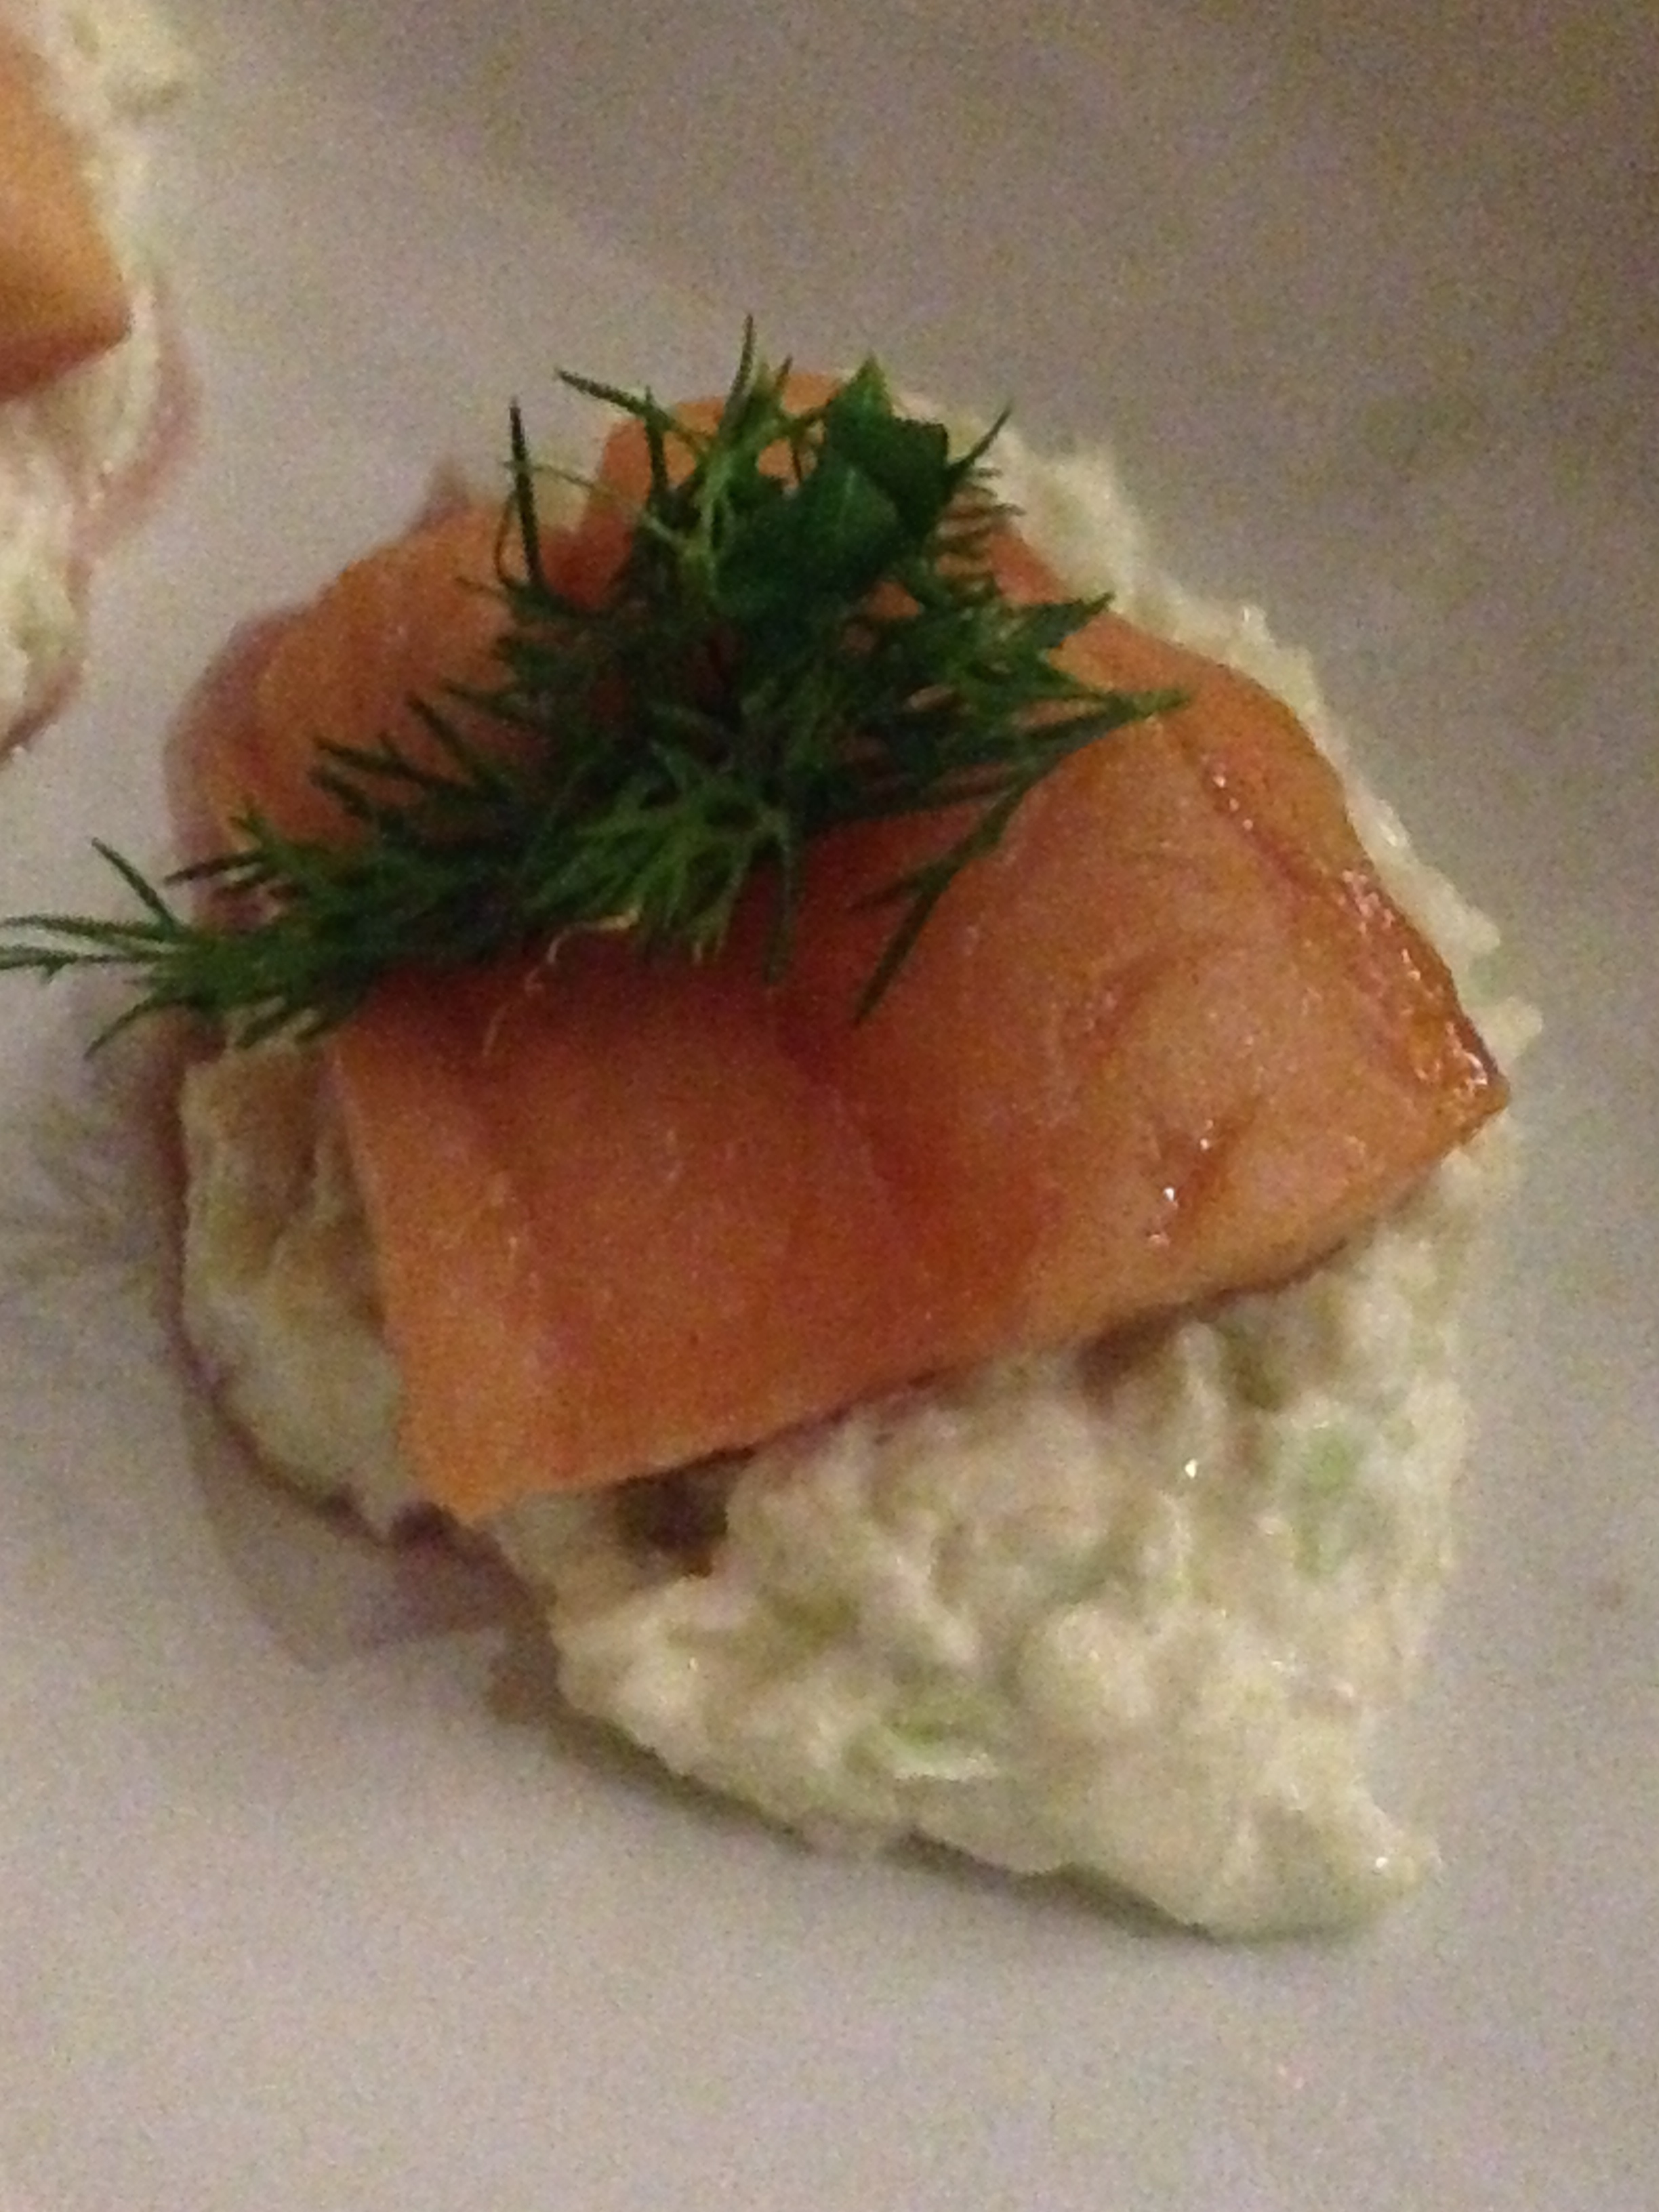
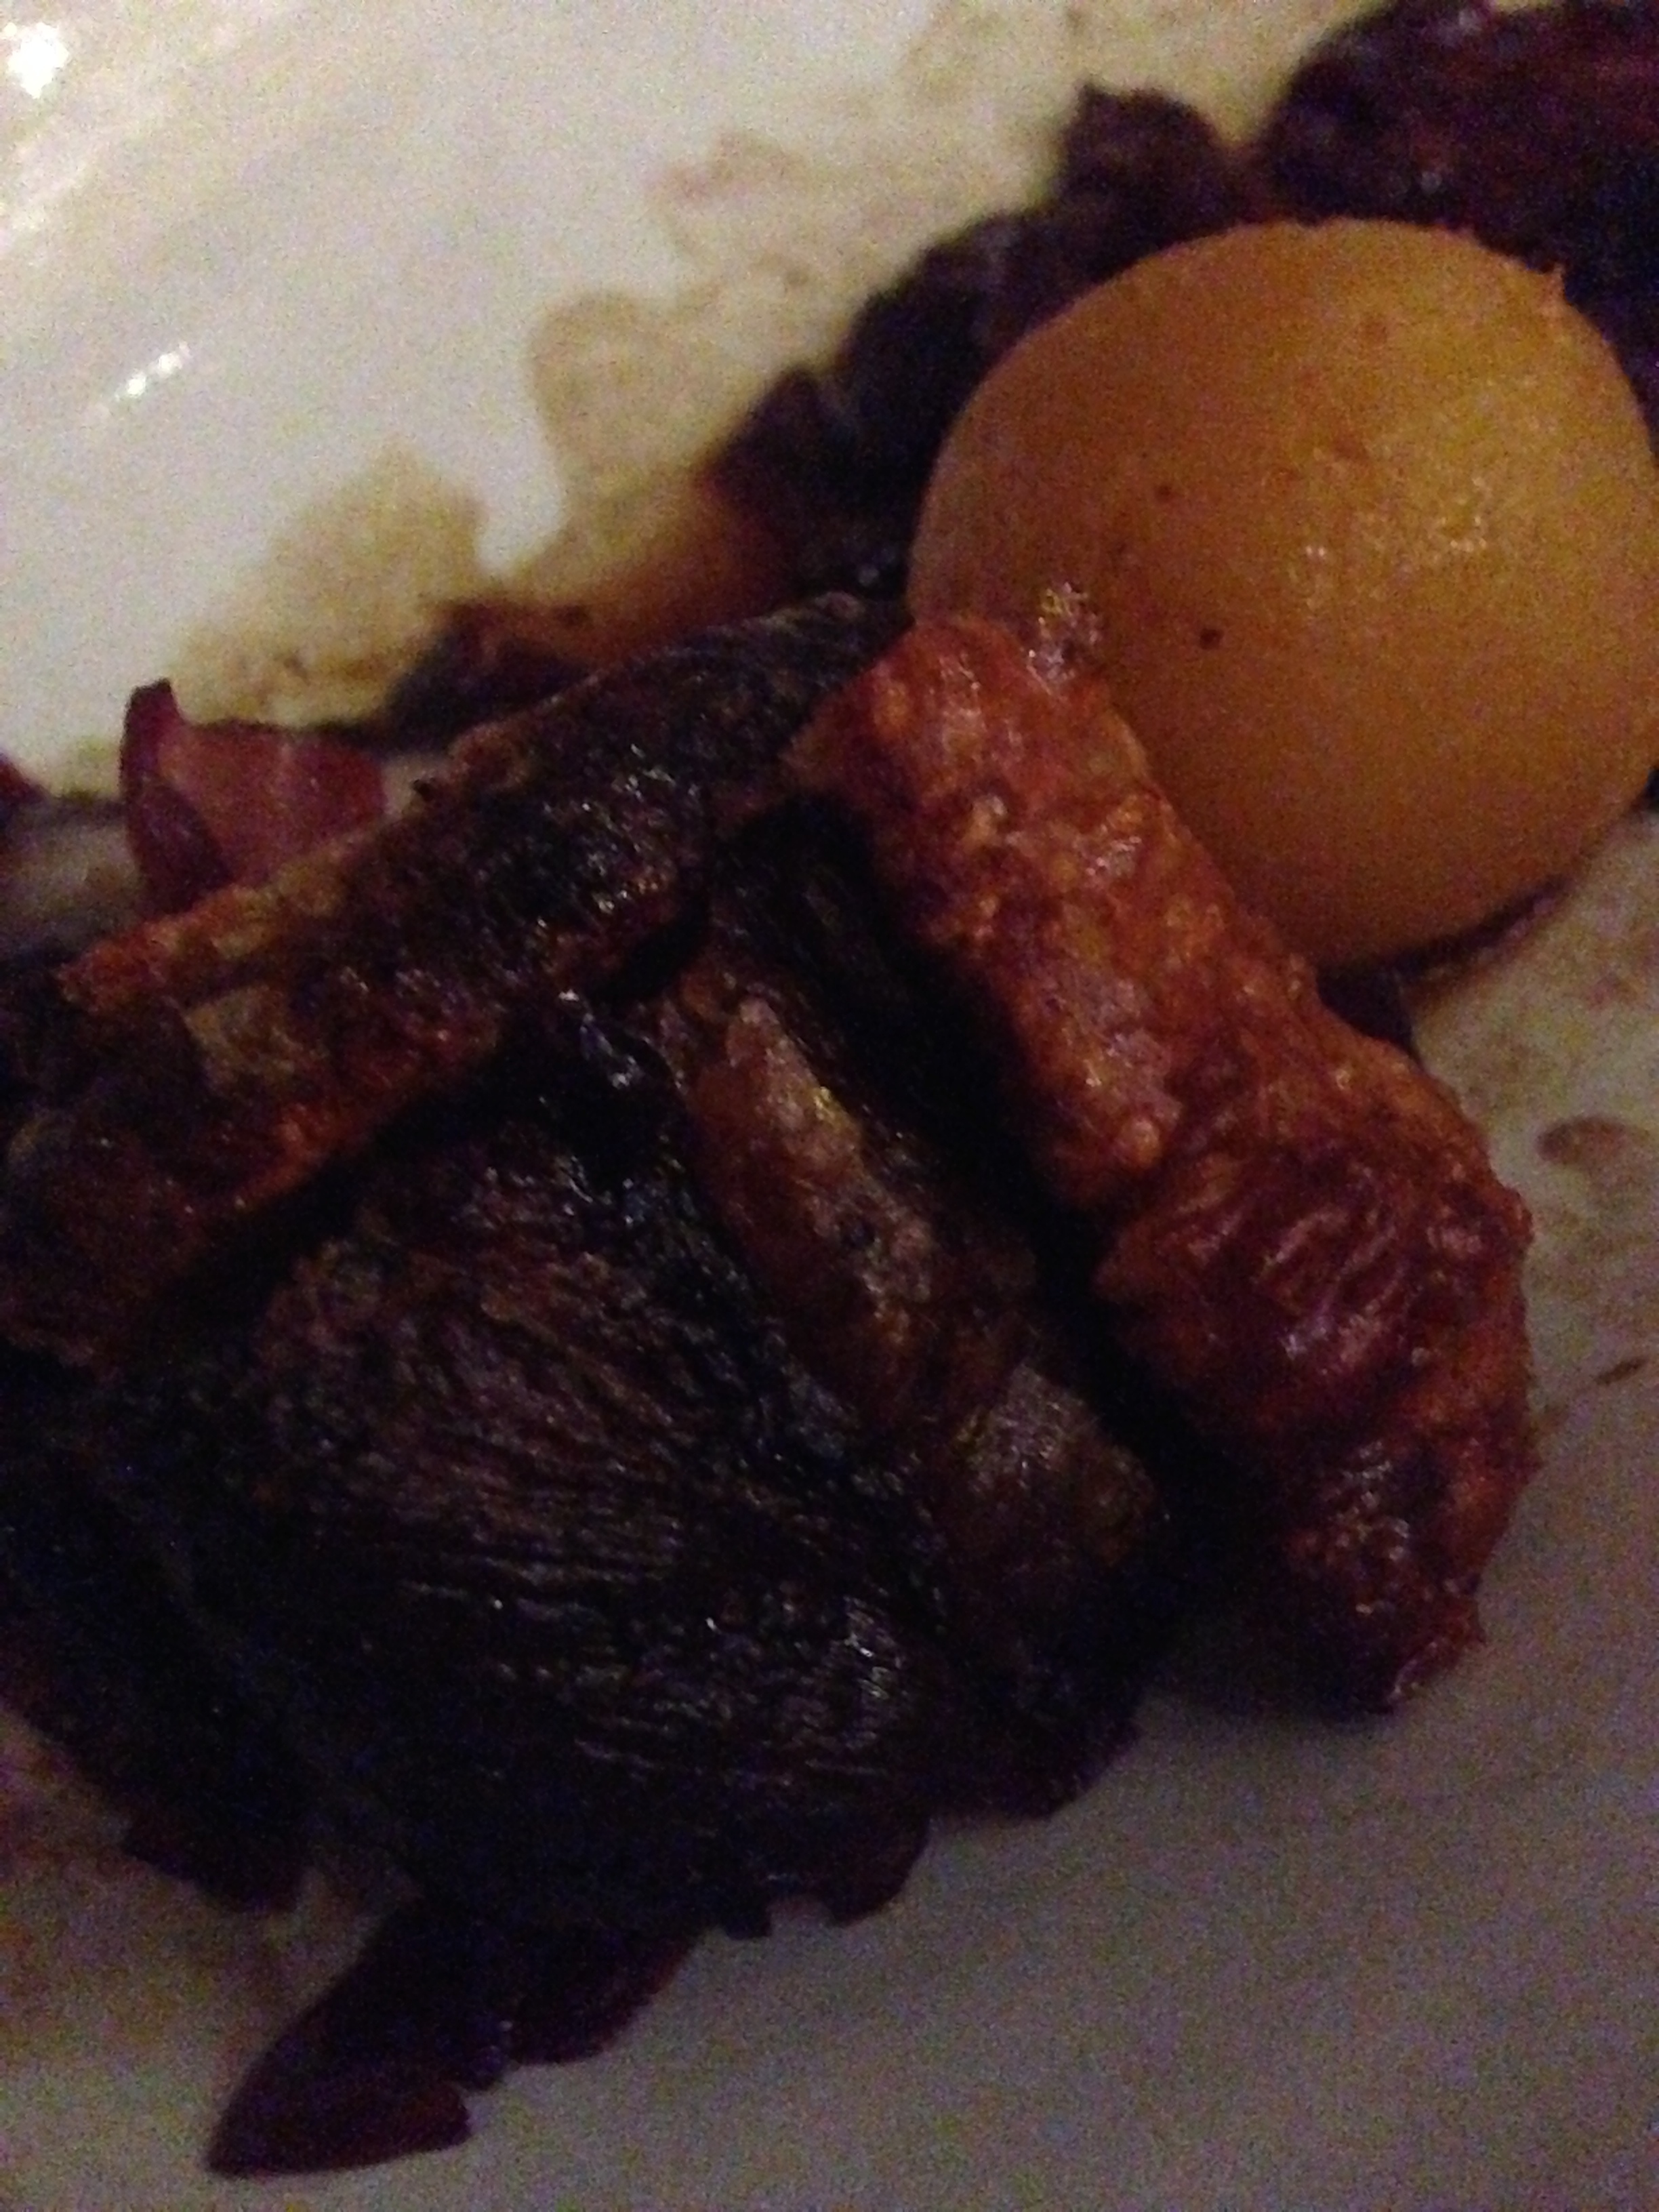
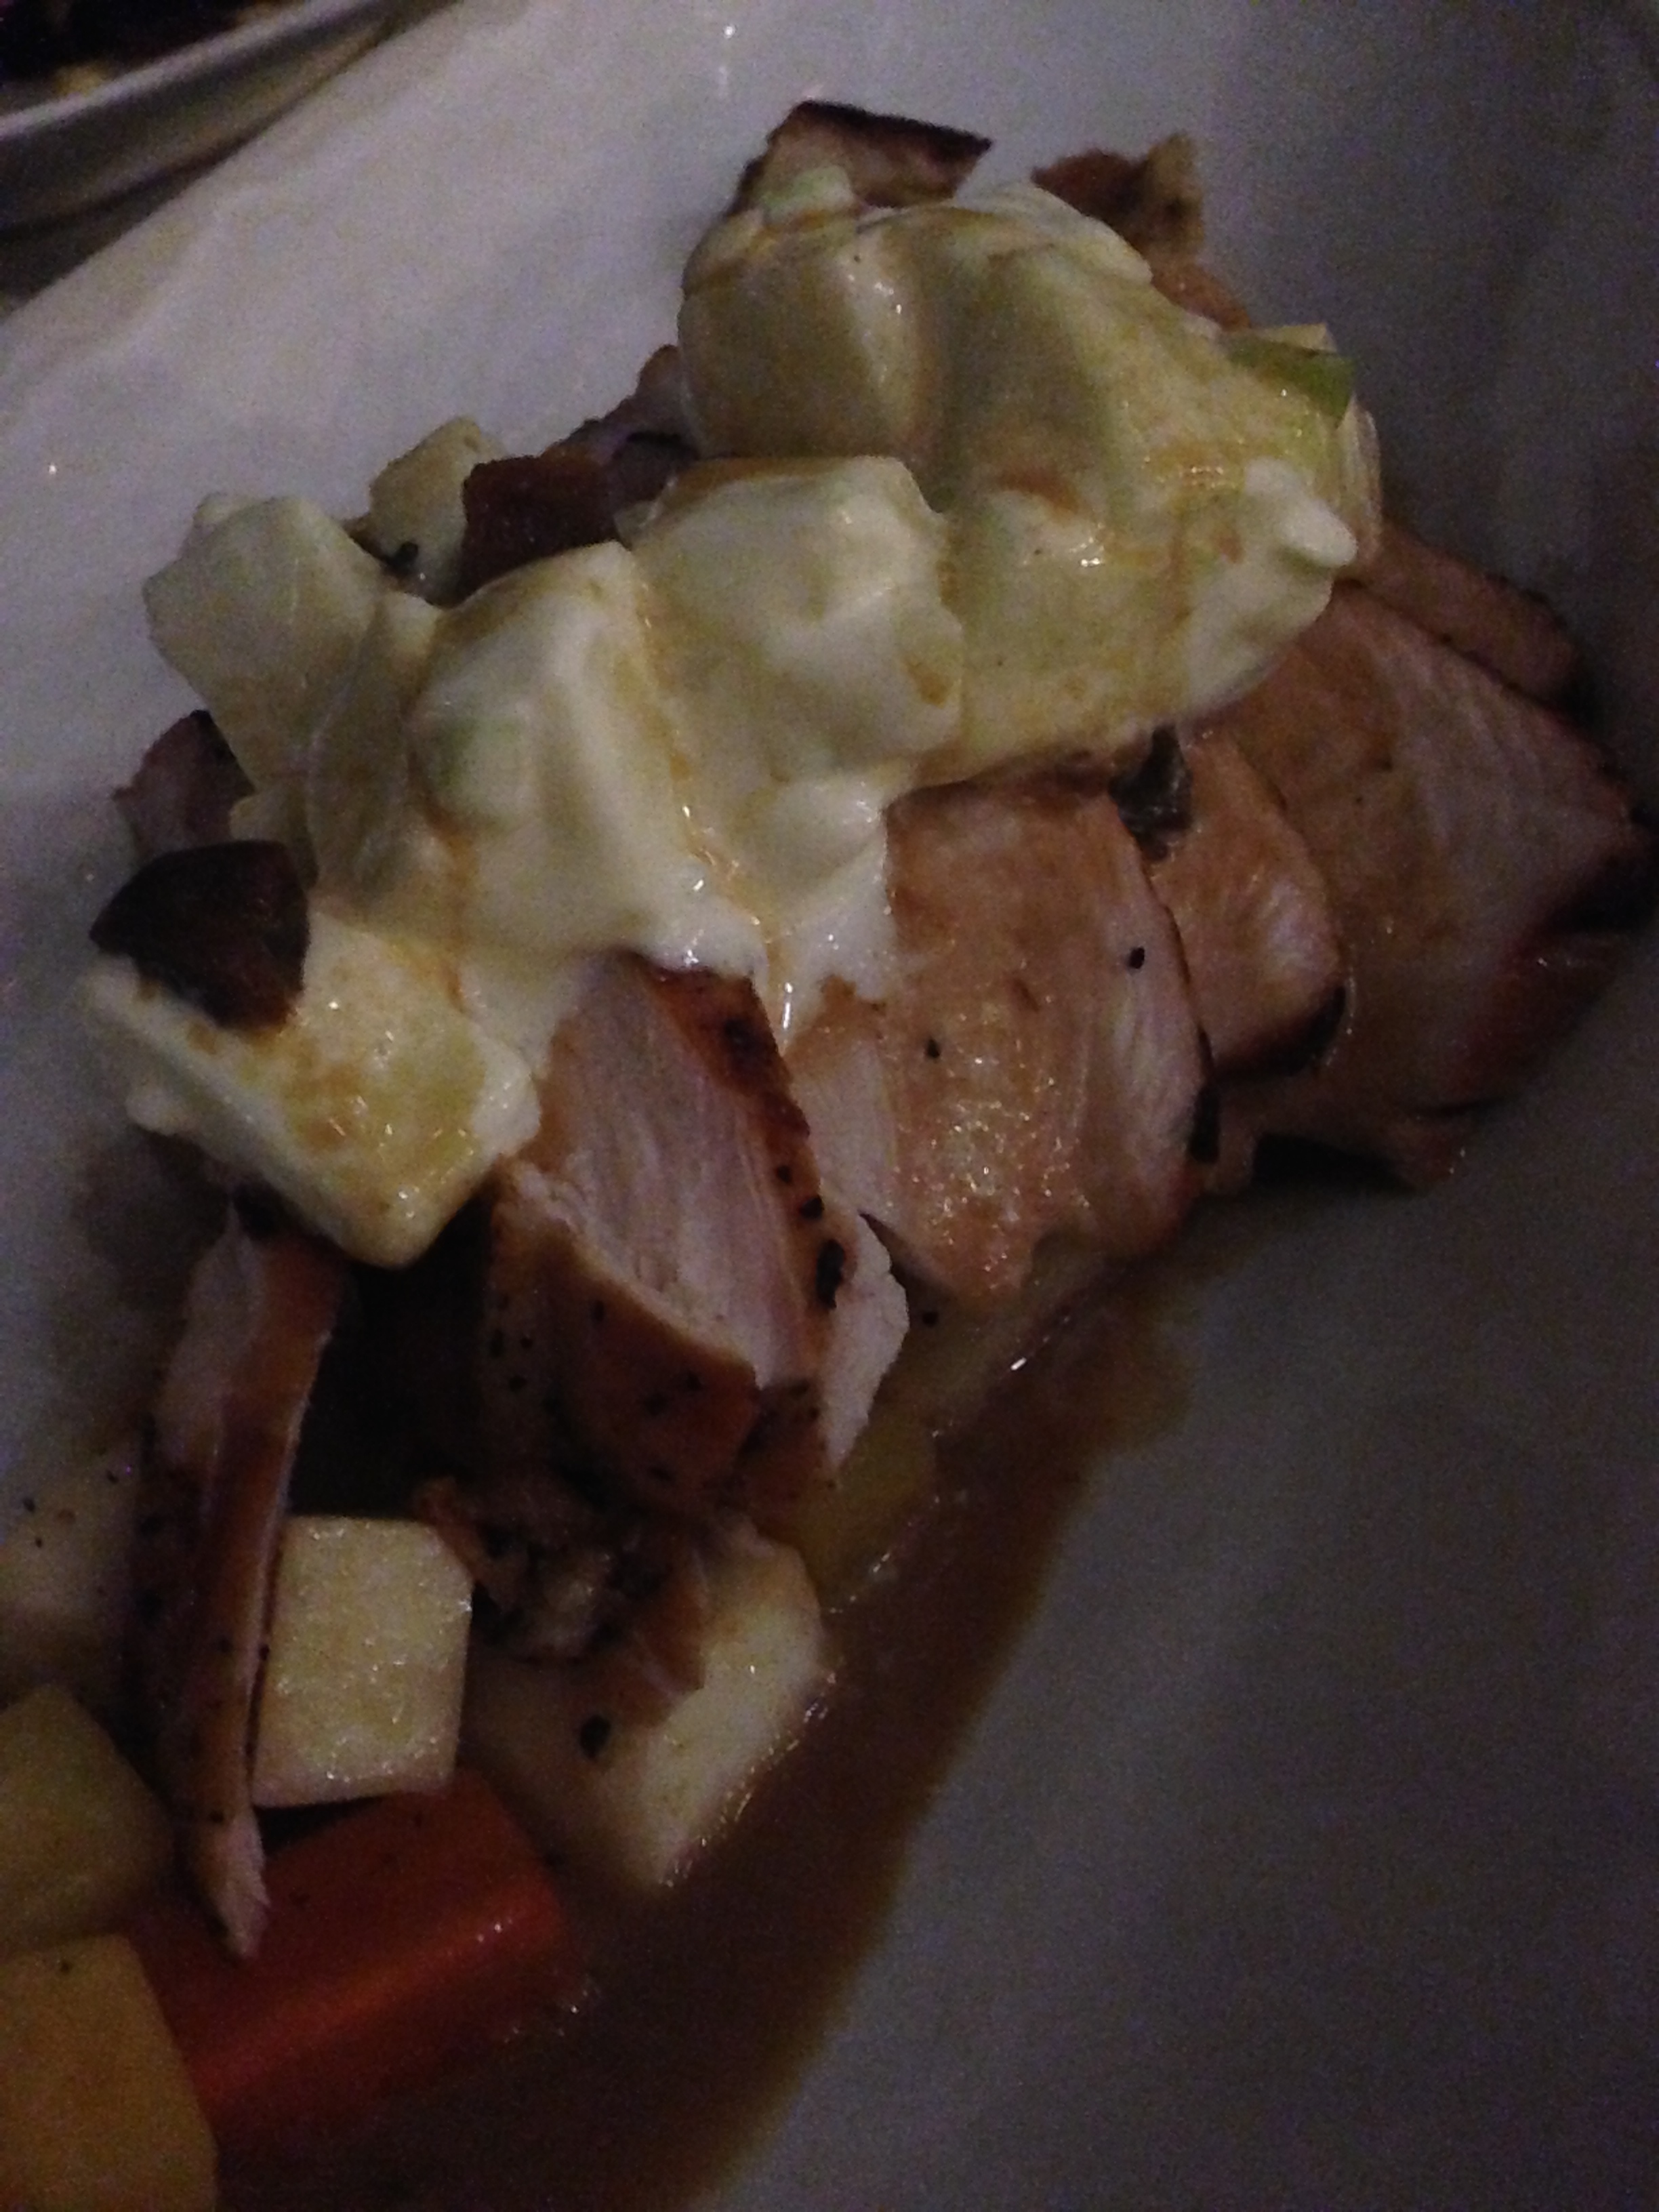
  • A multi-course Icelandic Christmas meal on our first night (over 9 courses!)
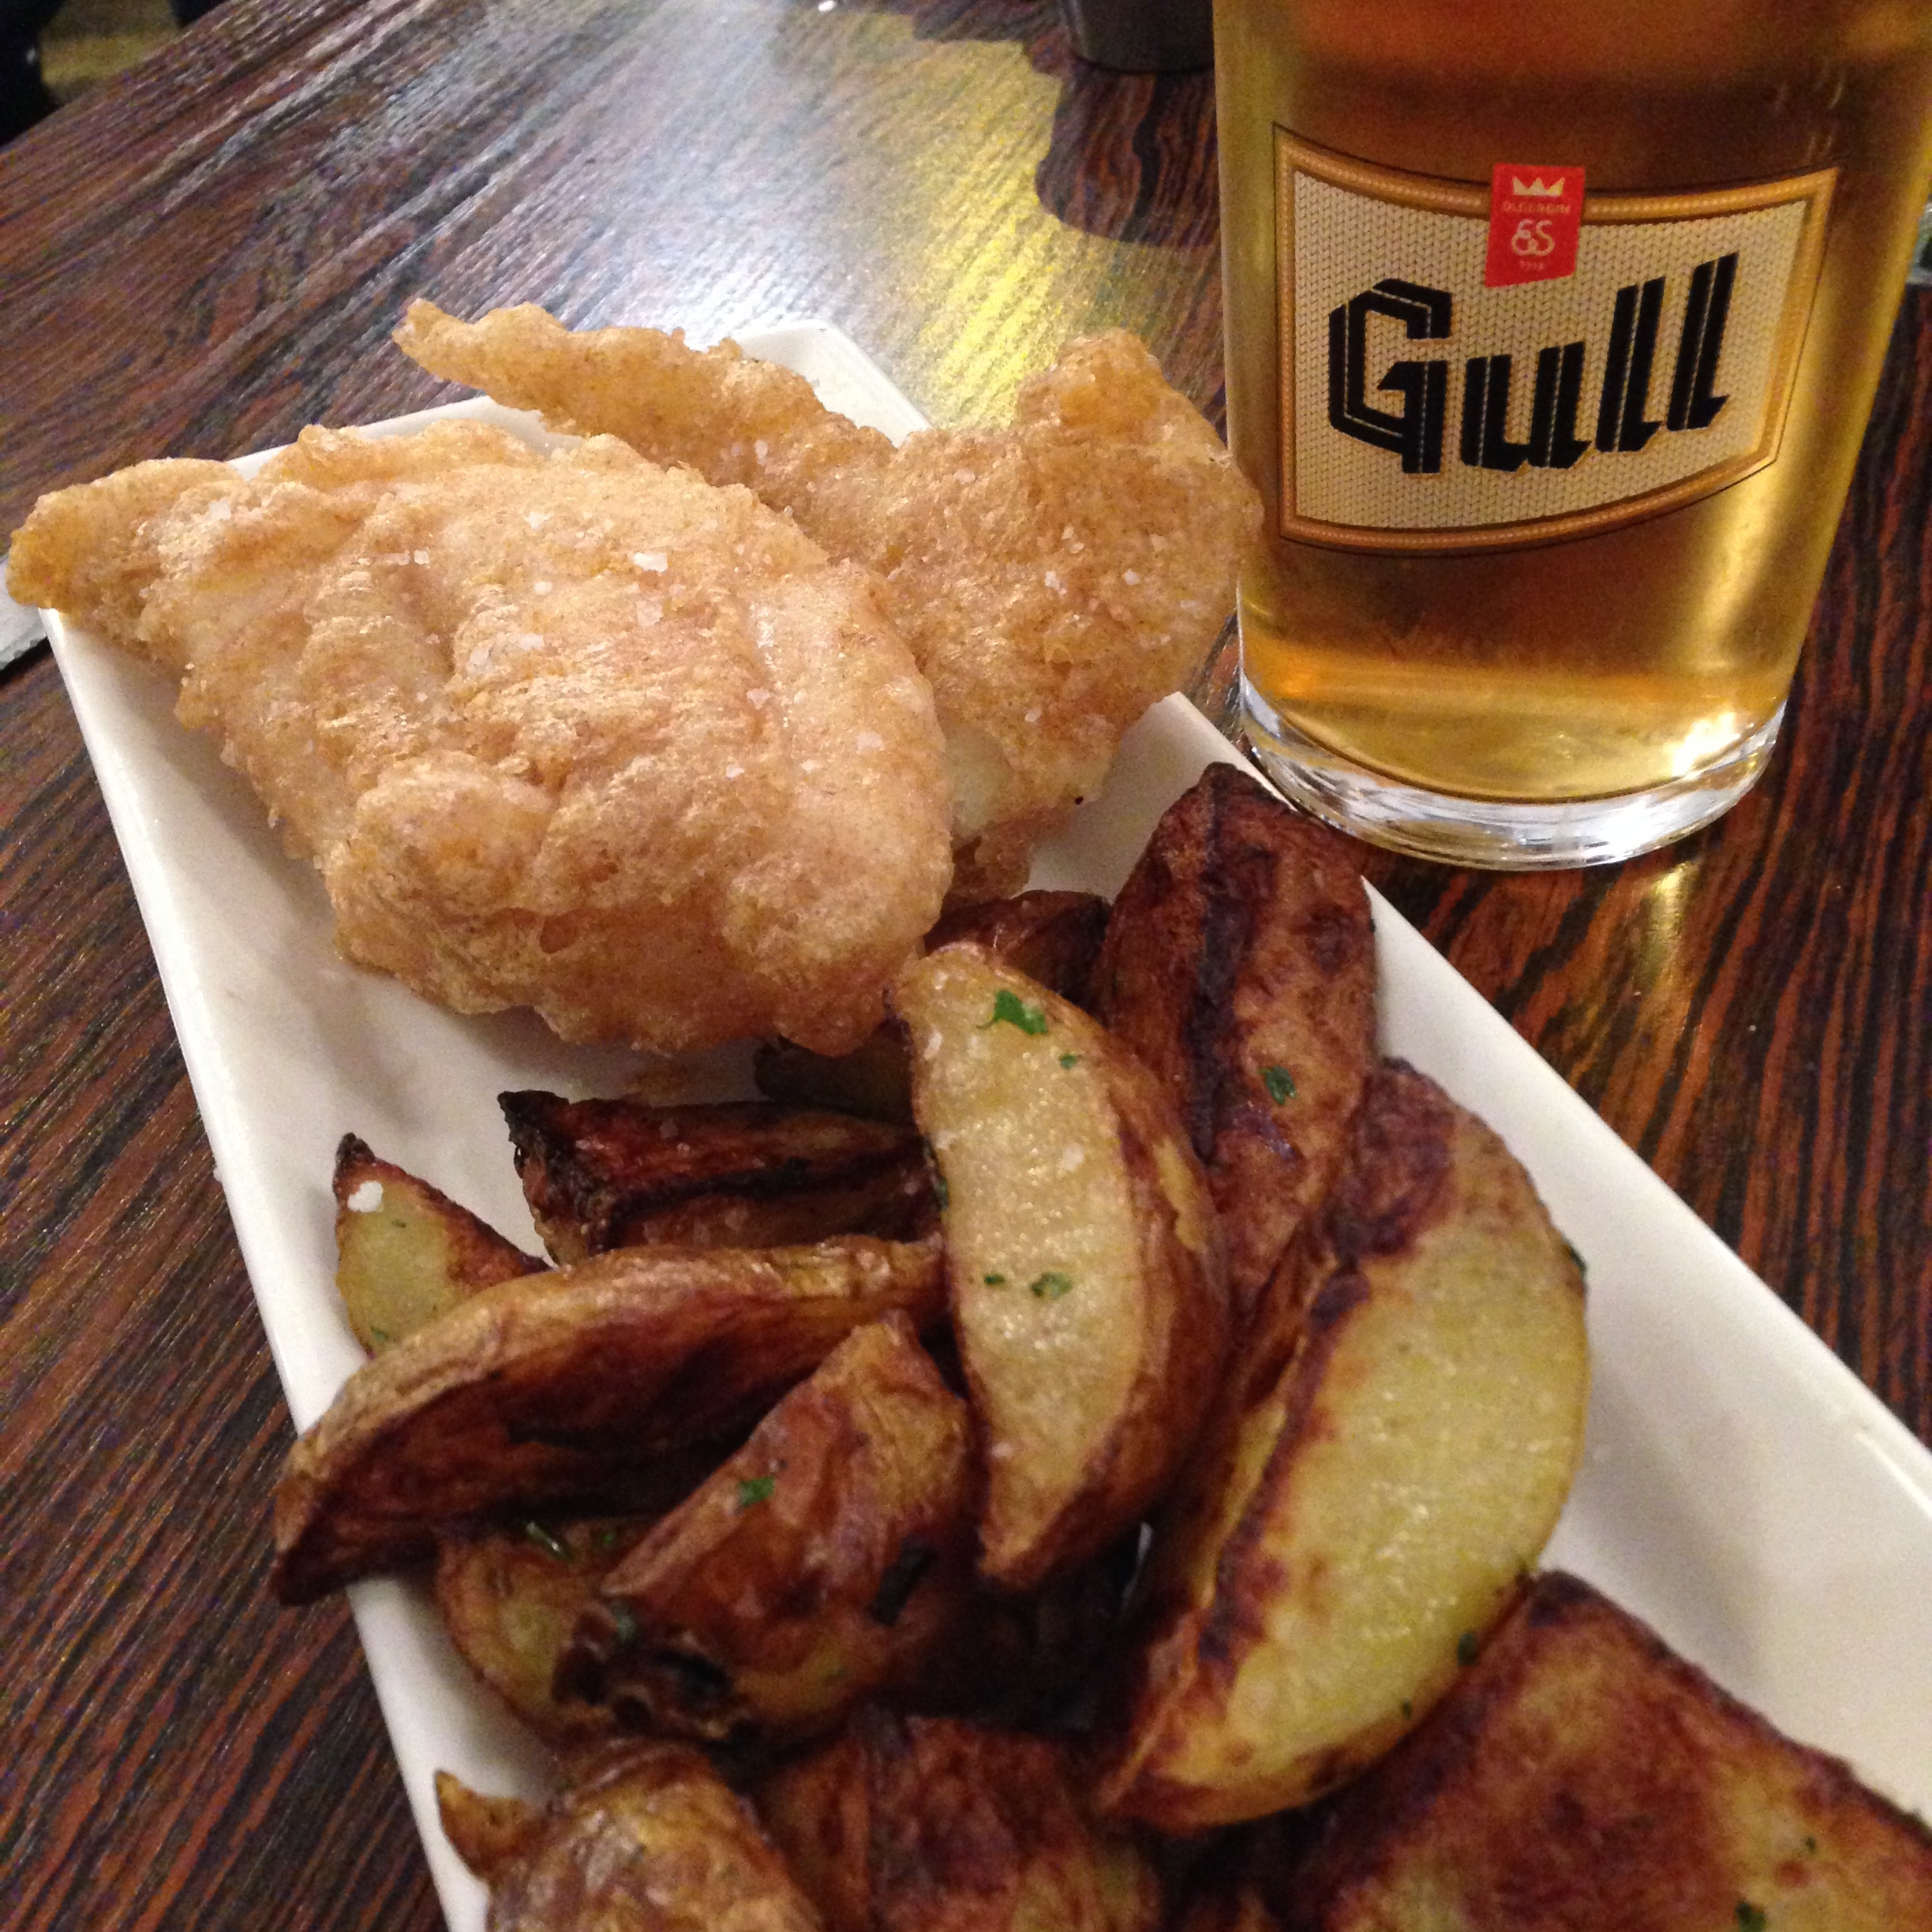
  • The BEST fish & chips in downtown Reykjavik
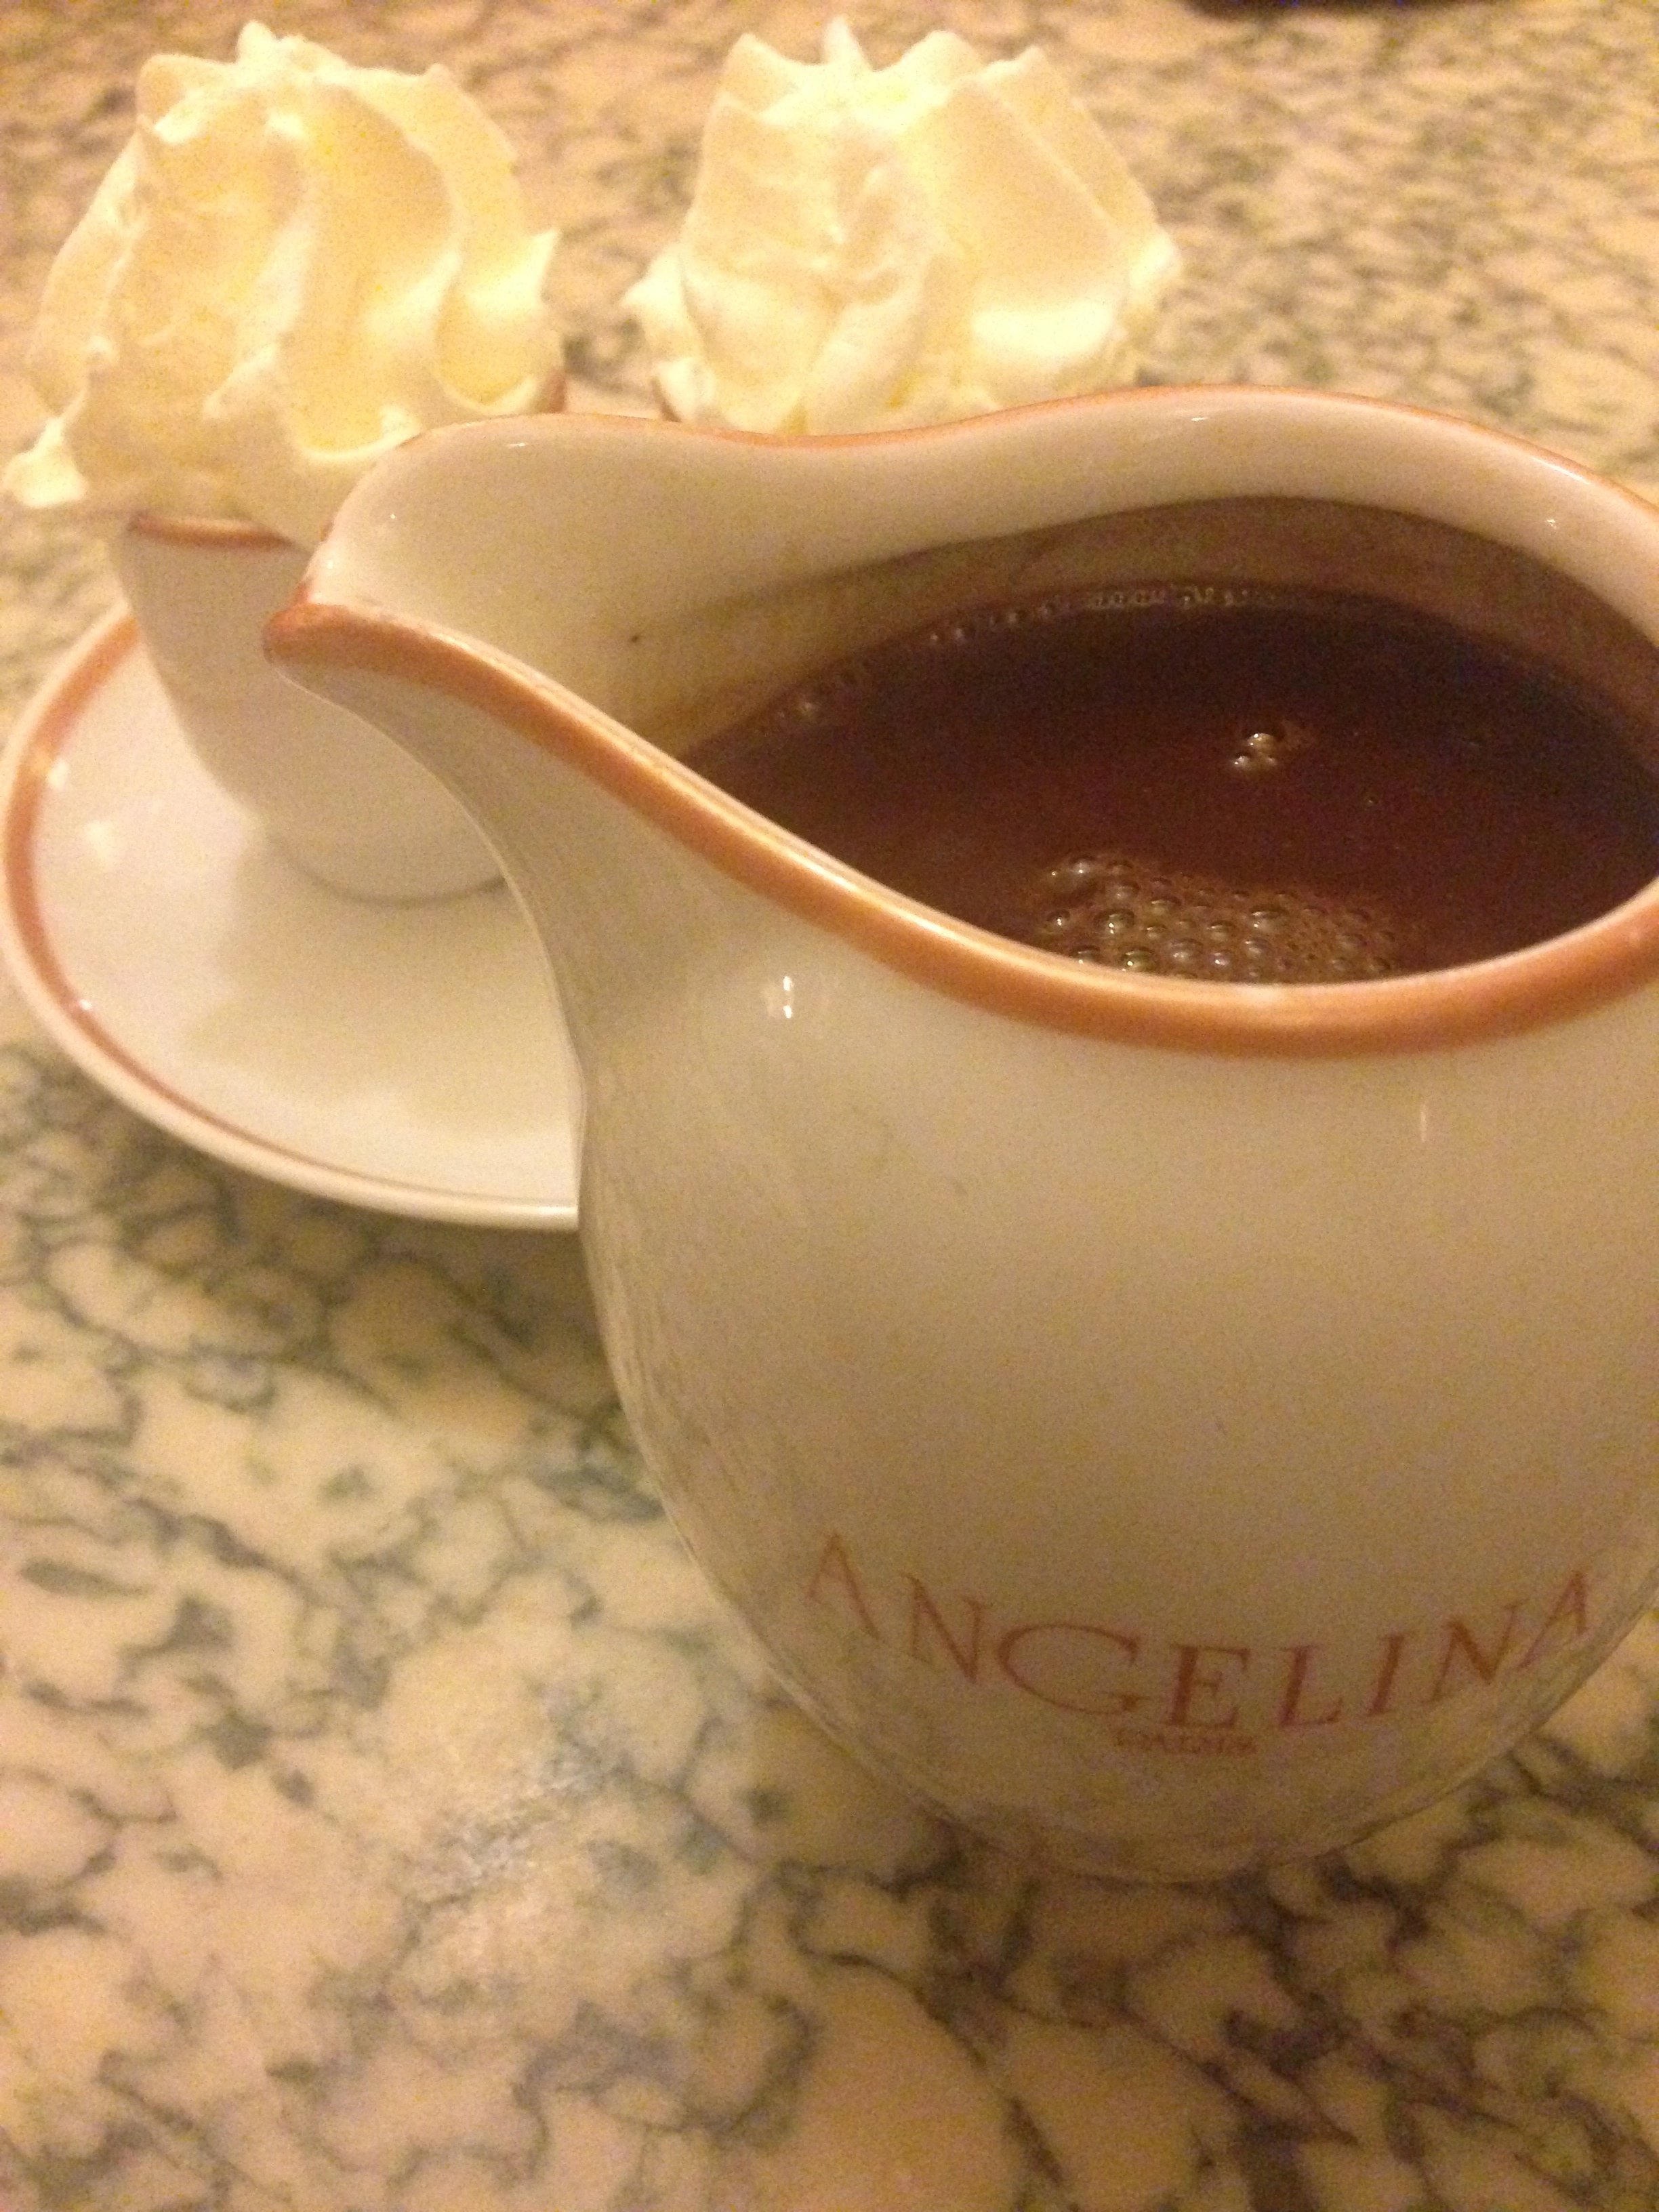
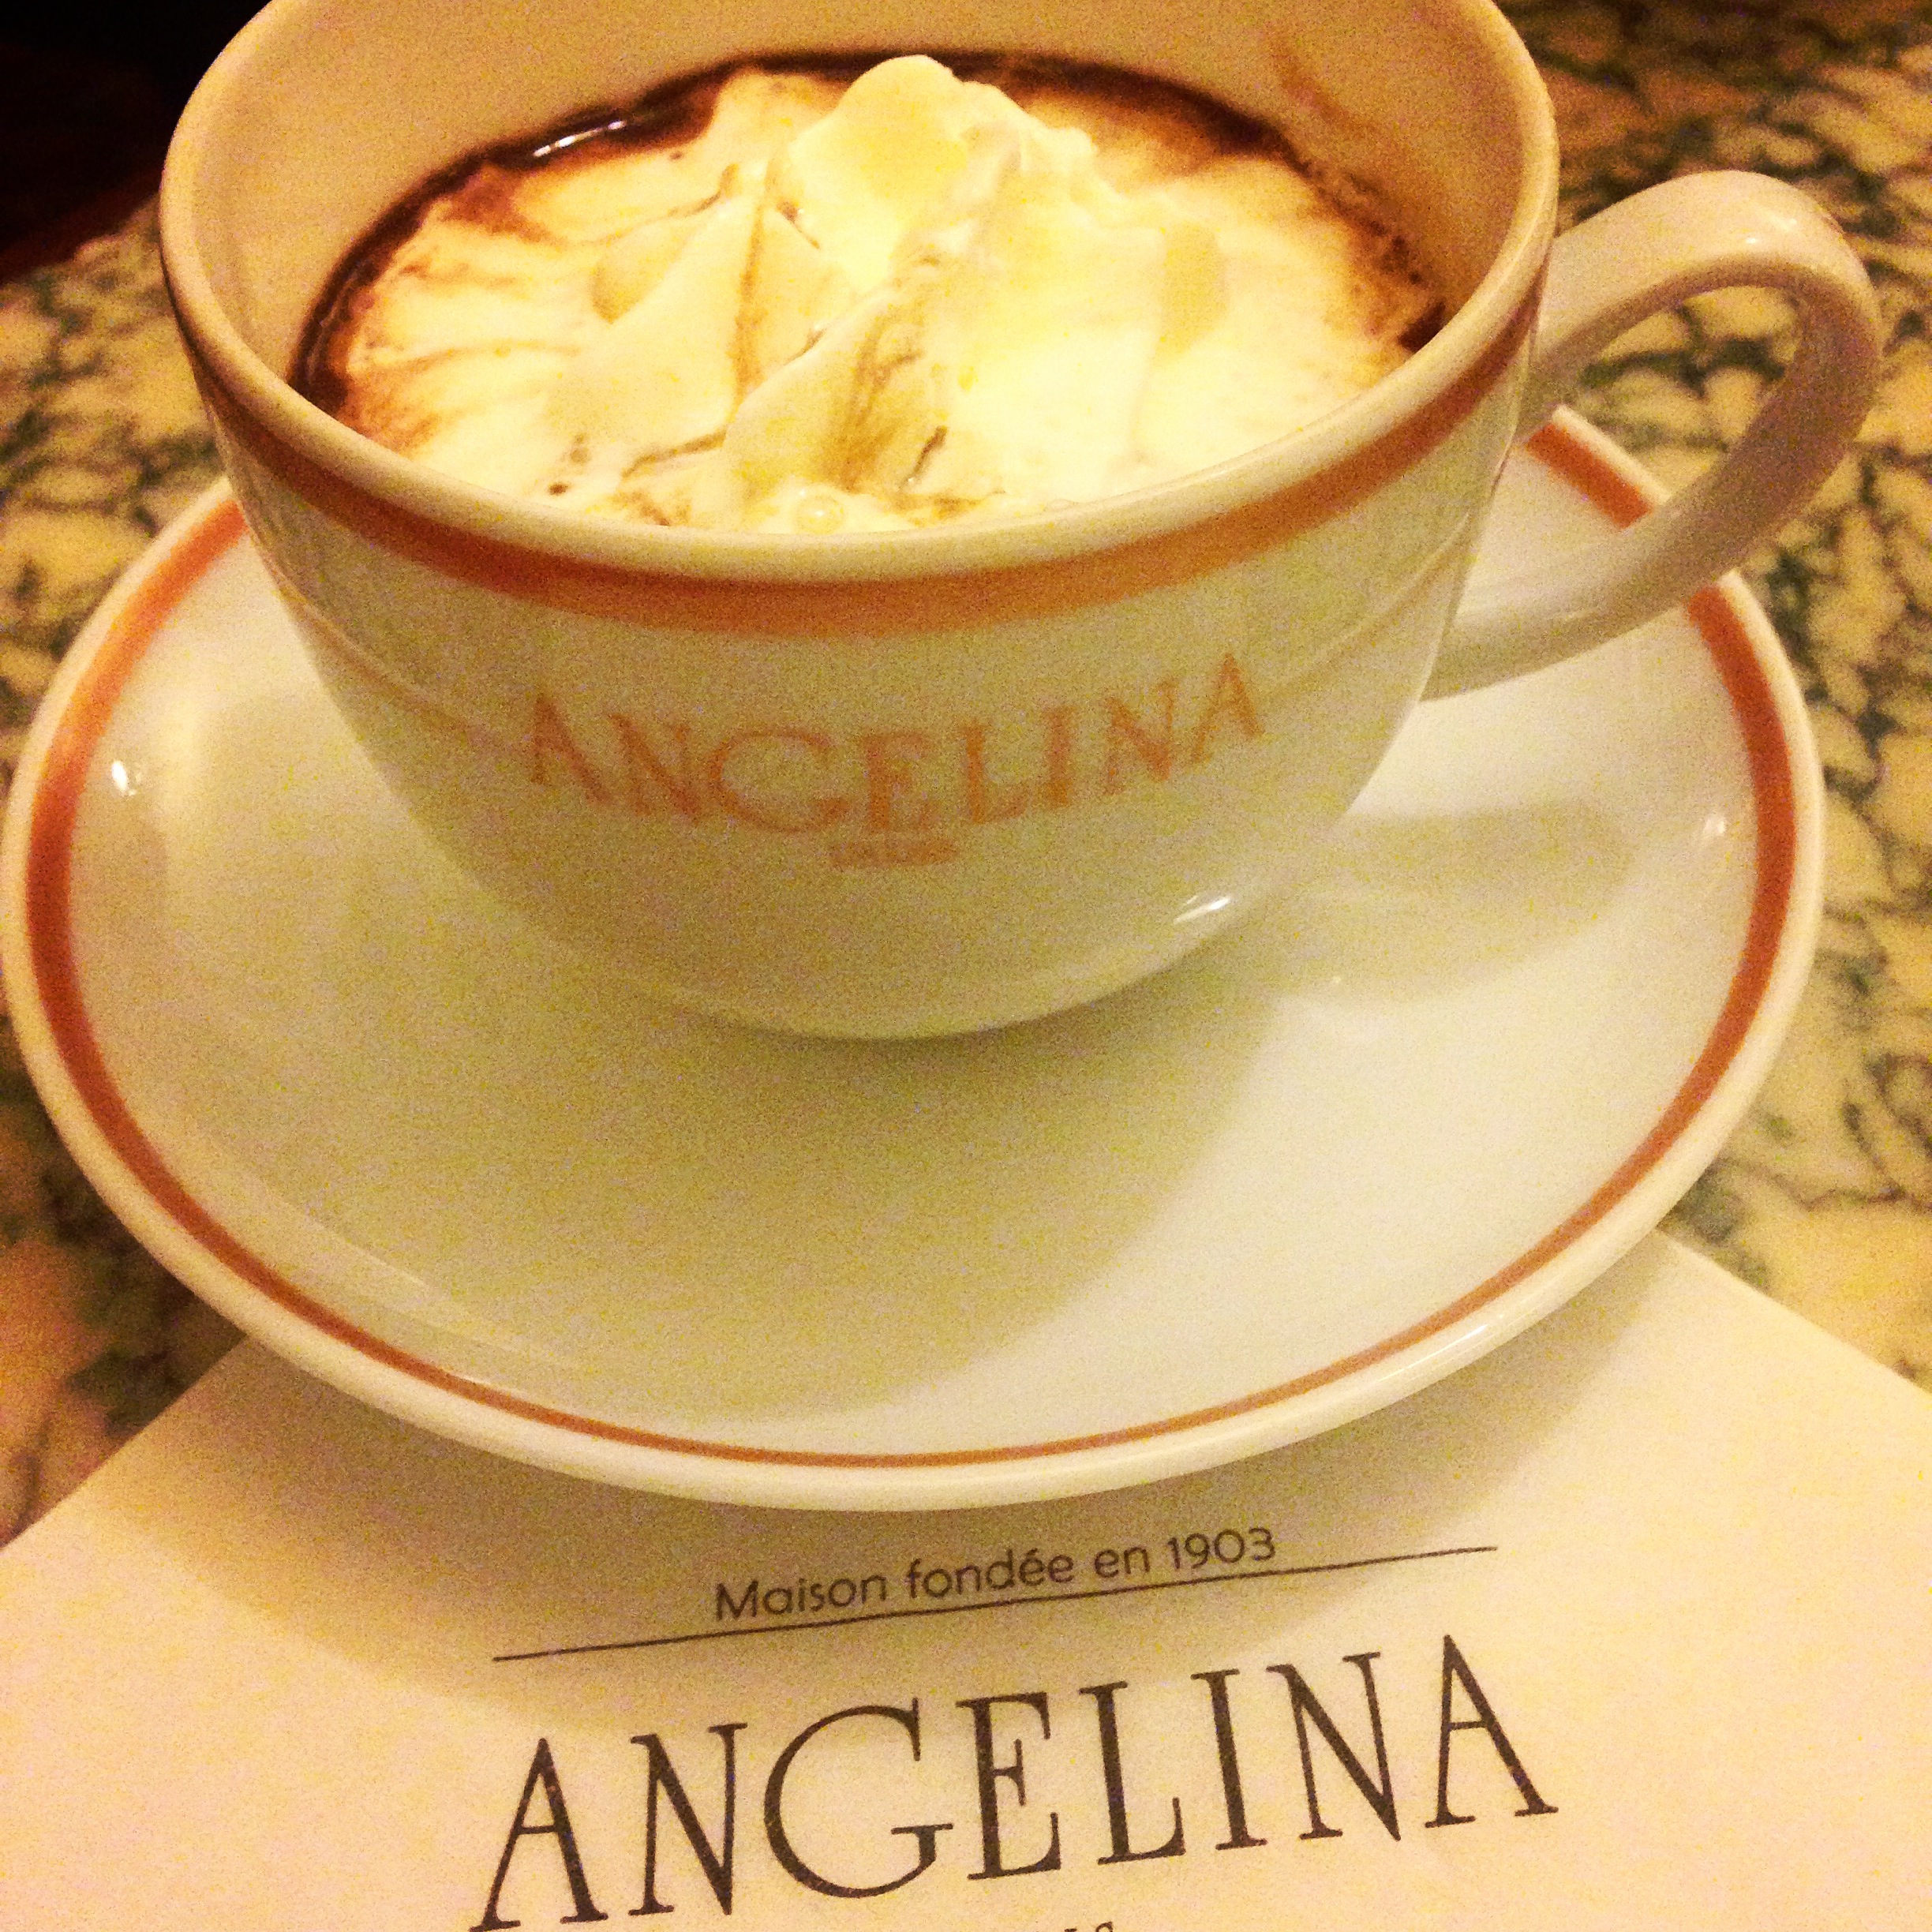
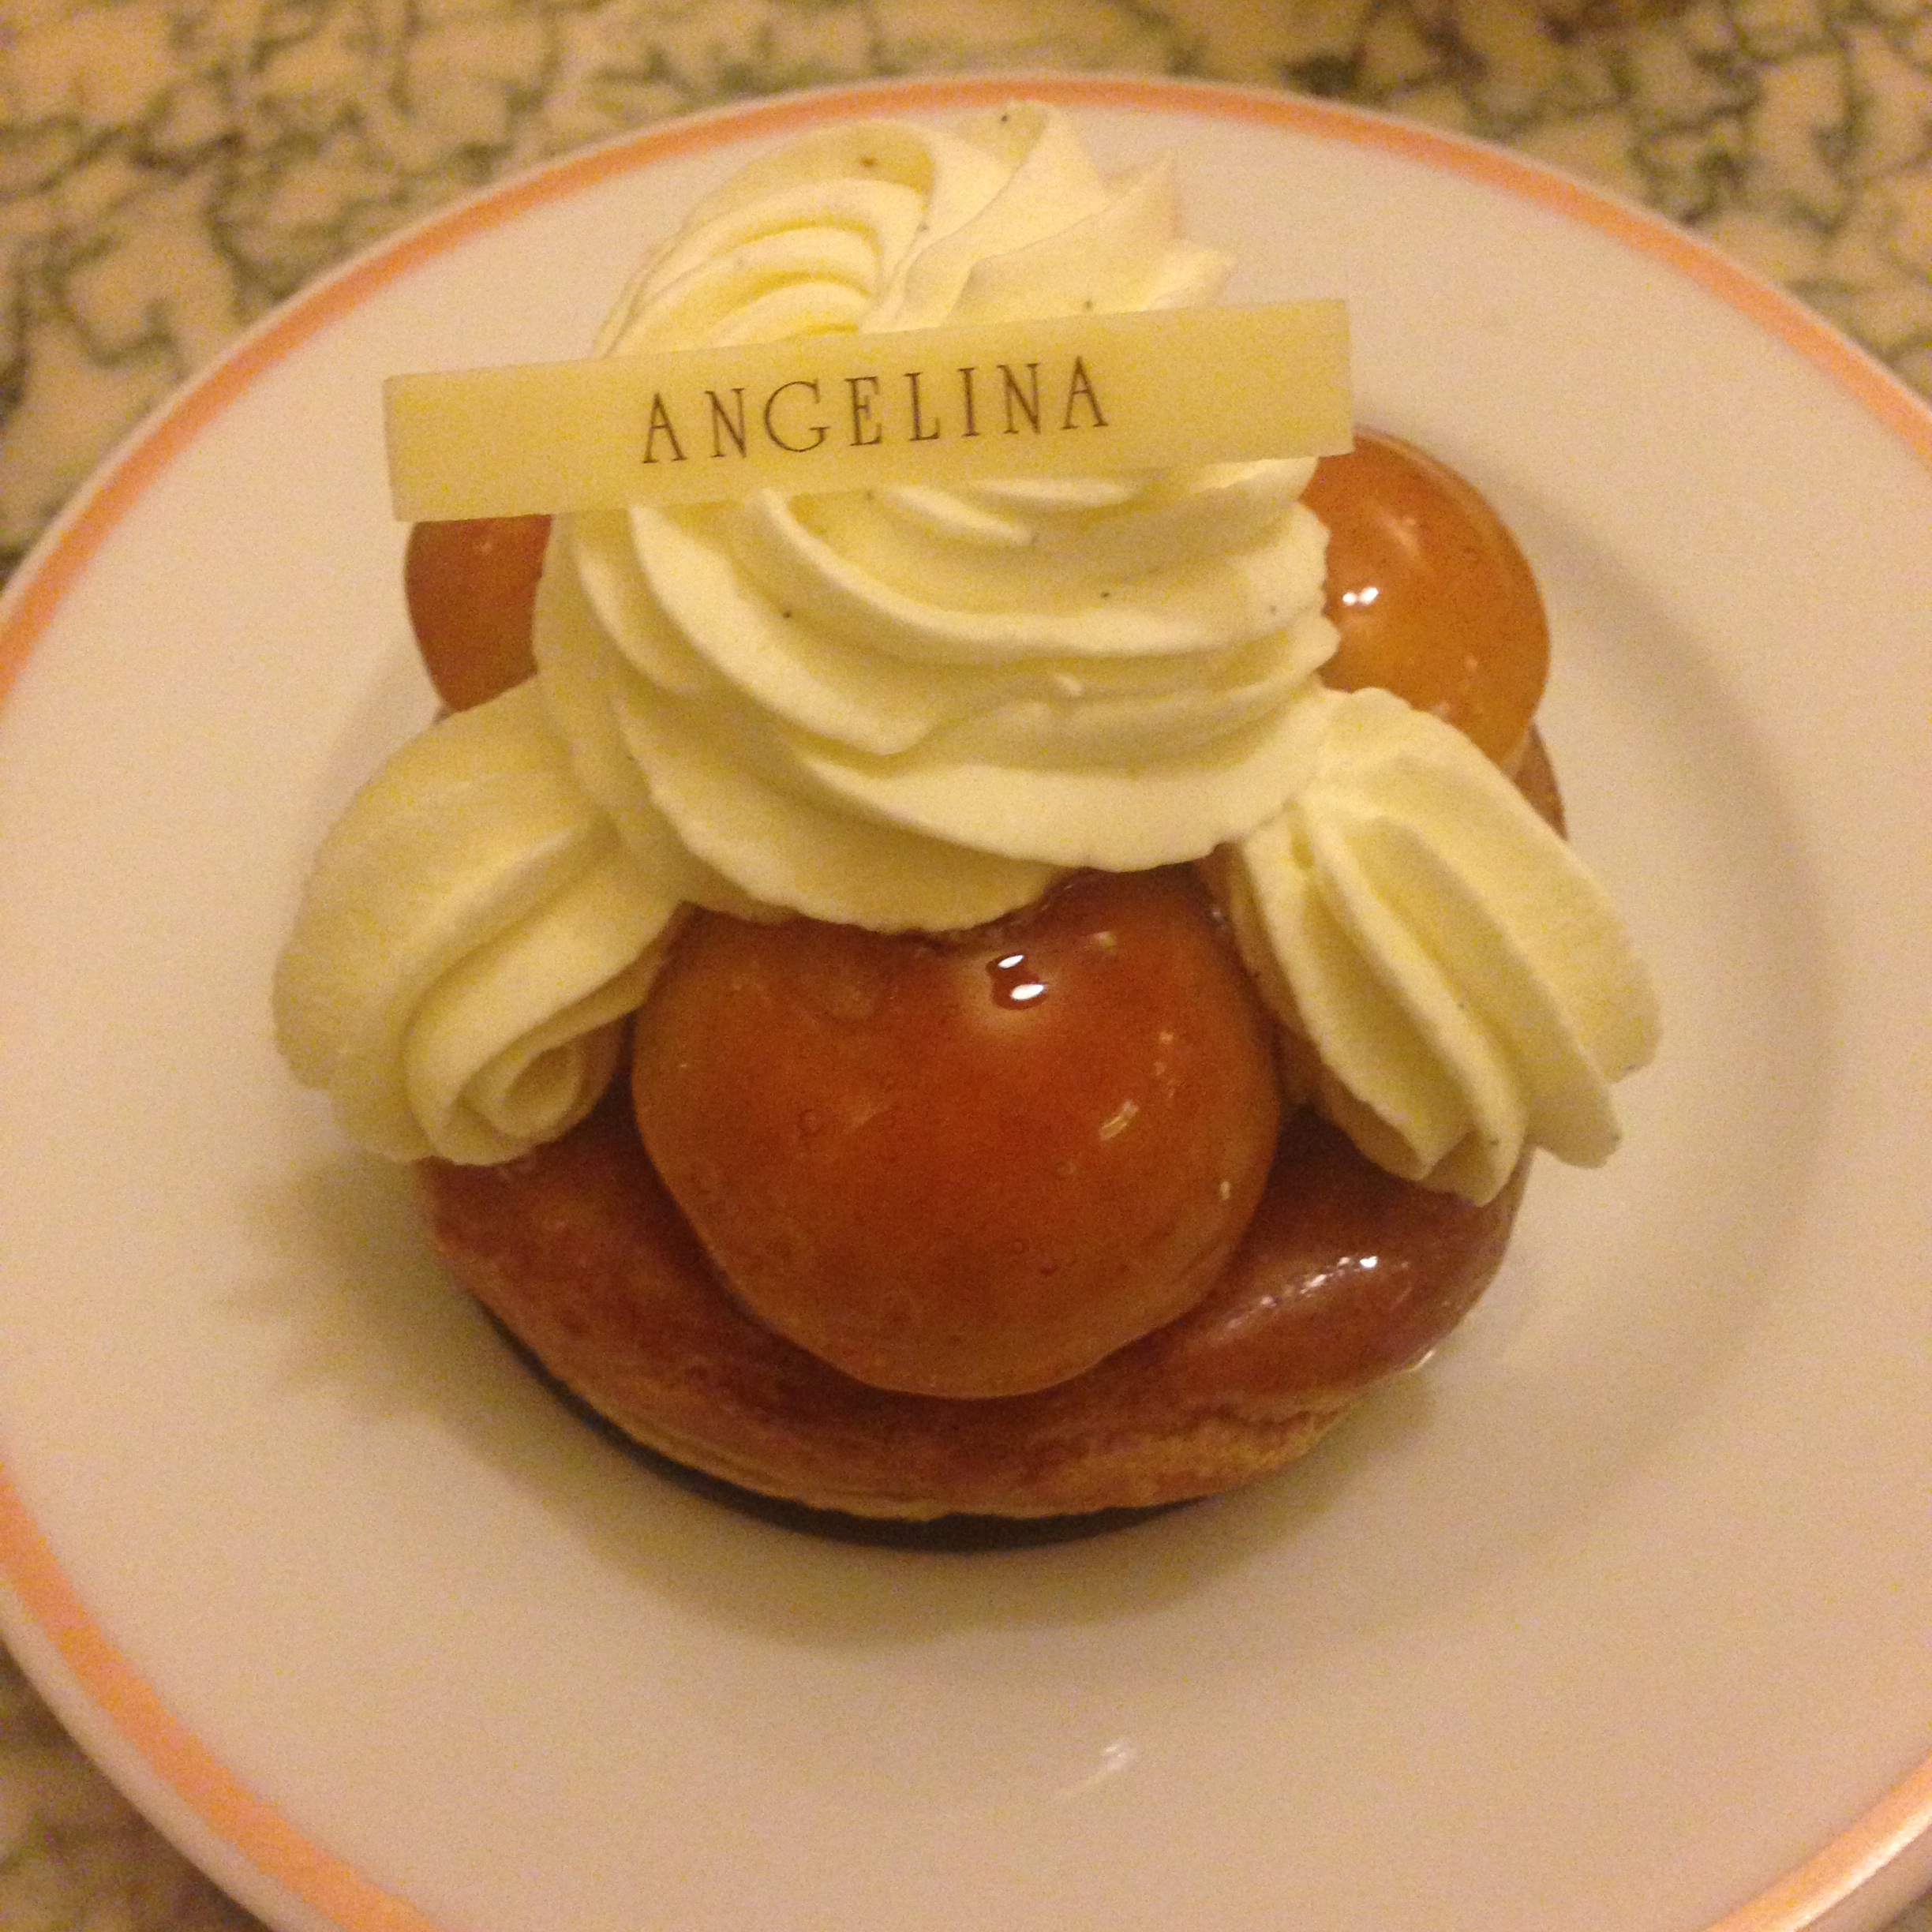
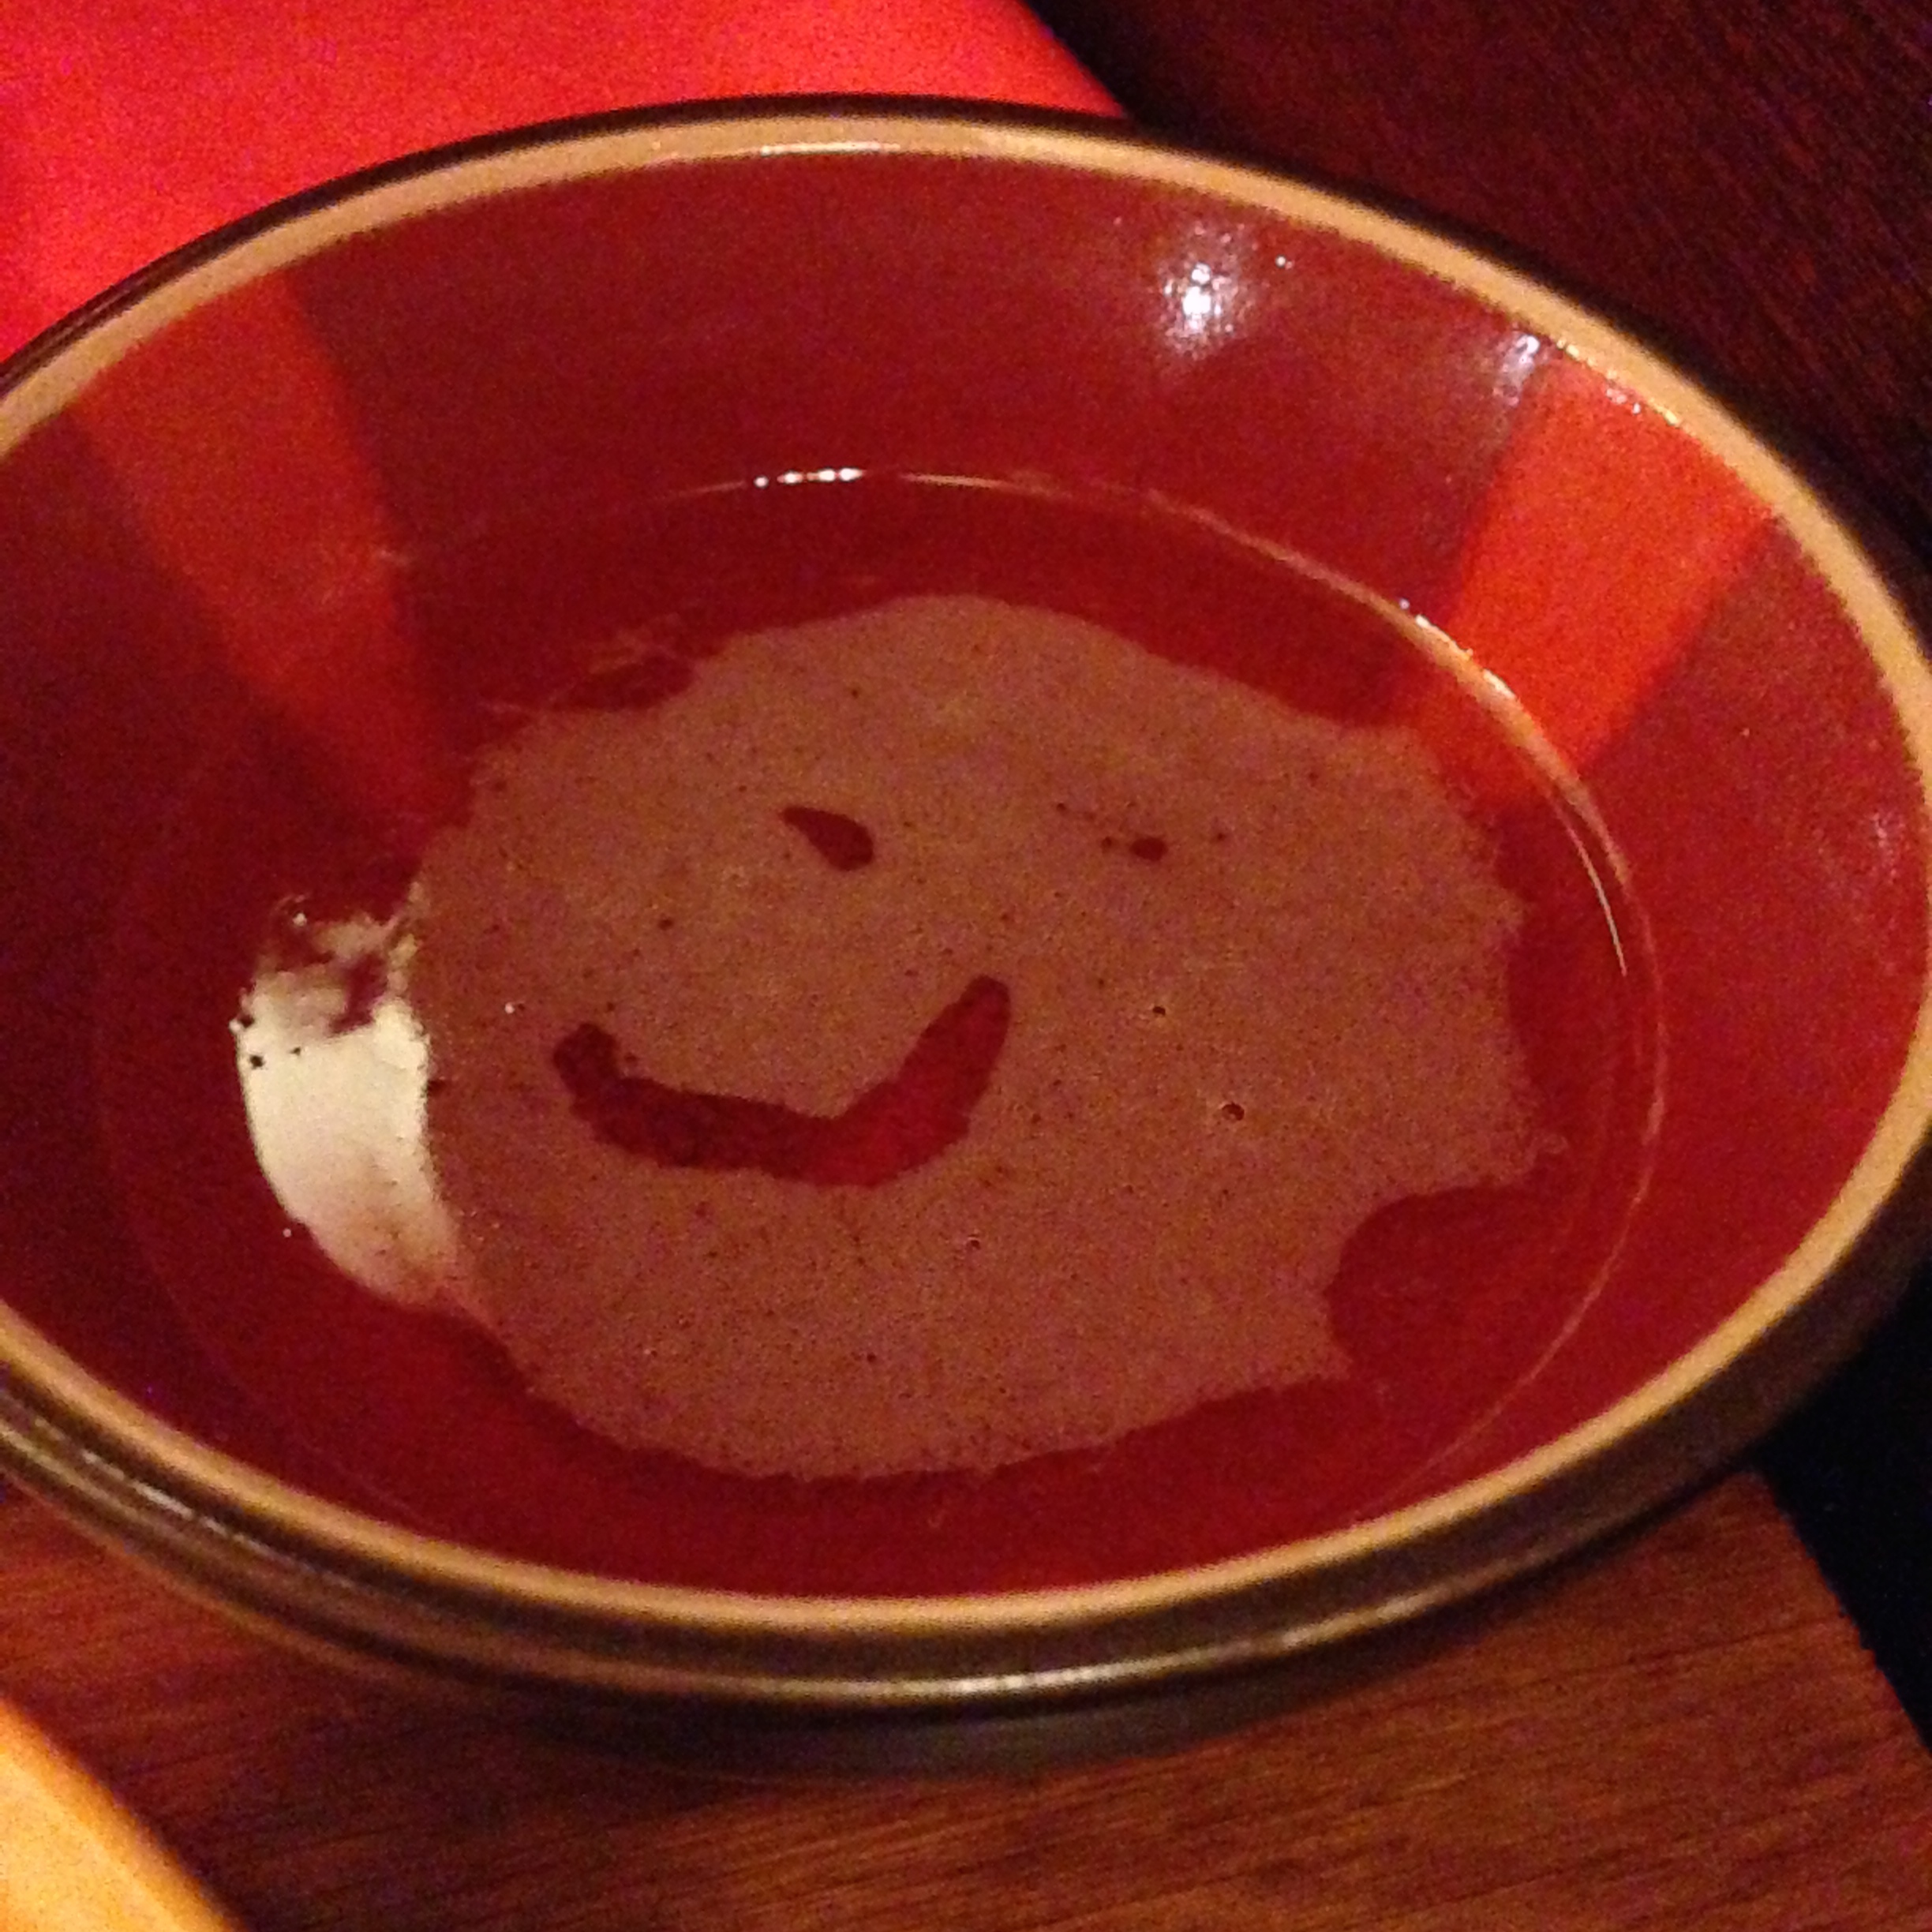
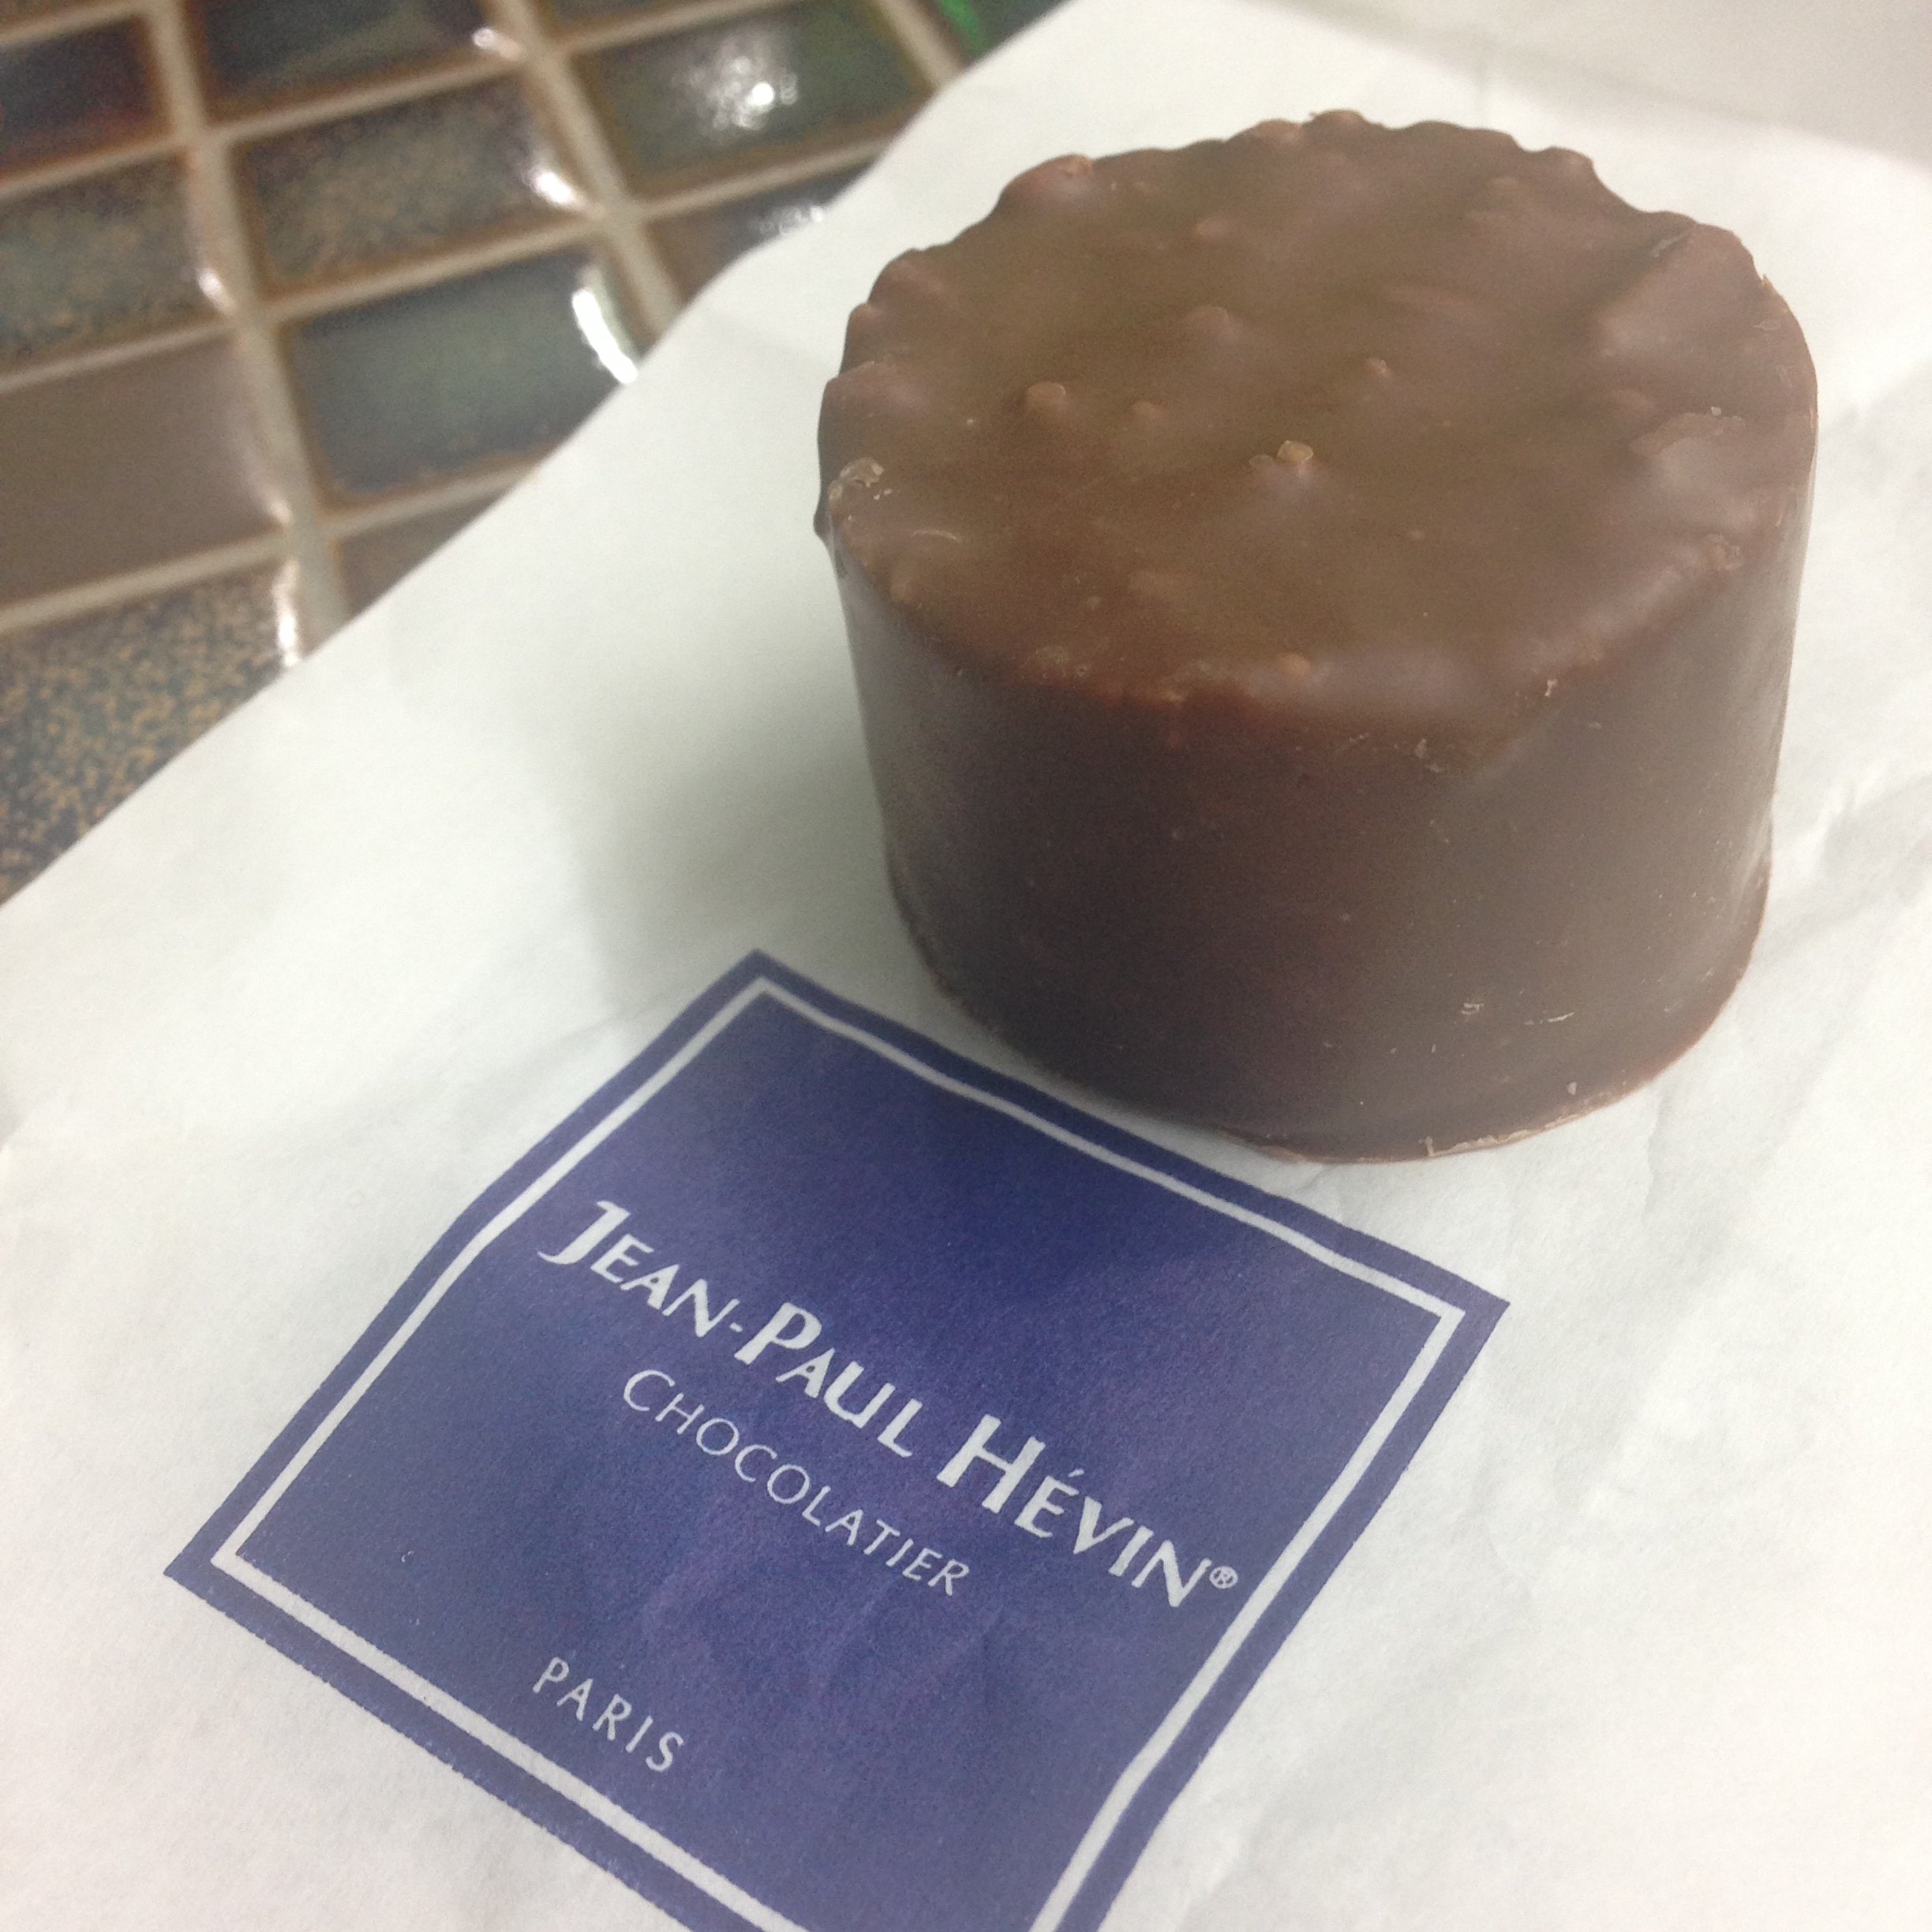
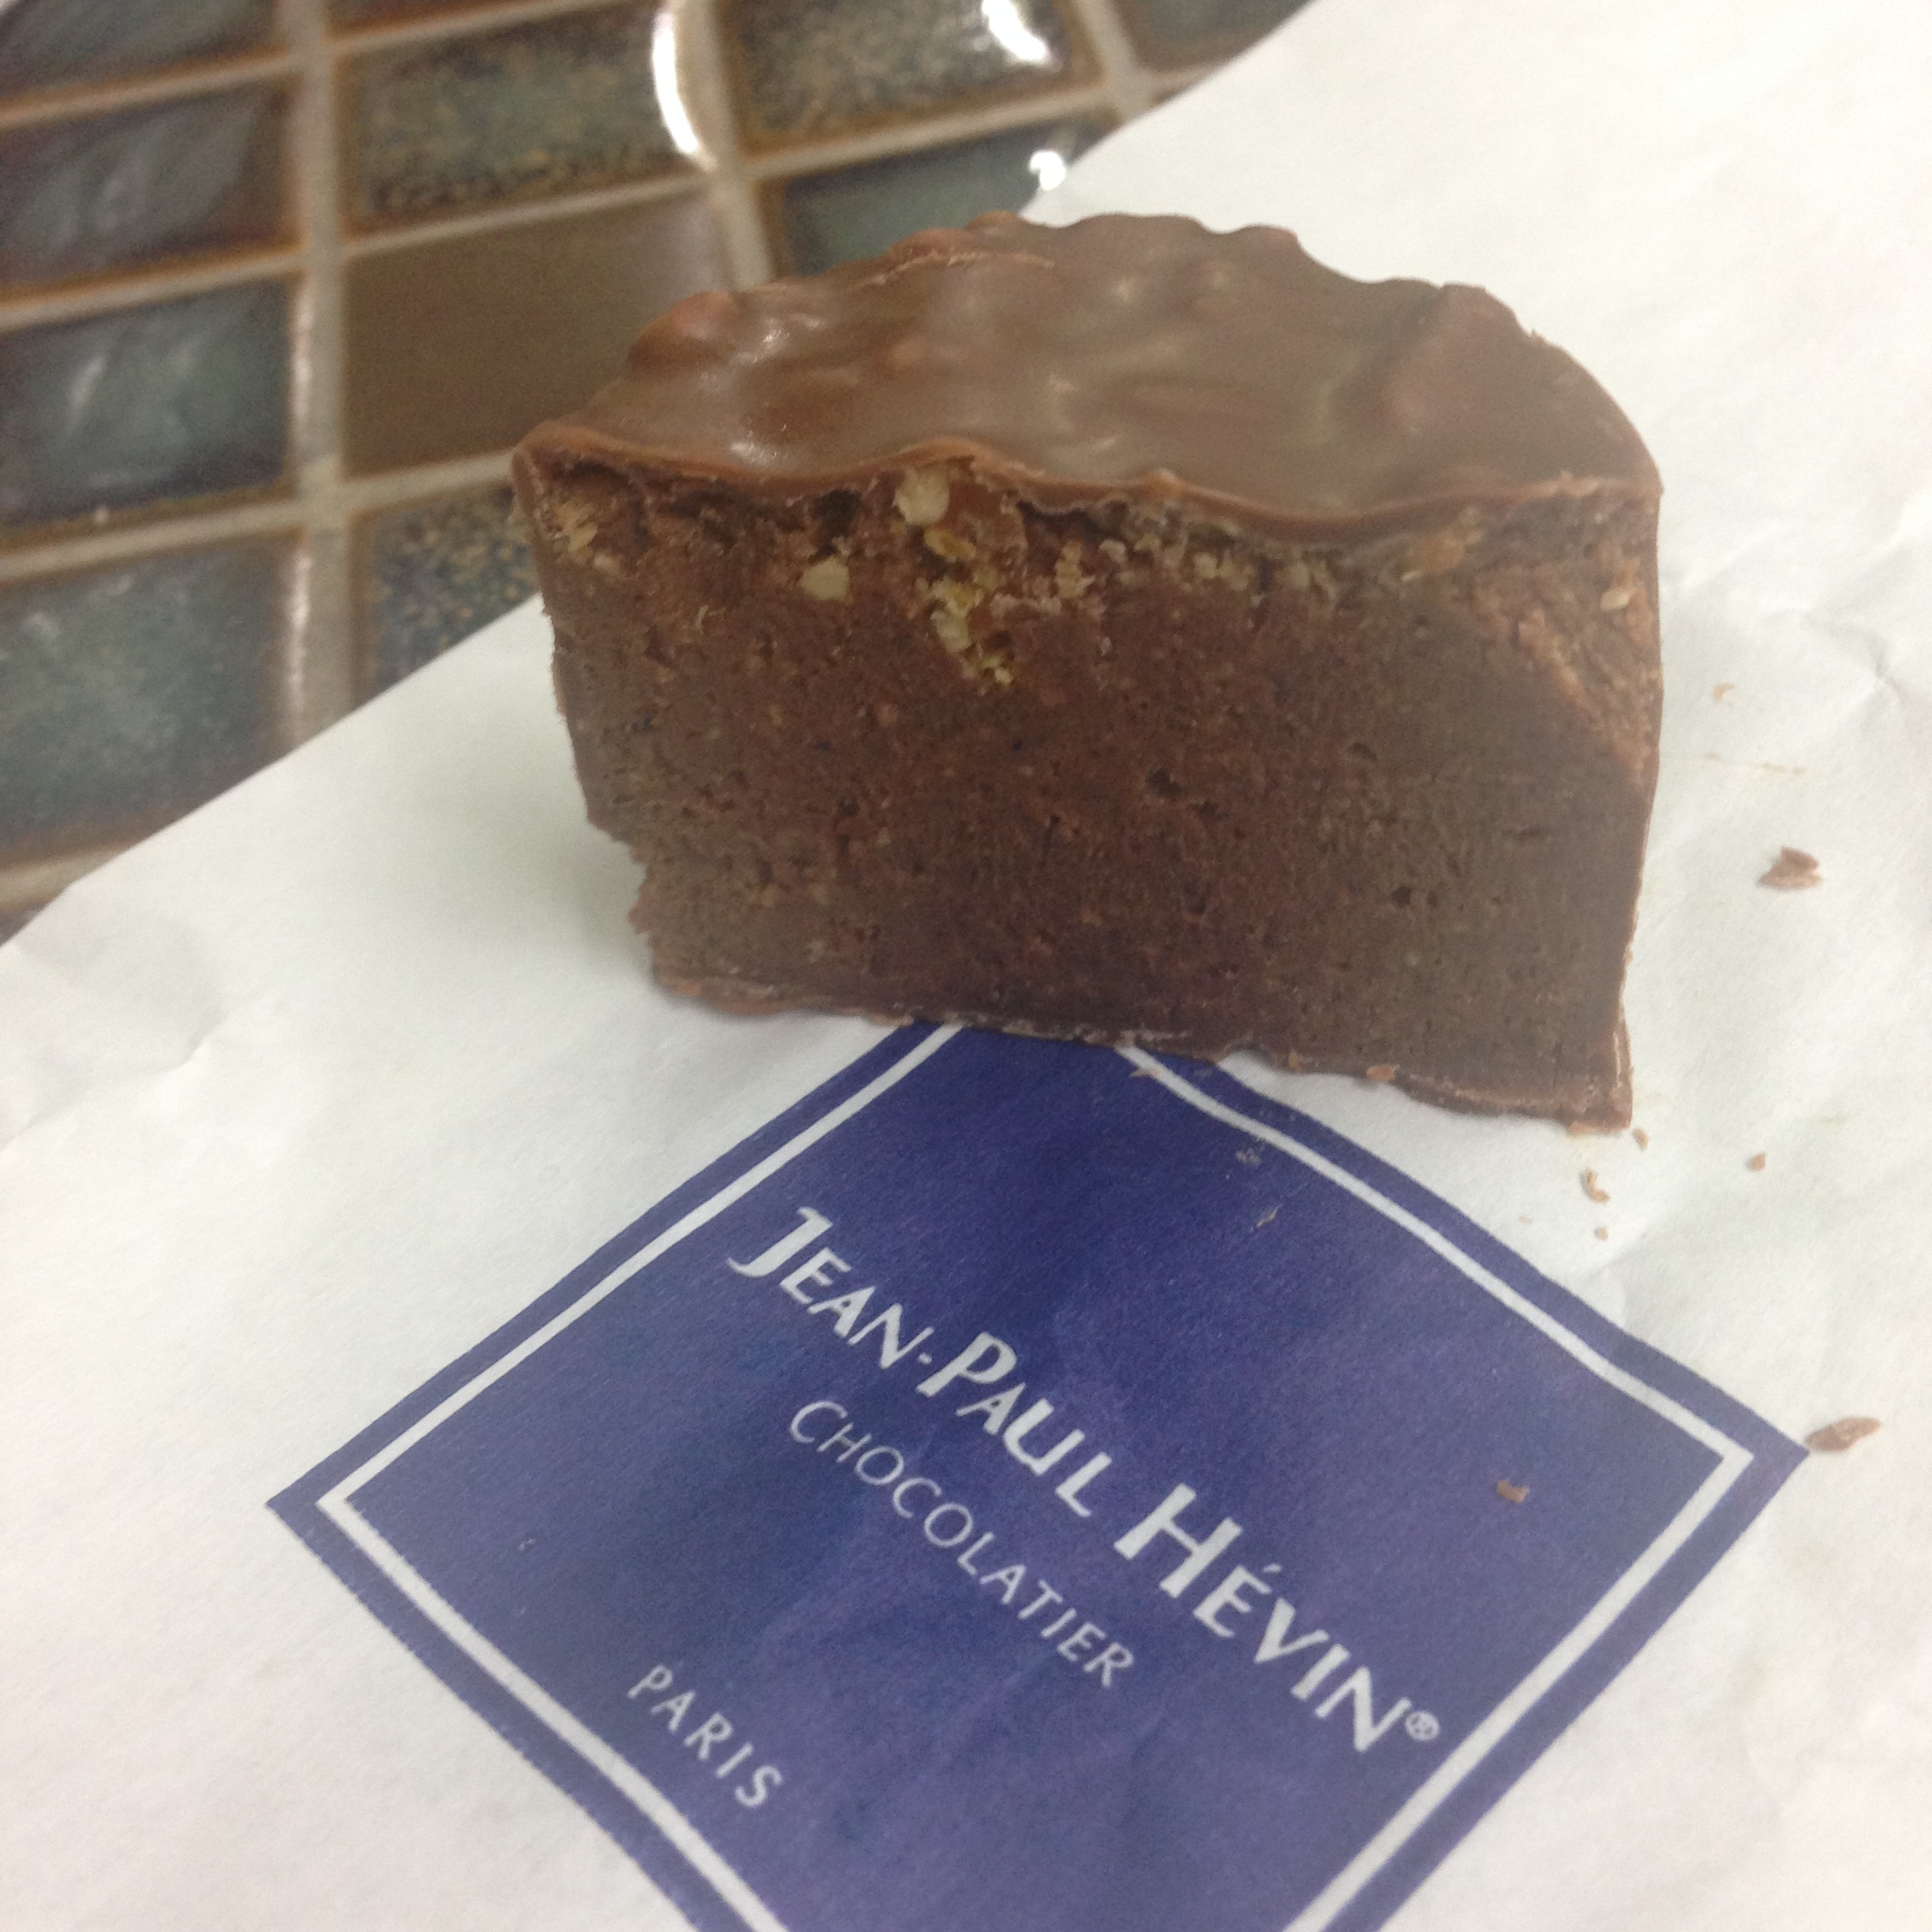
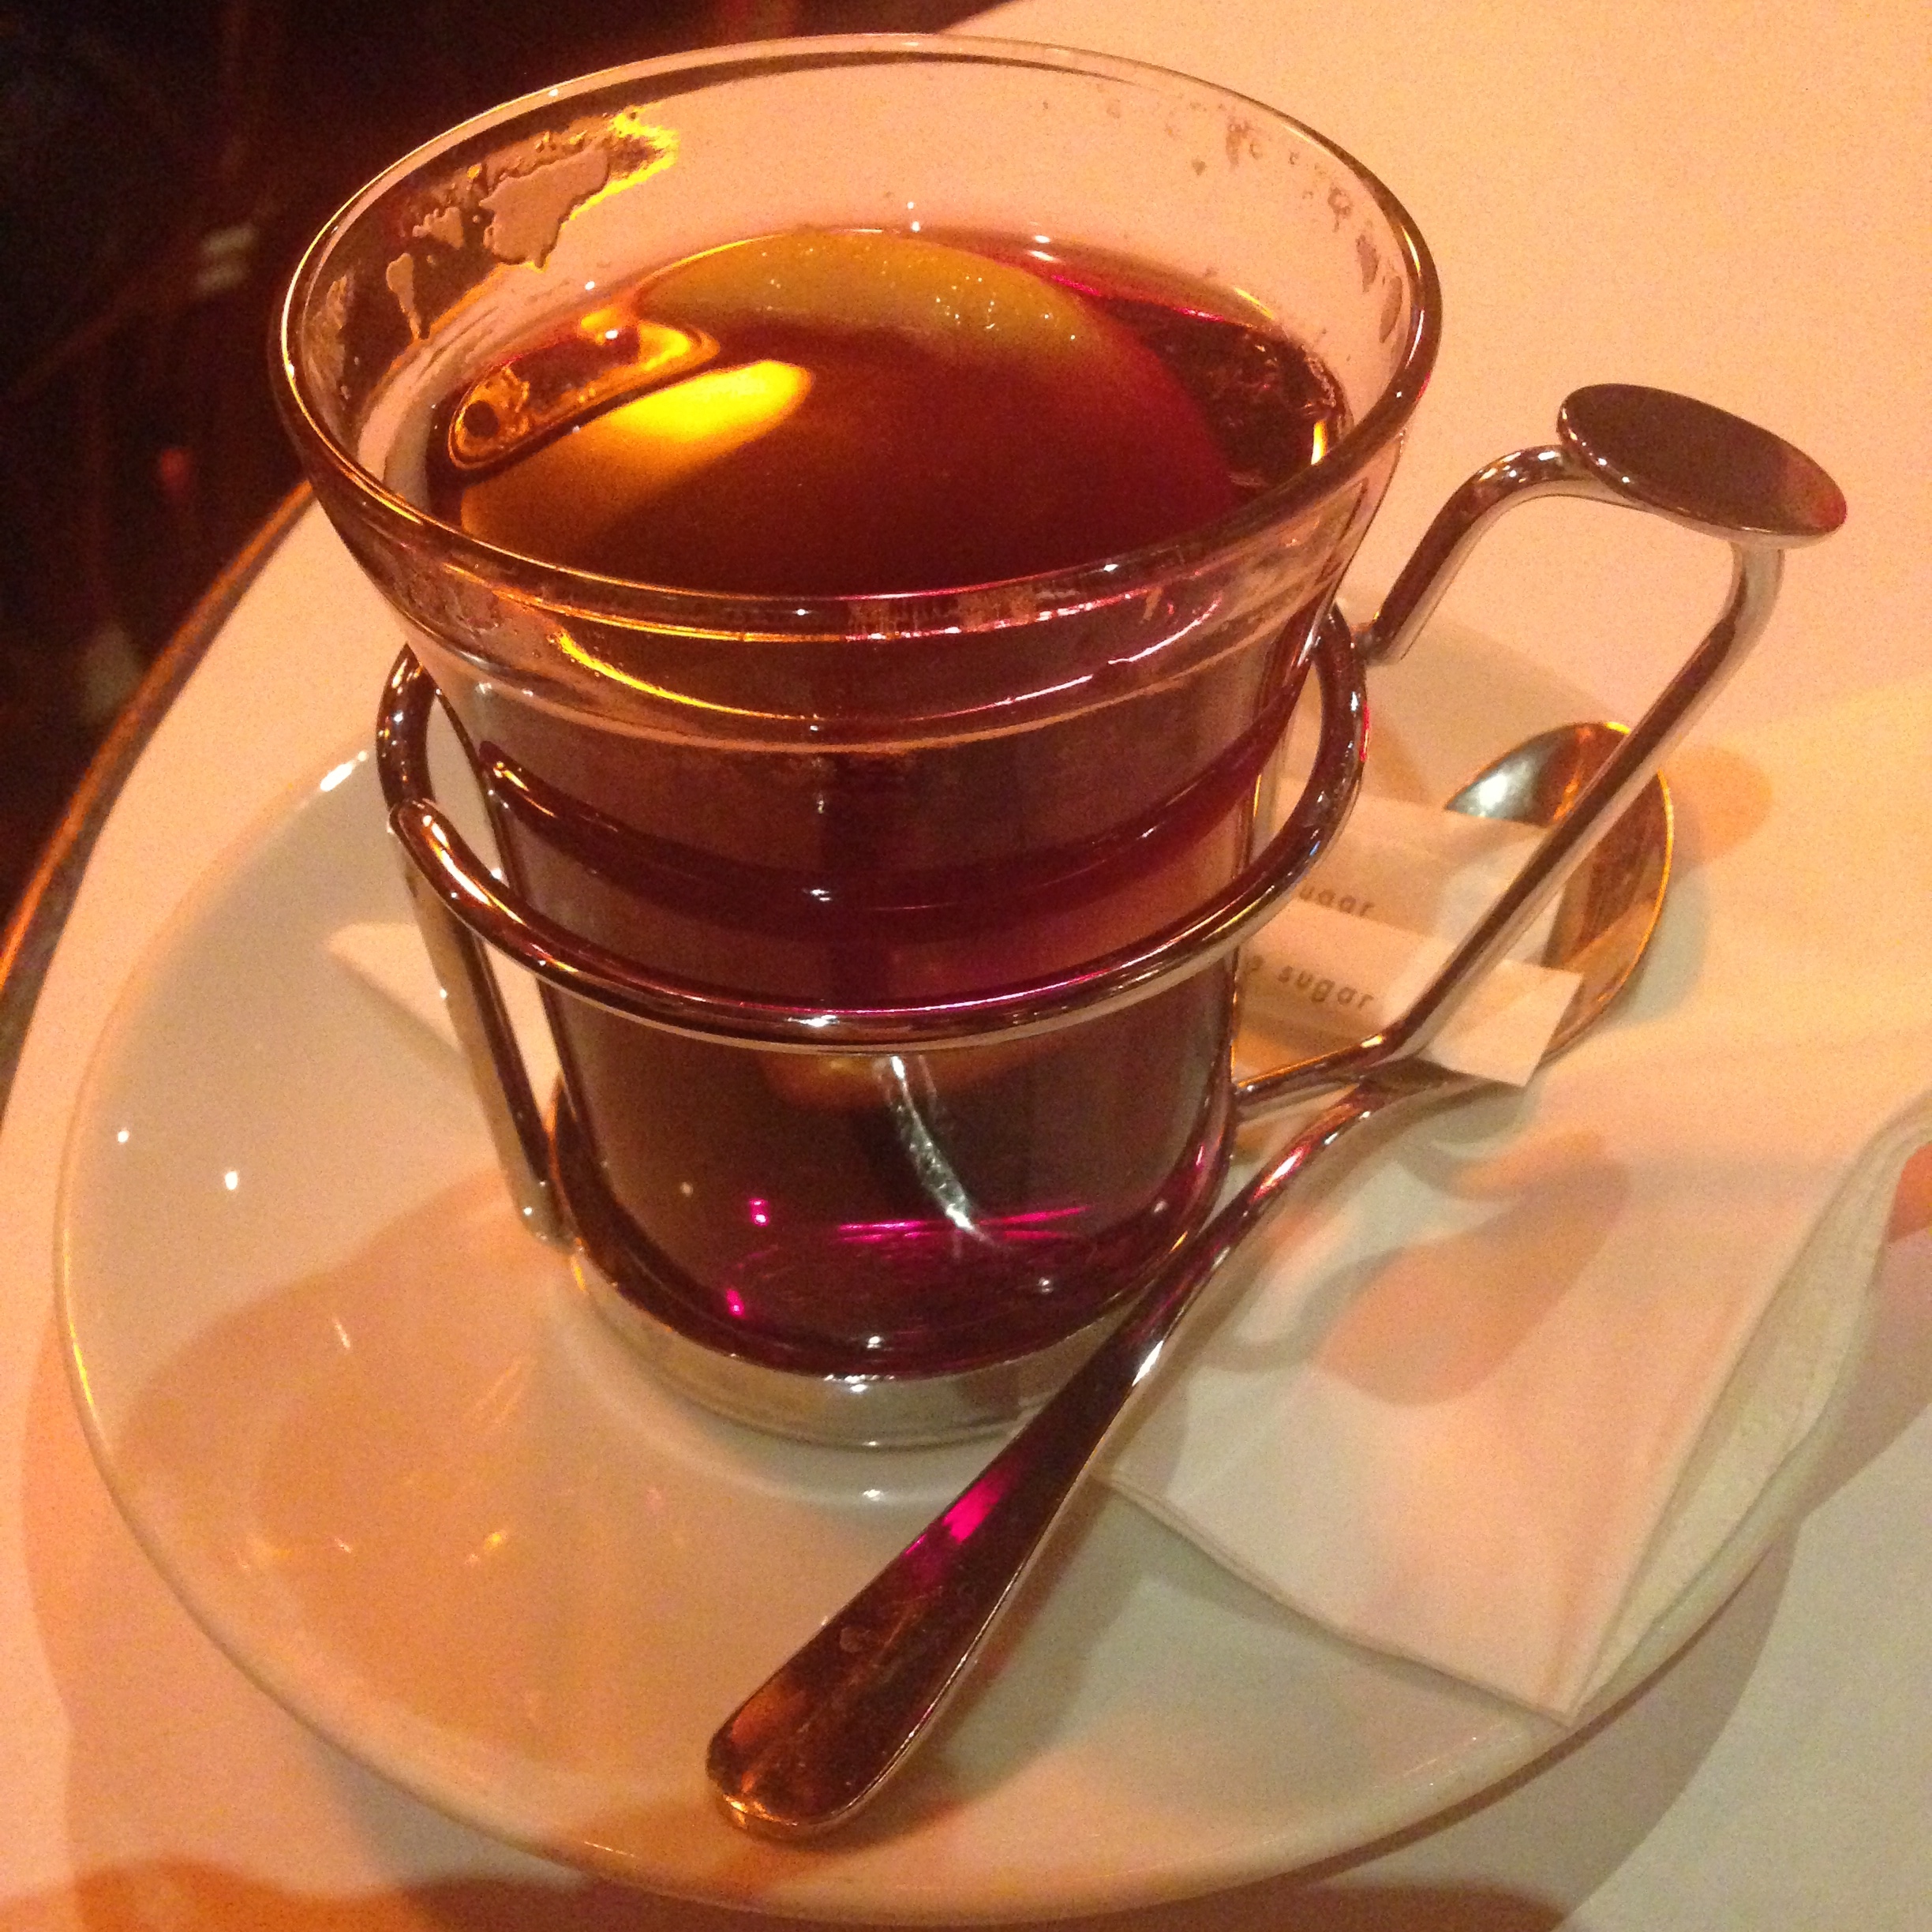
  • Hot chocolate at Angelina in Paris - this stuff is so rich, it's a meal in itself
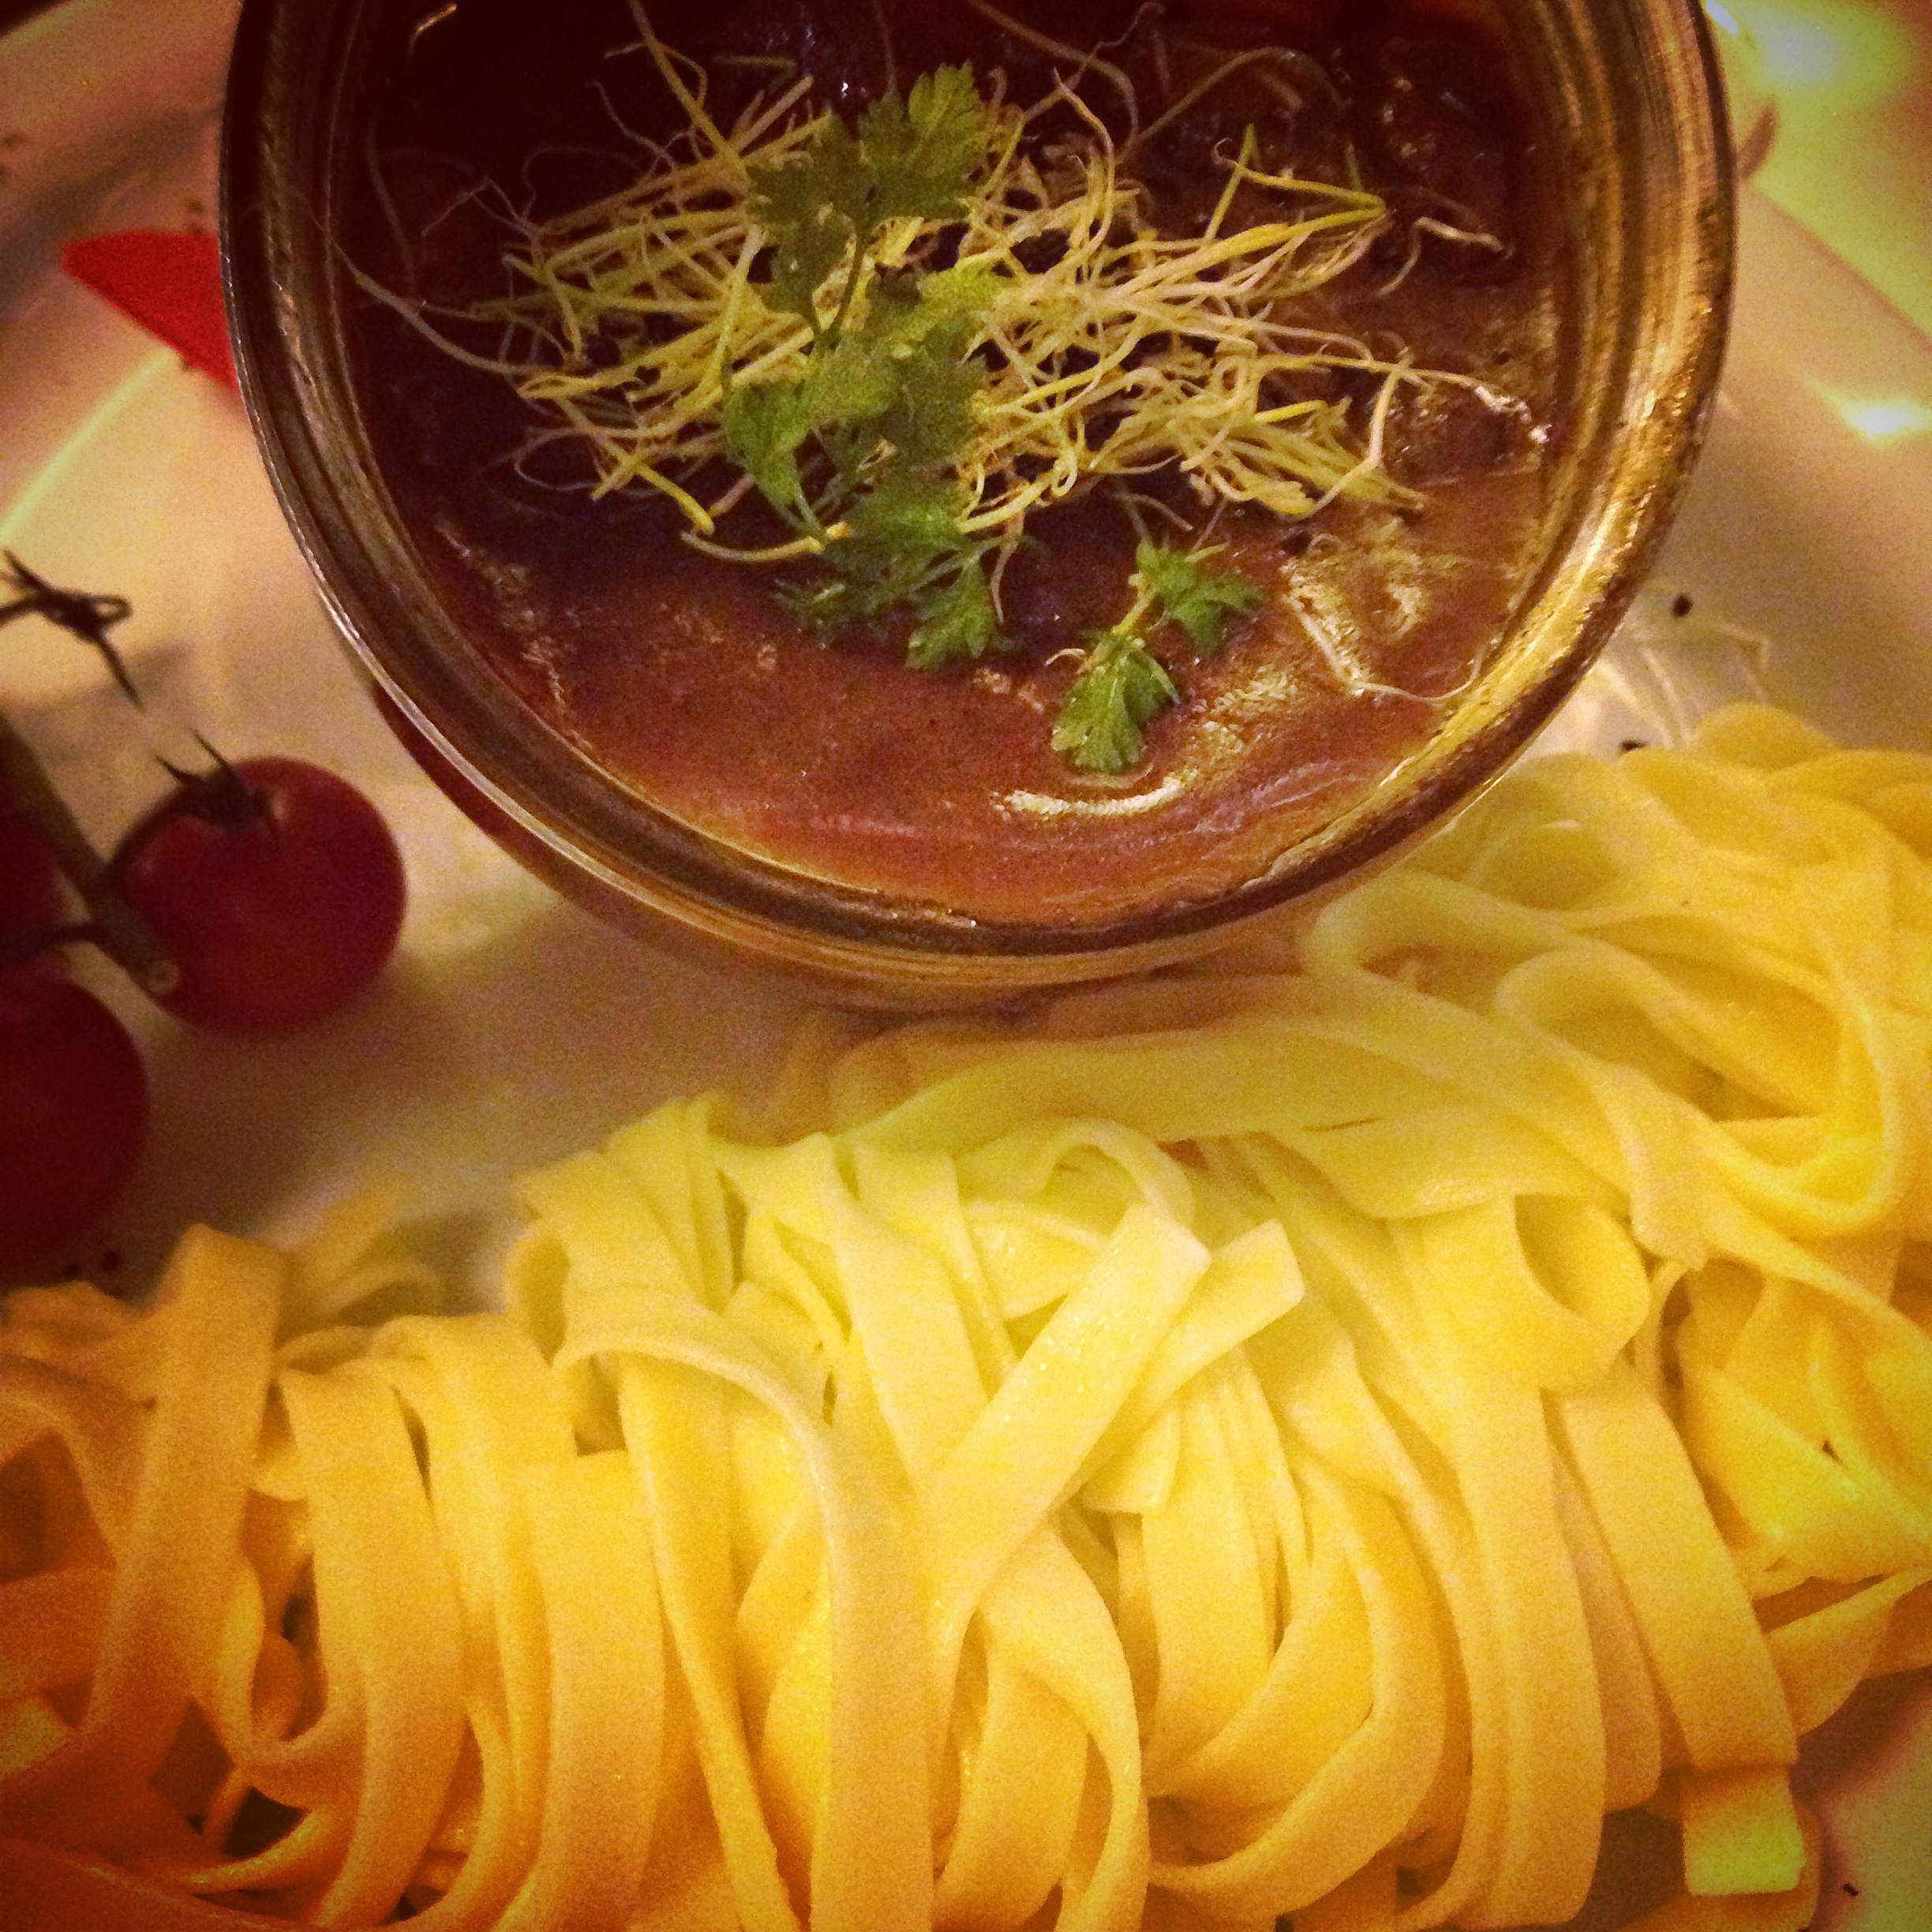
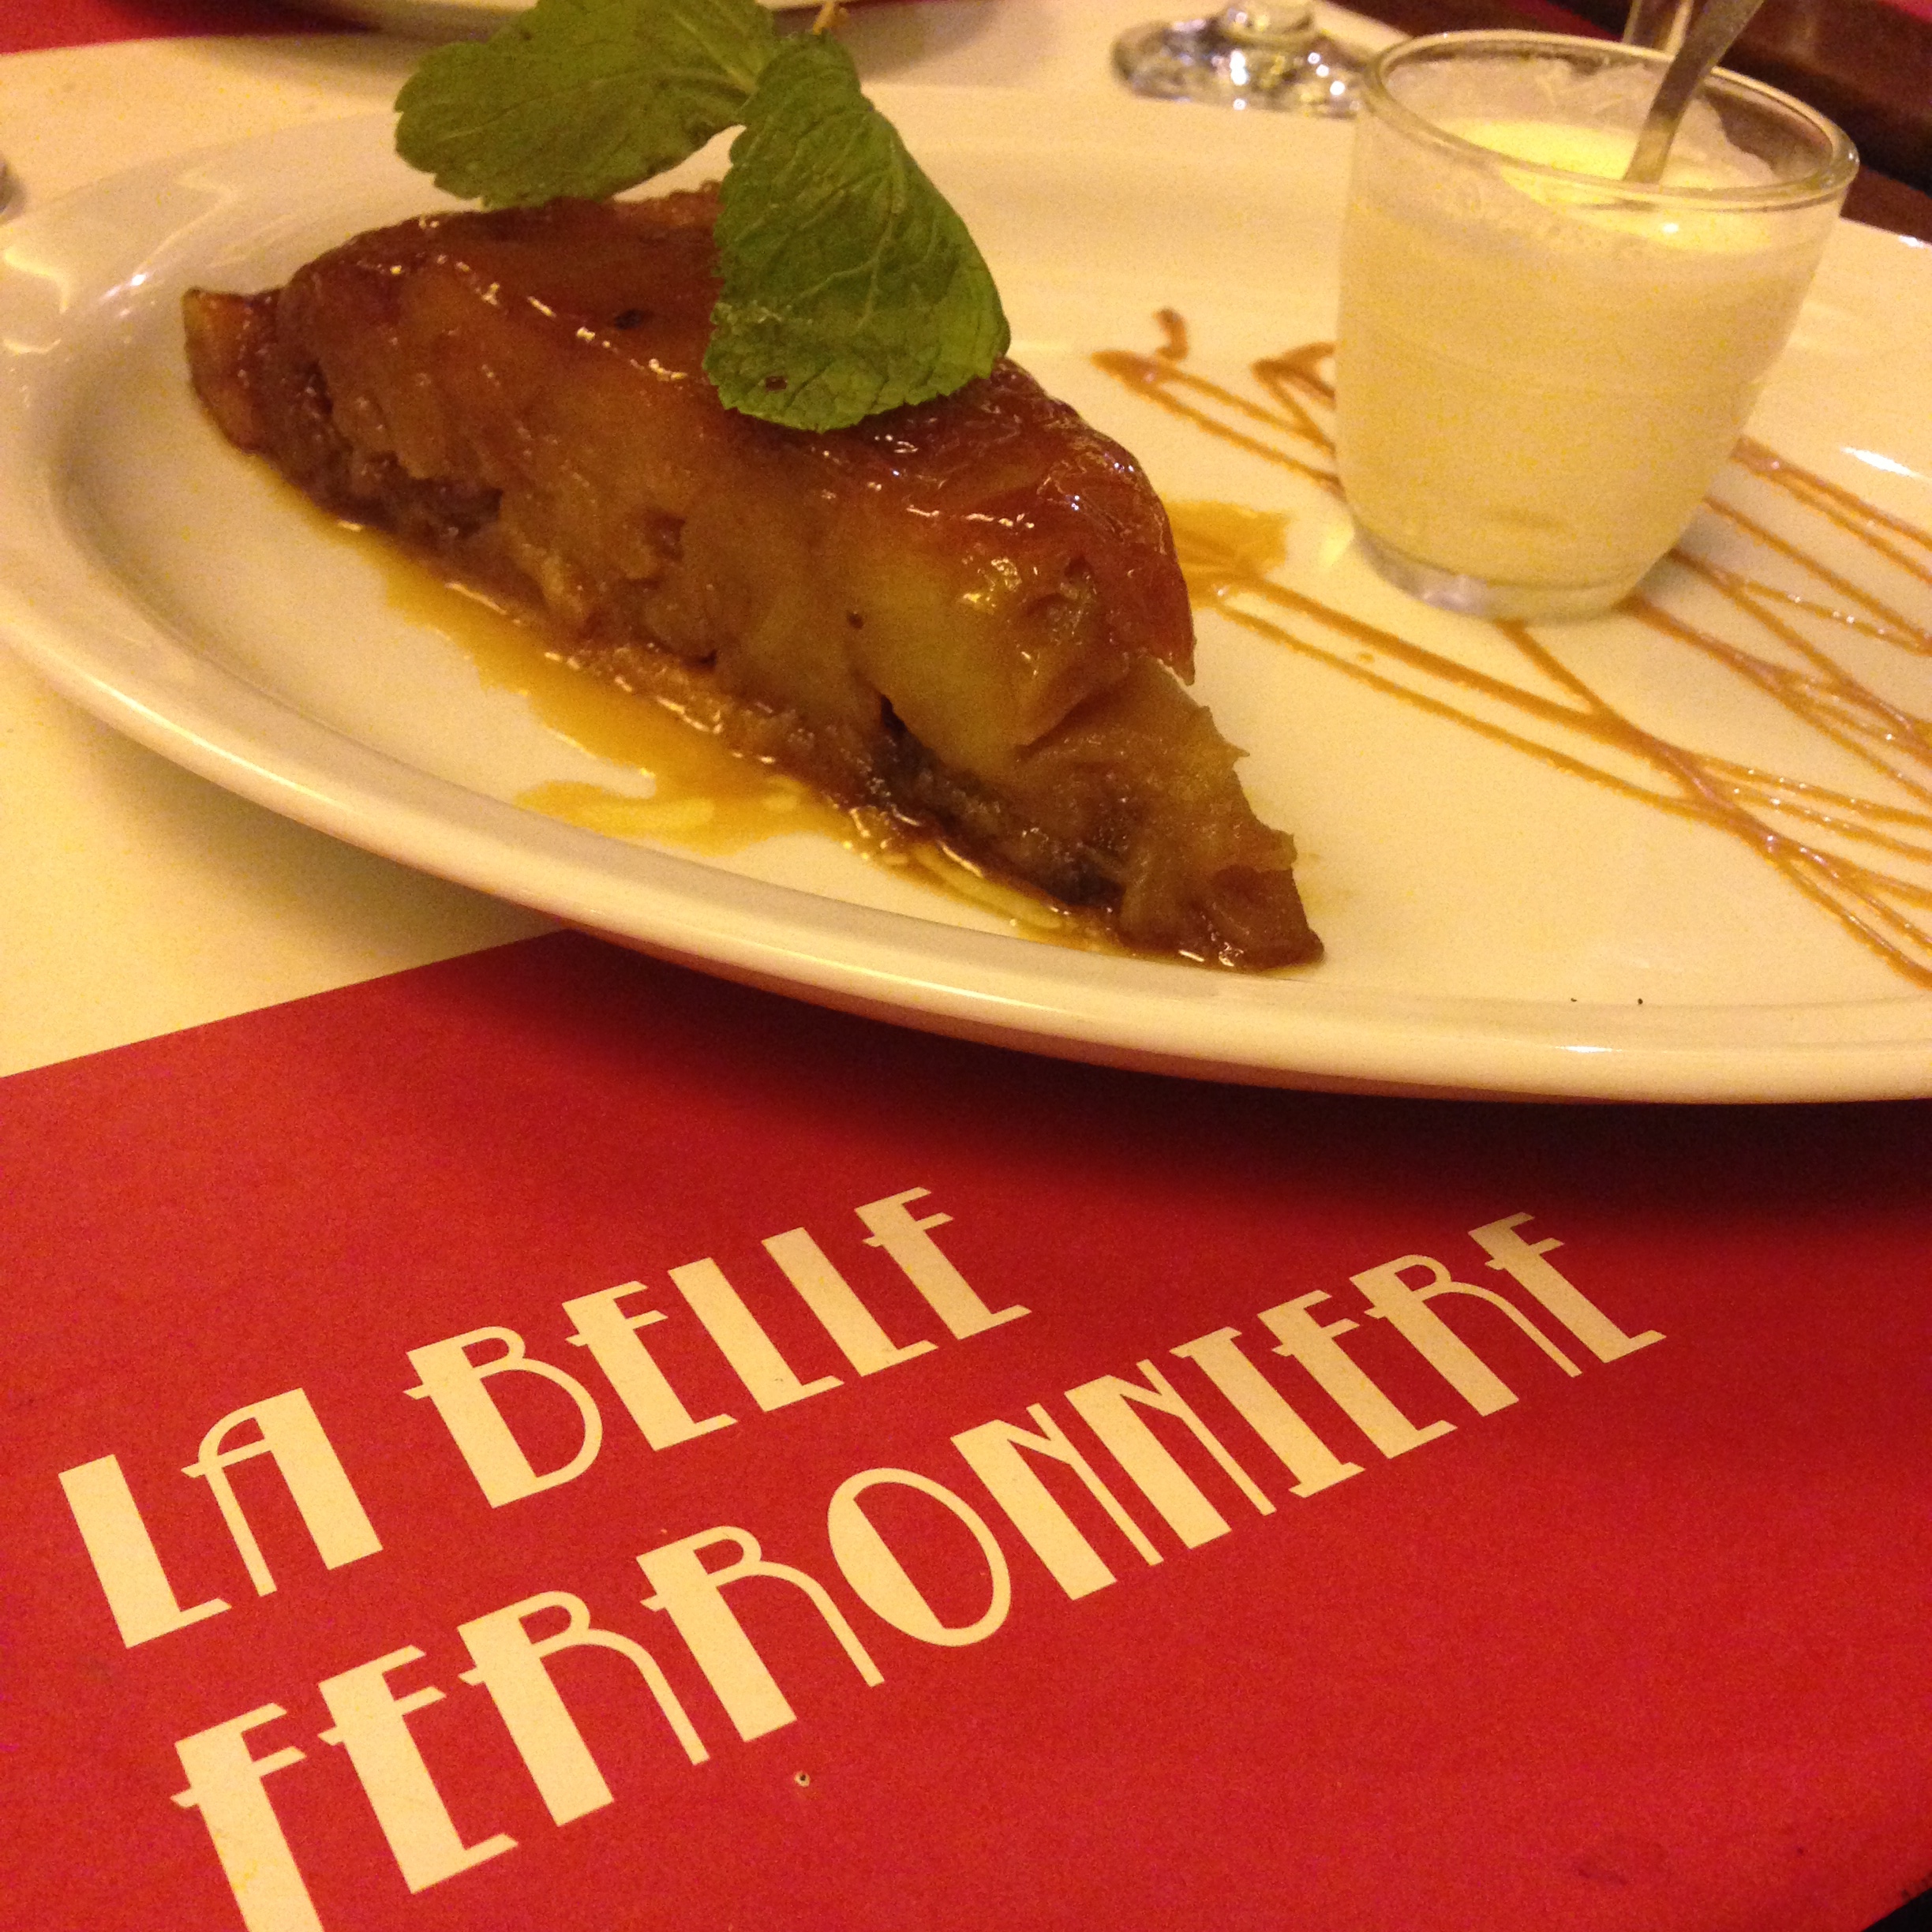
  • Beef Bourguignon and Tarte Tatin for Thanksgiving Dinner
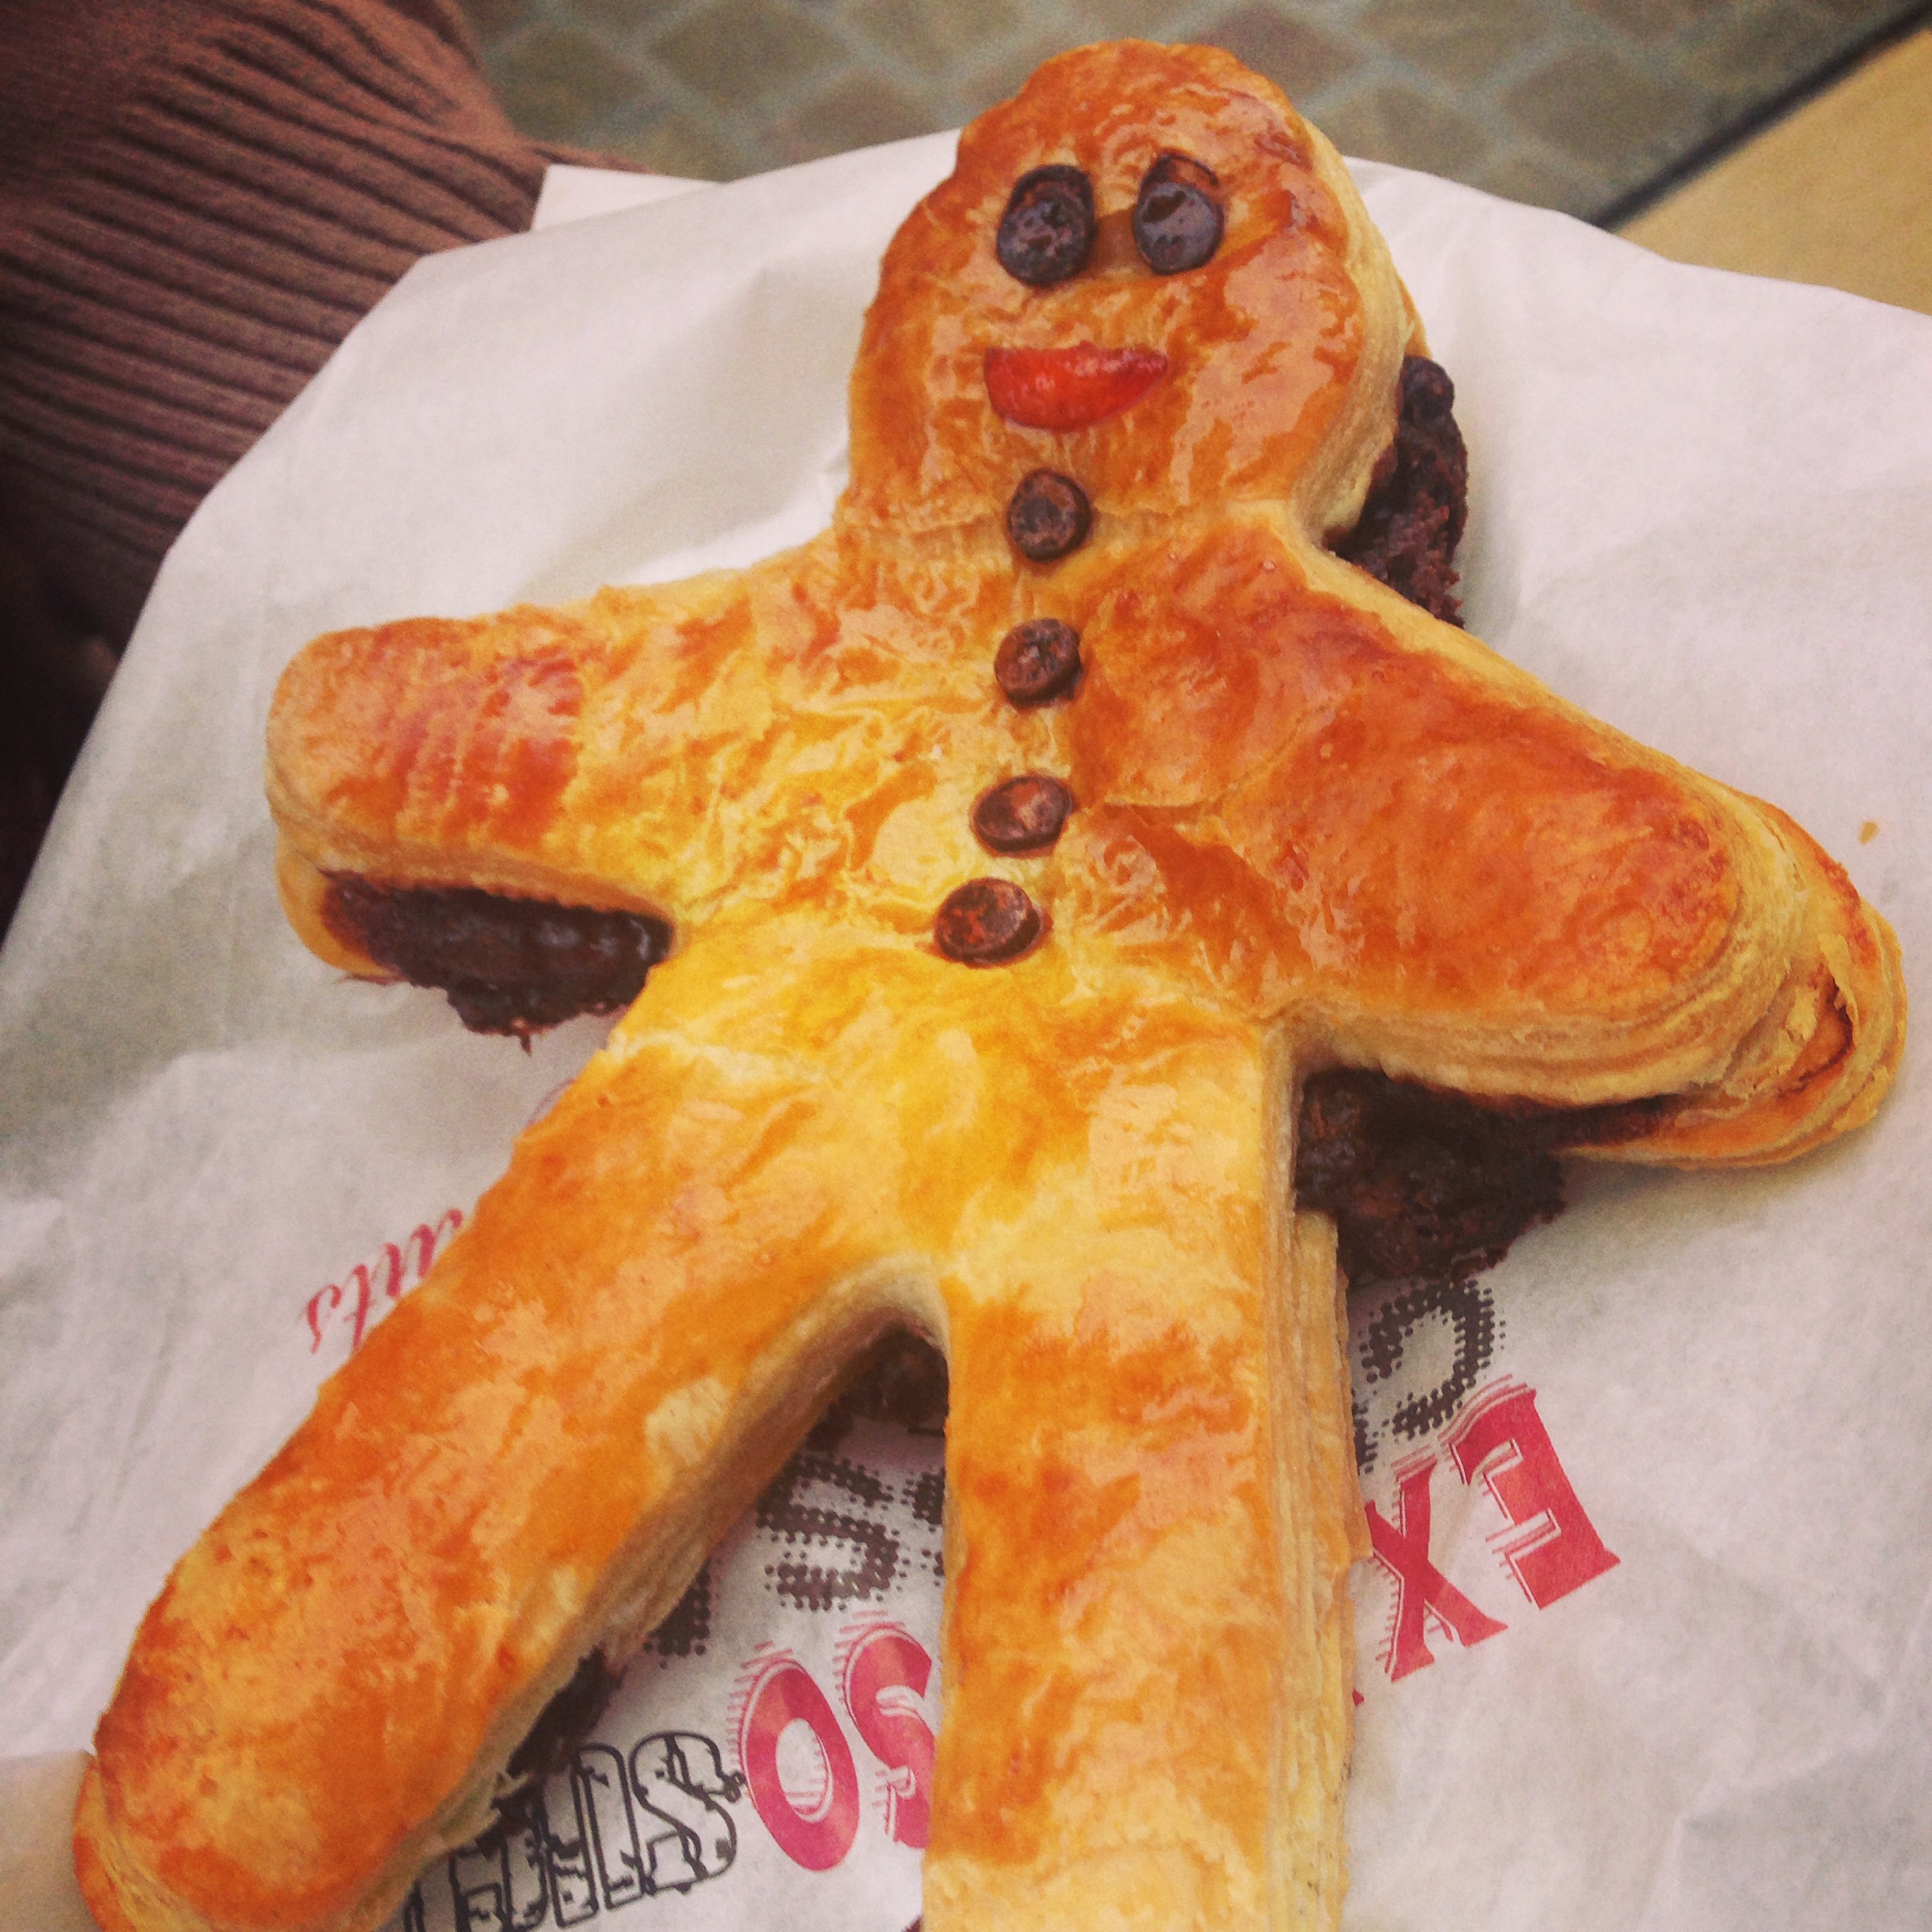
  • Fresh pastries every morning for breakfast
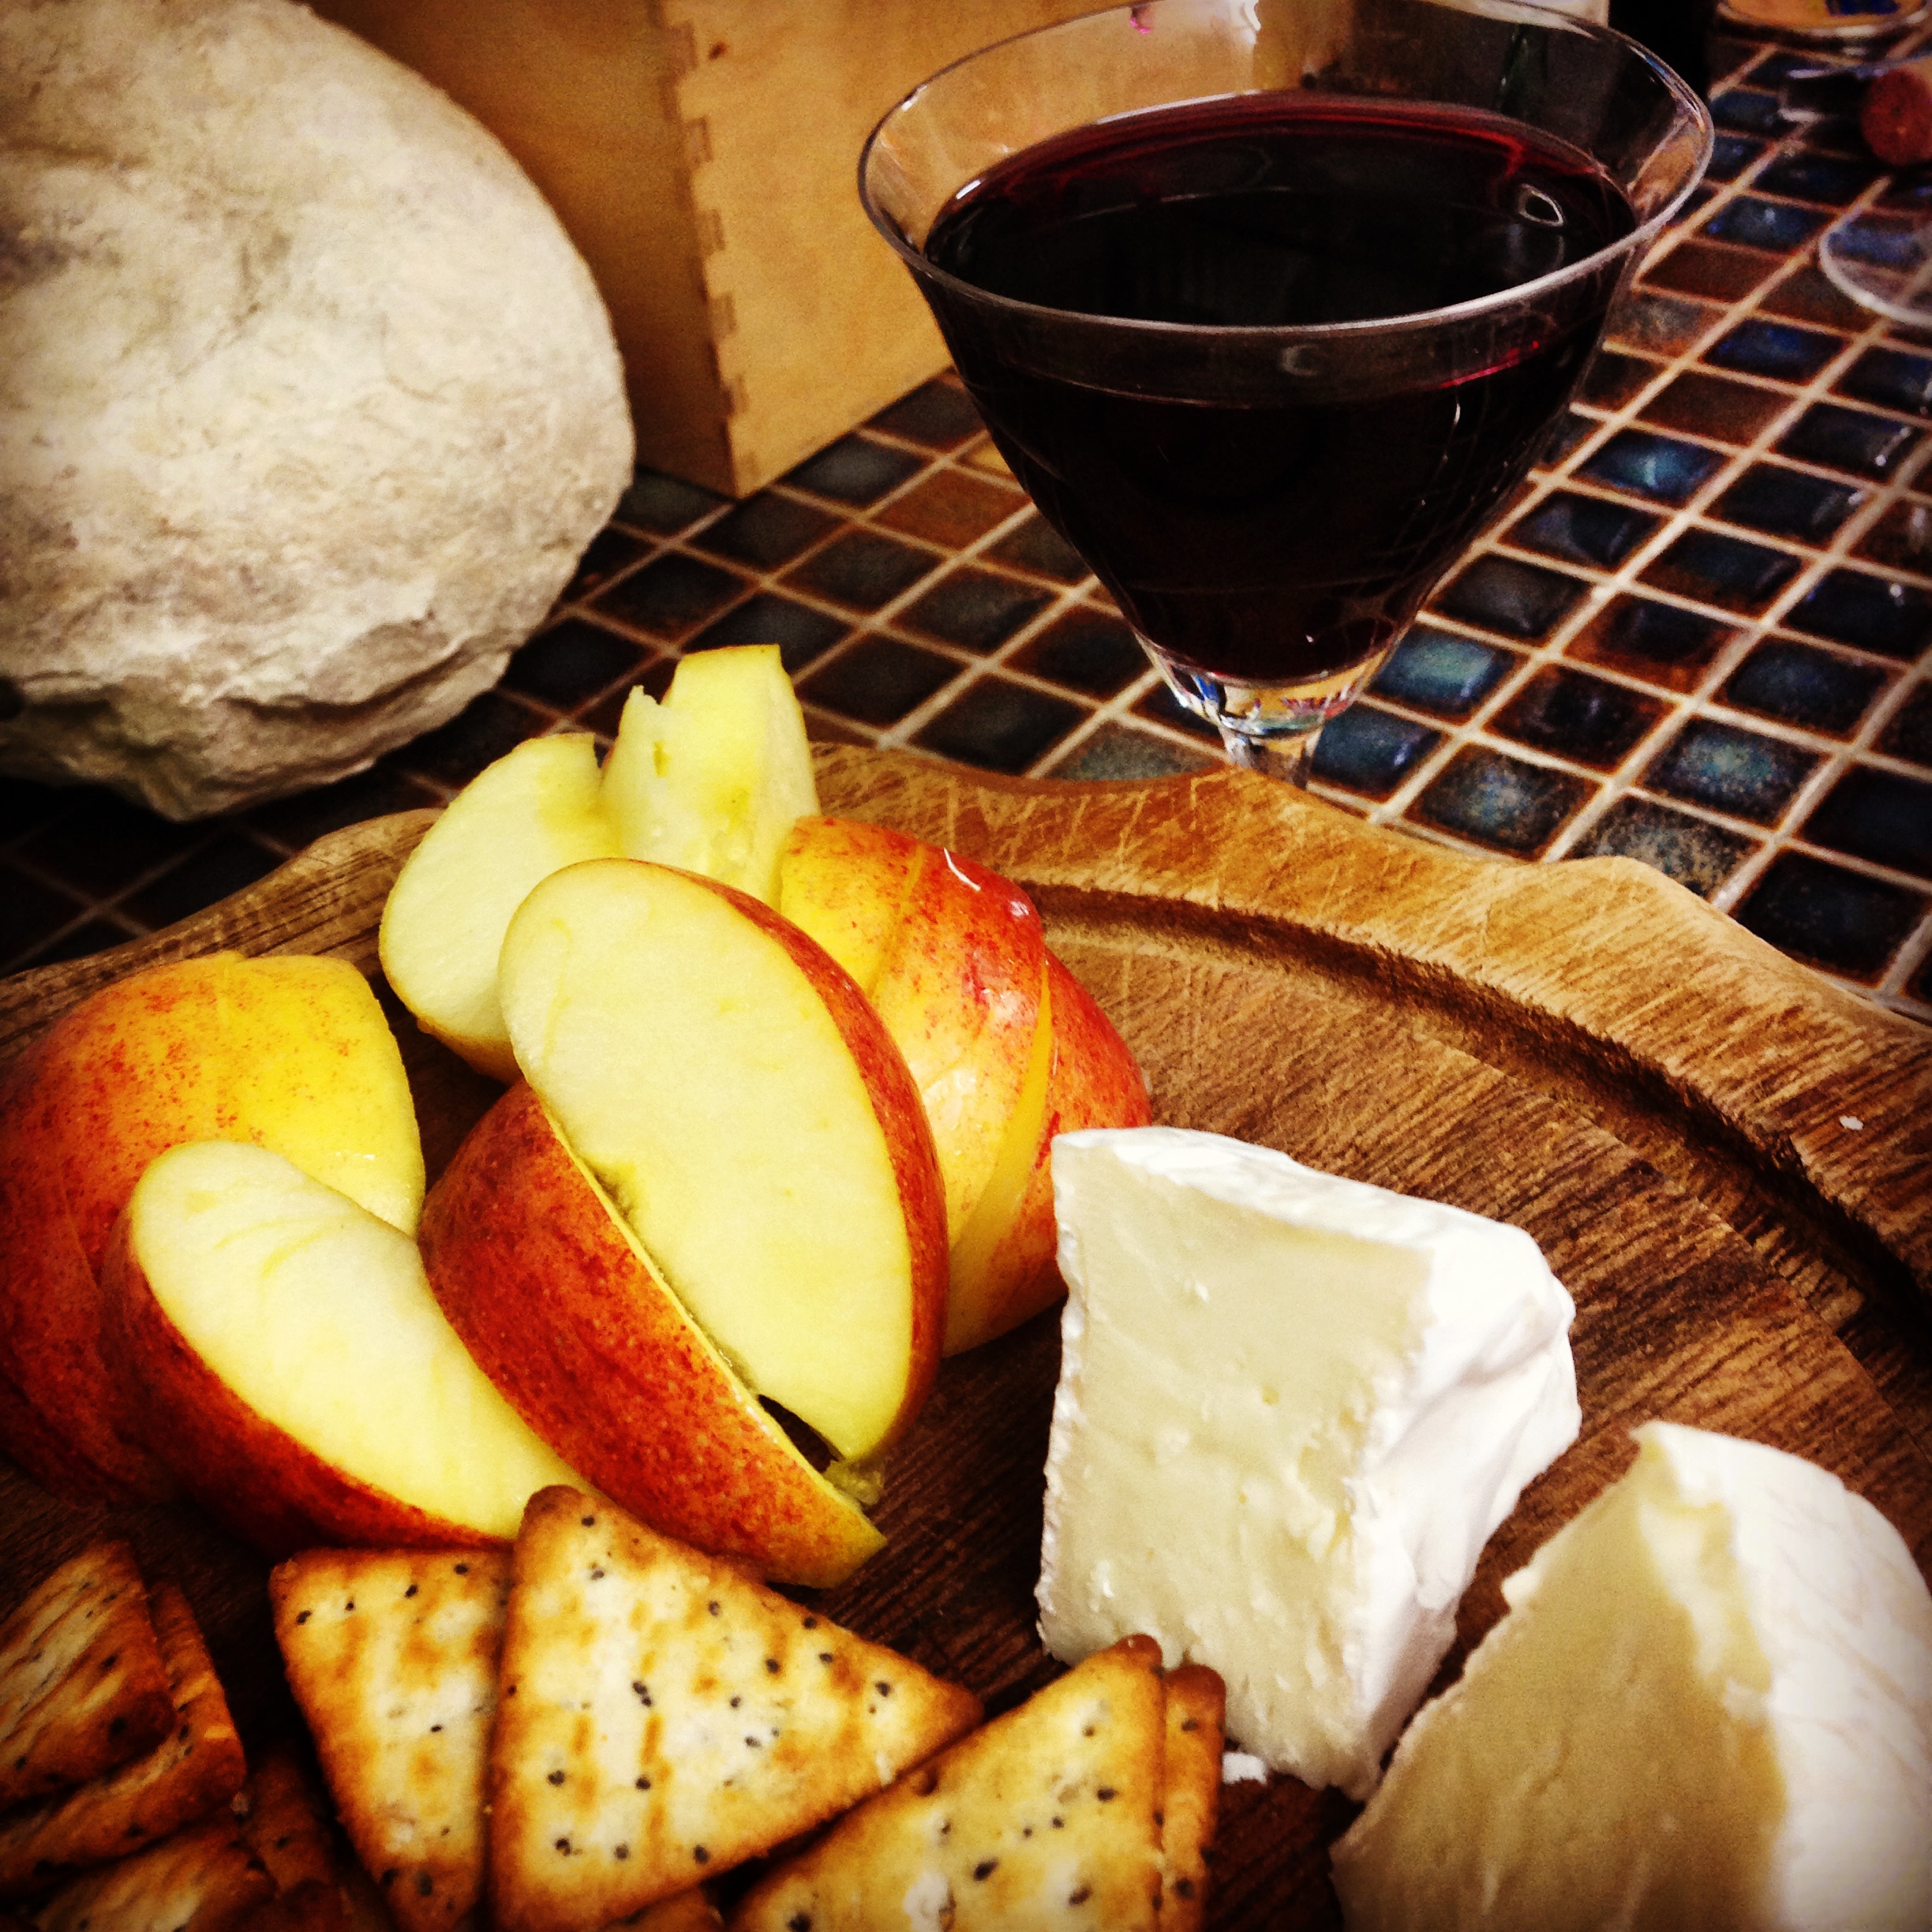
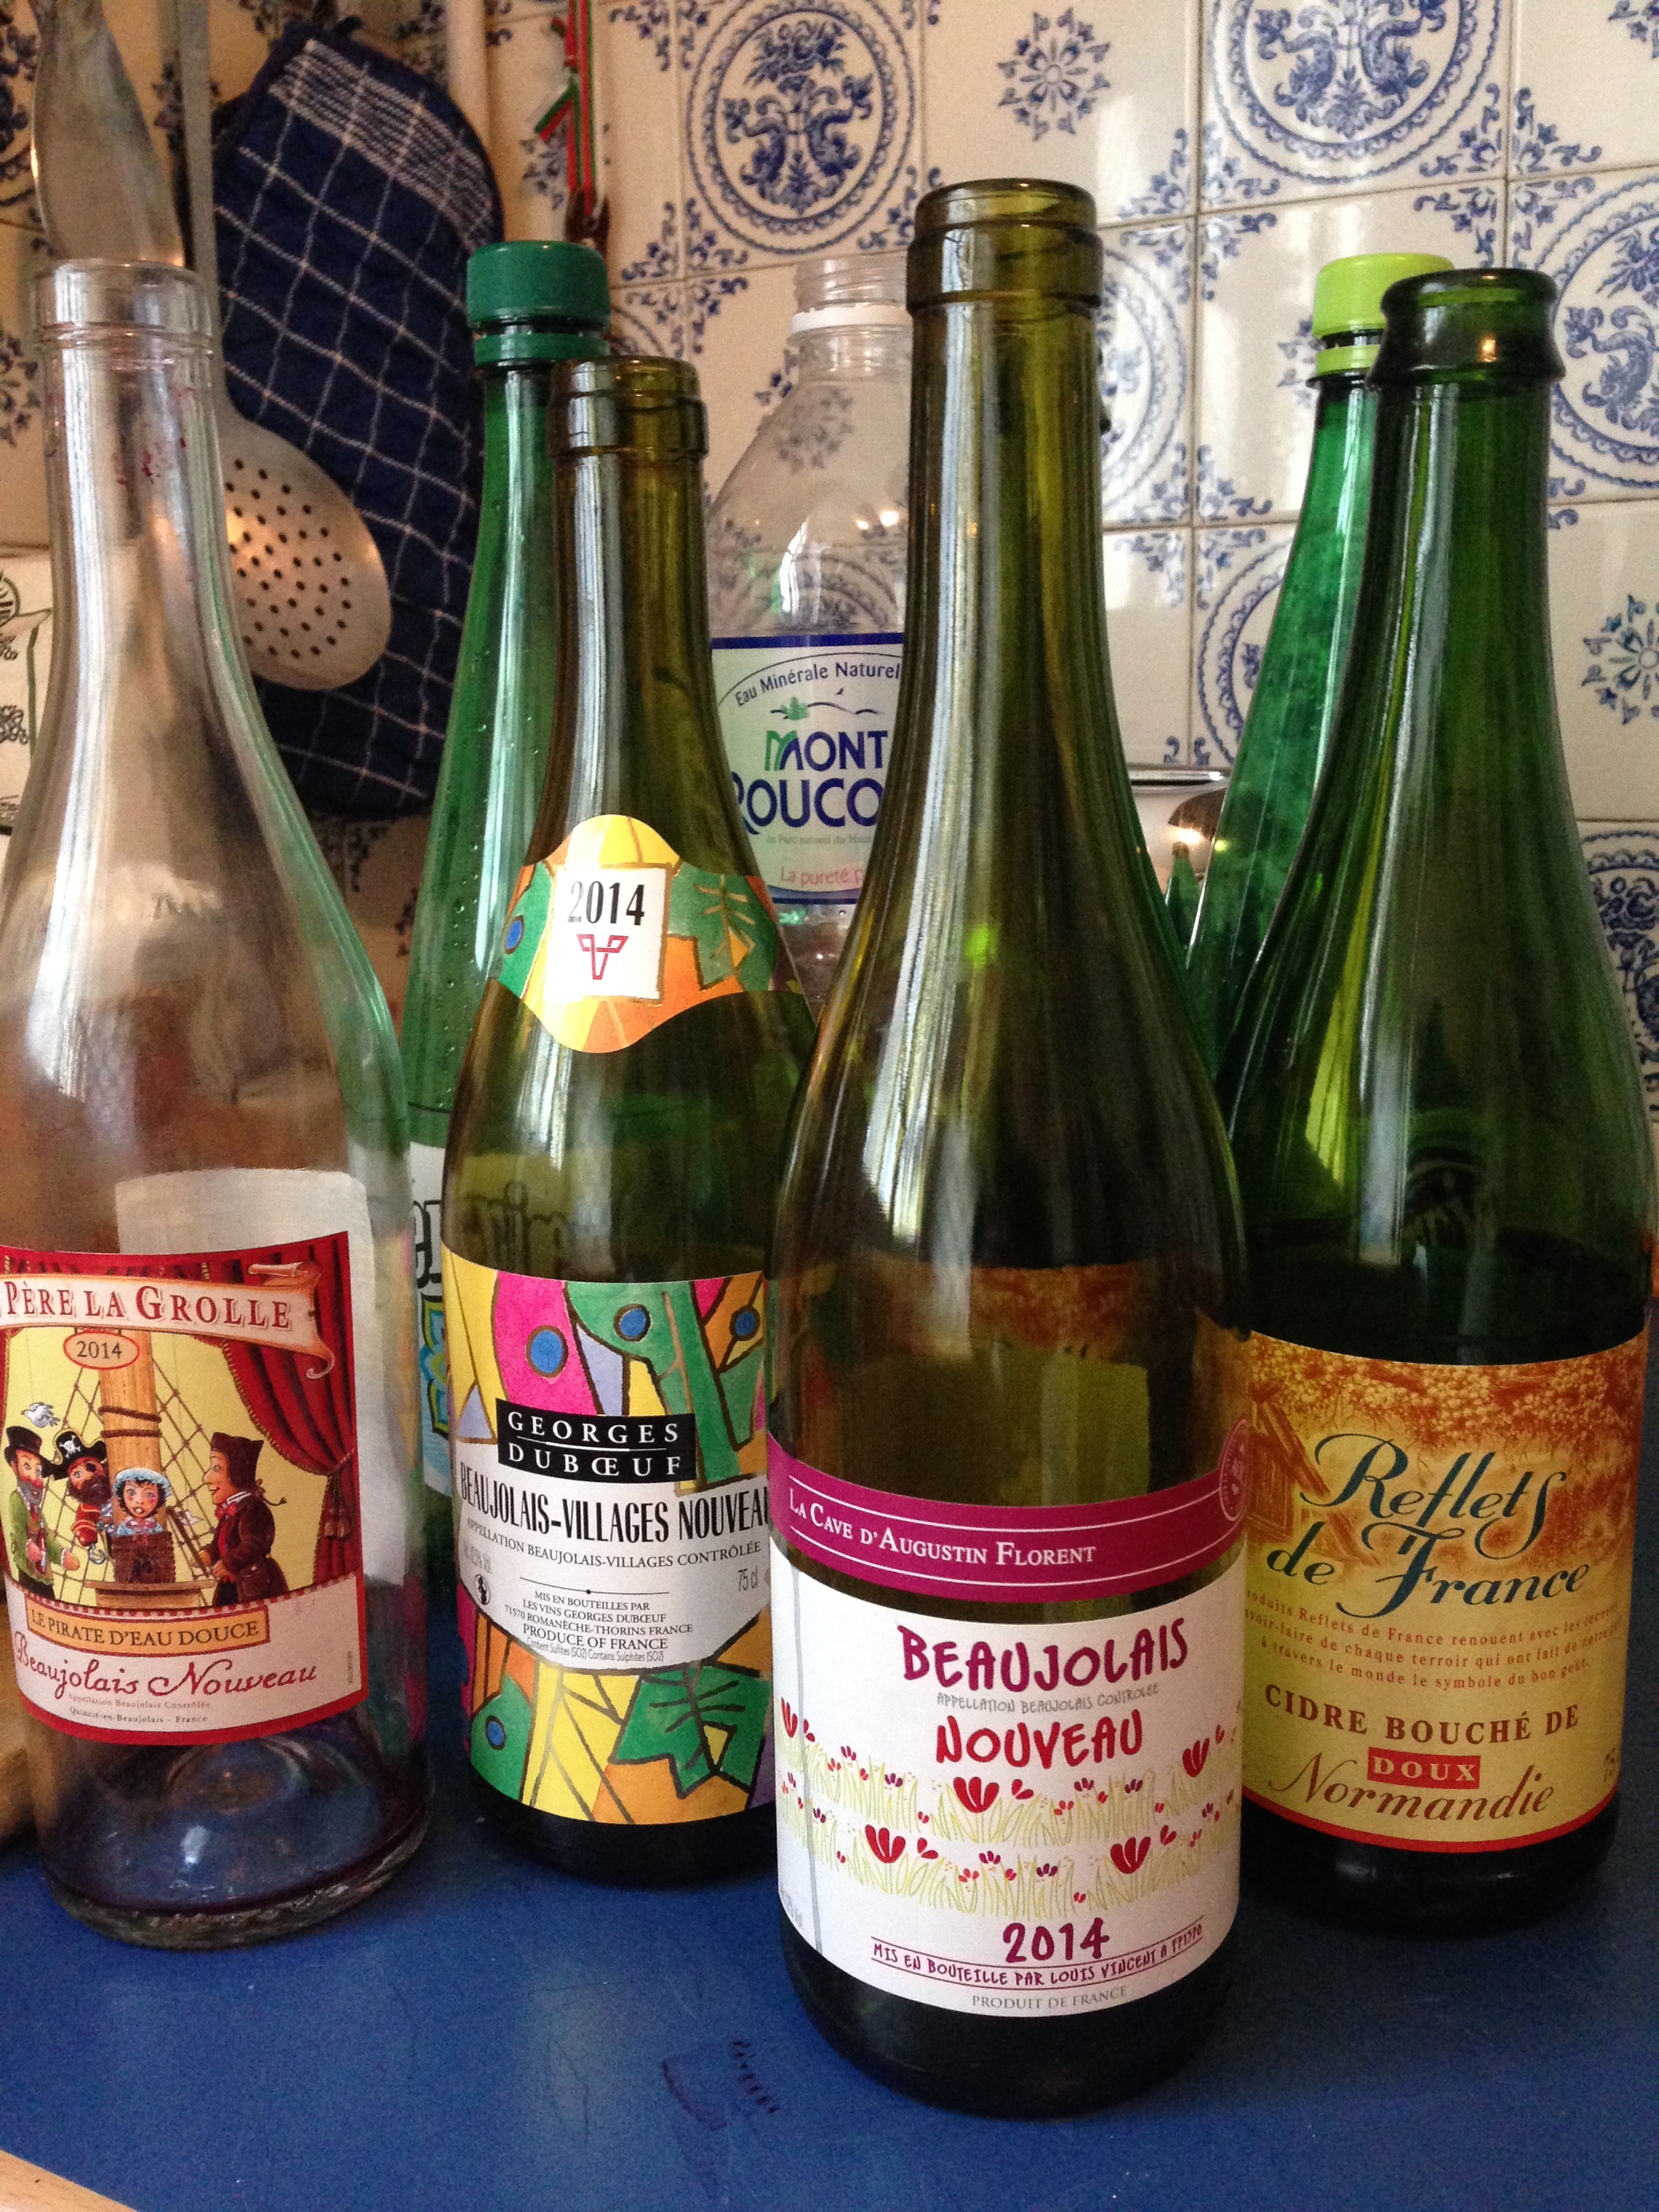
  • And the wine...oh the wine...hot or cold, we drank it all!

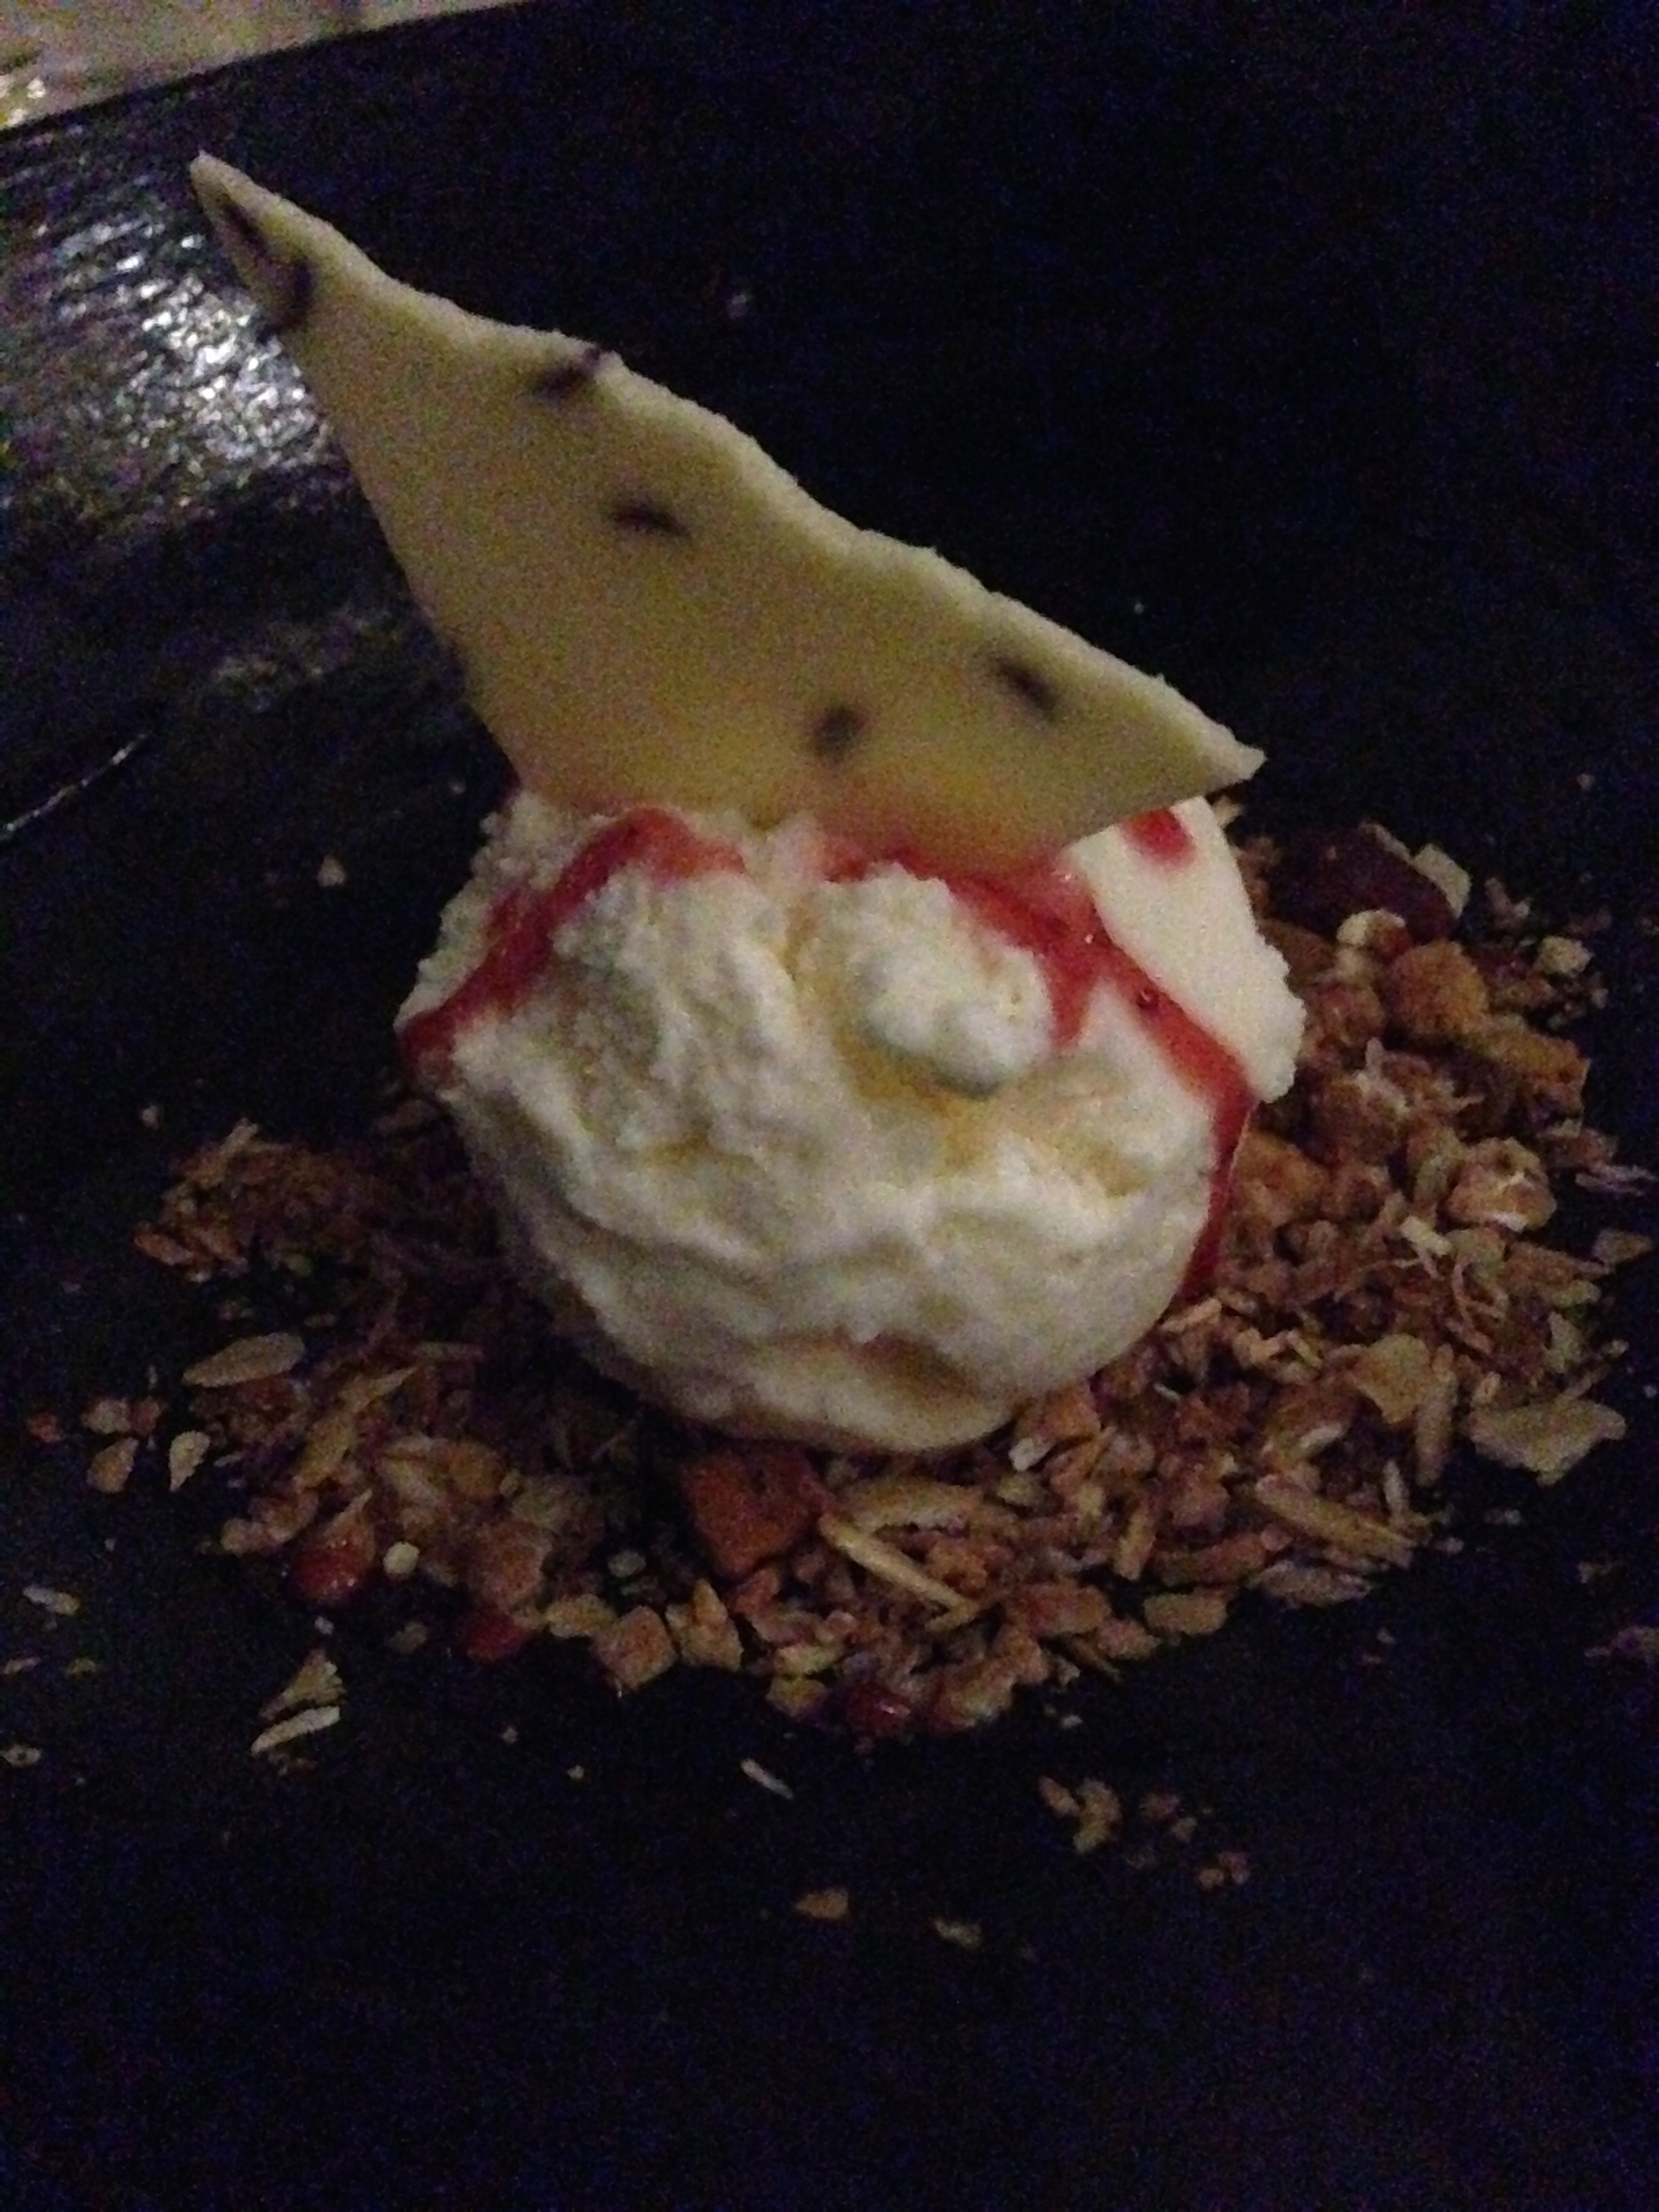
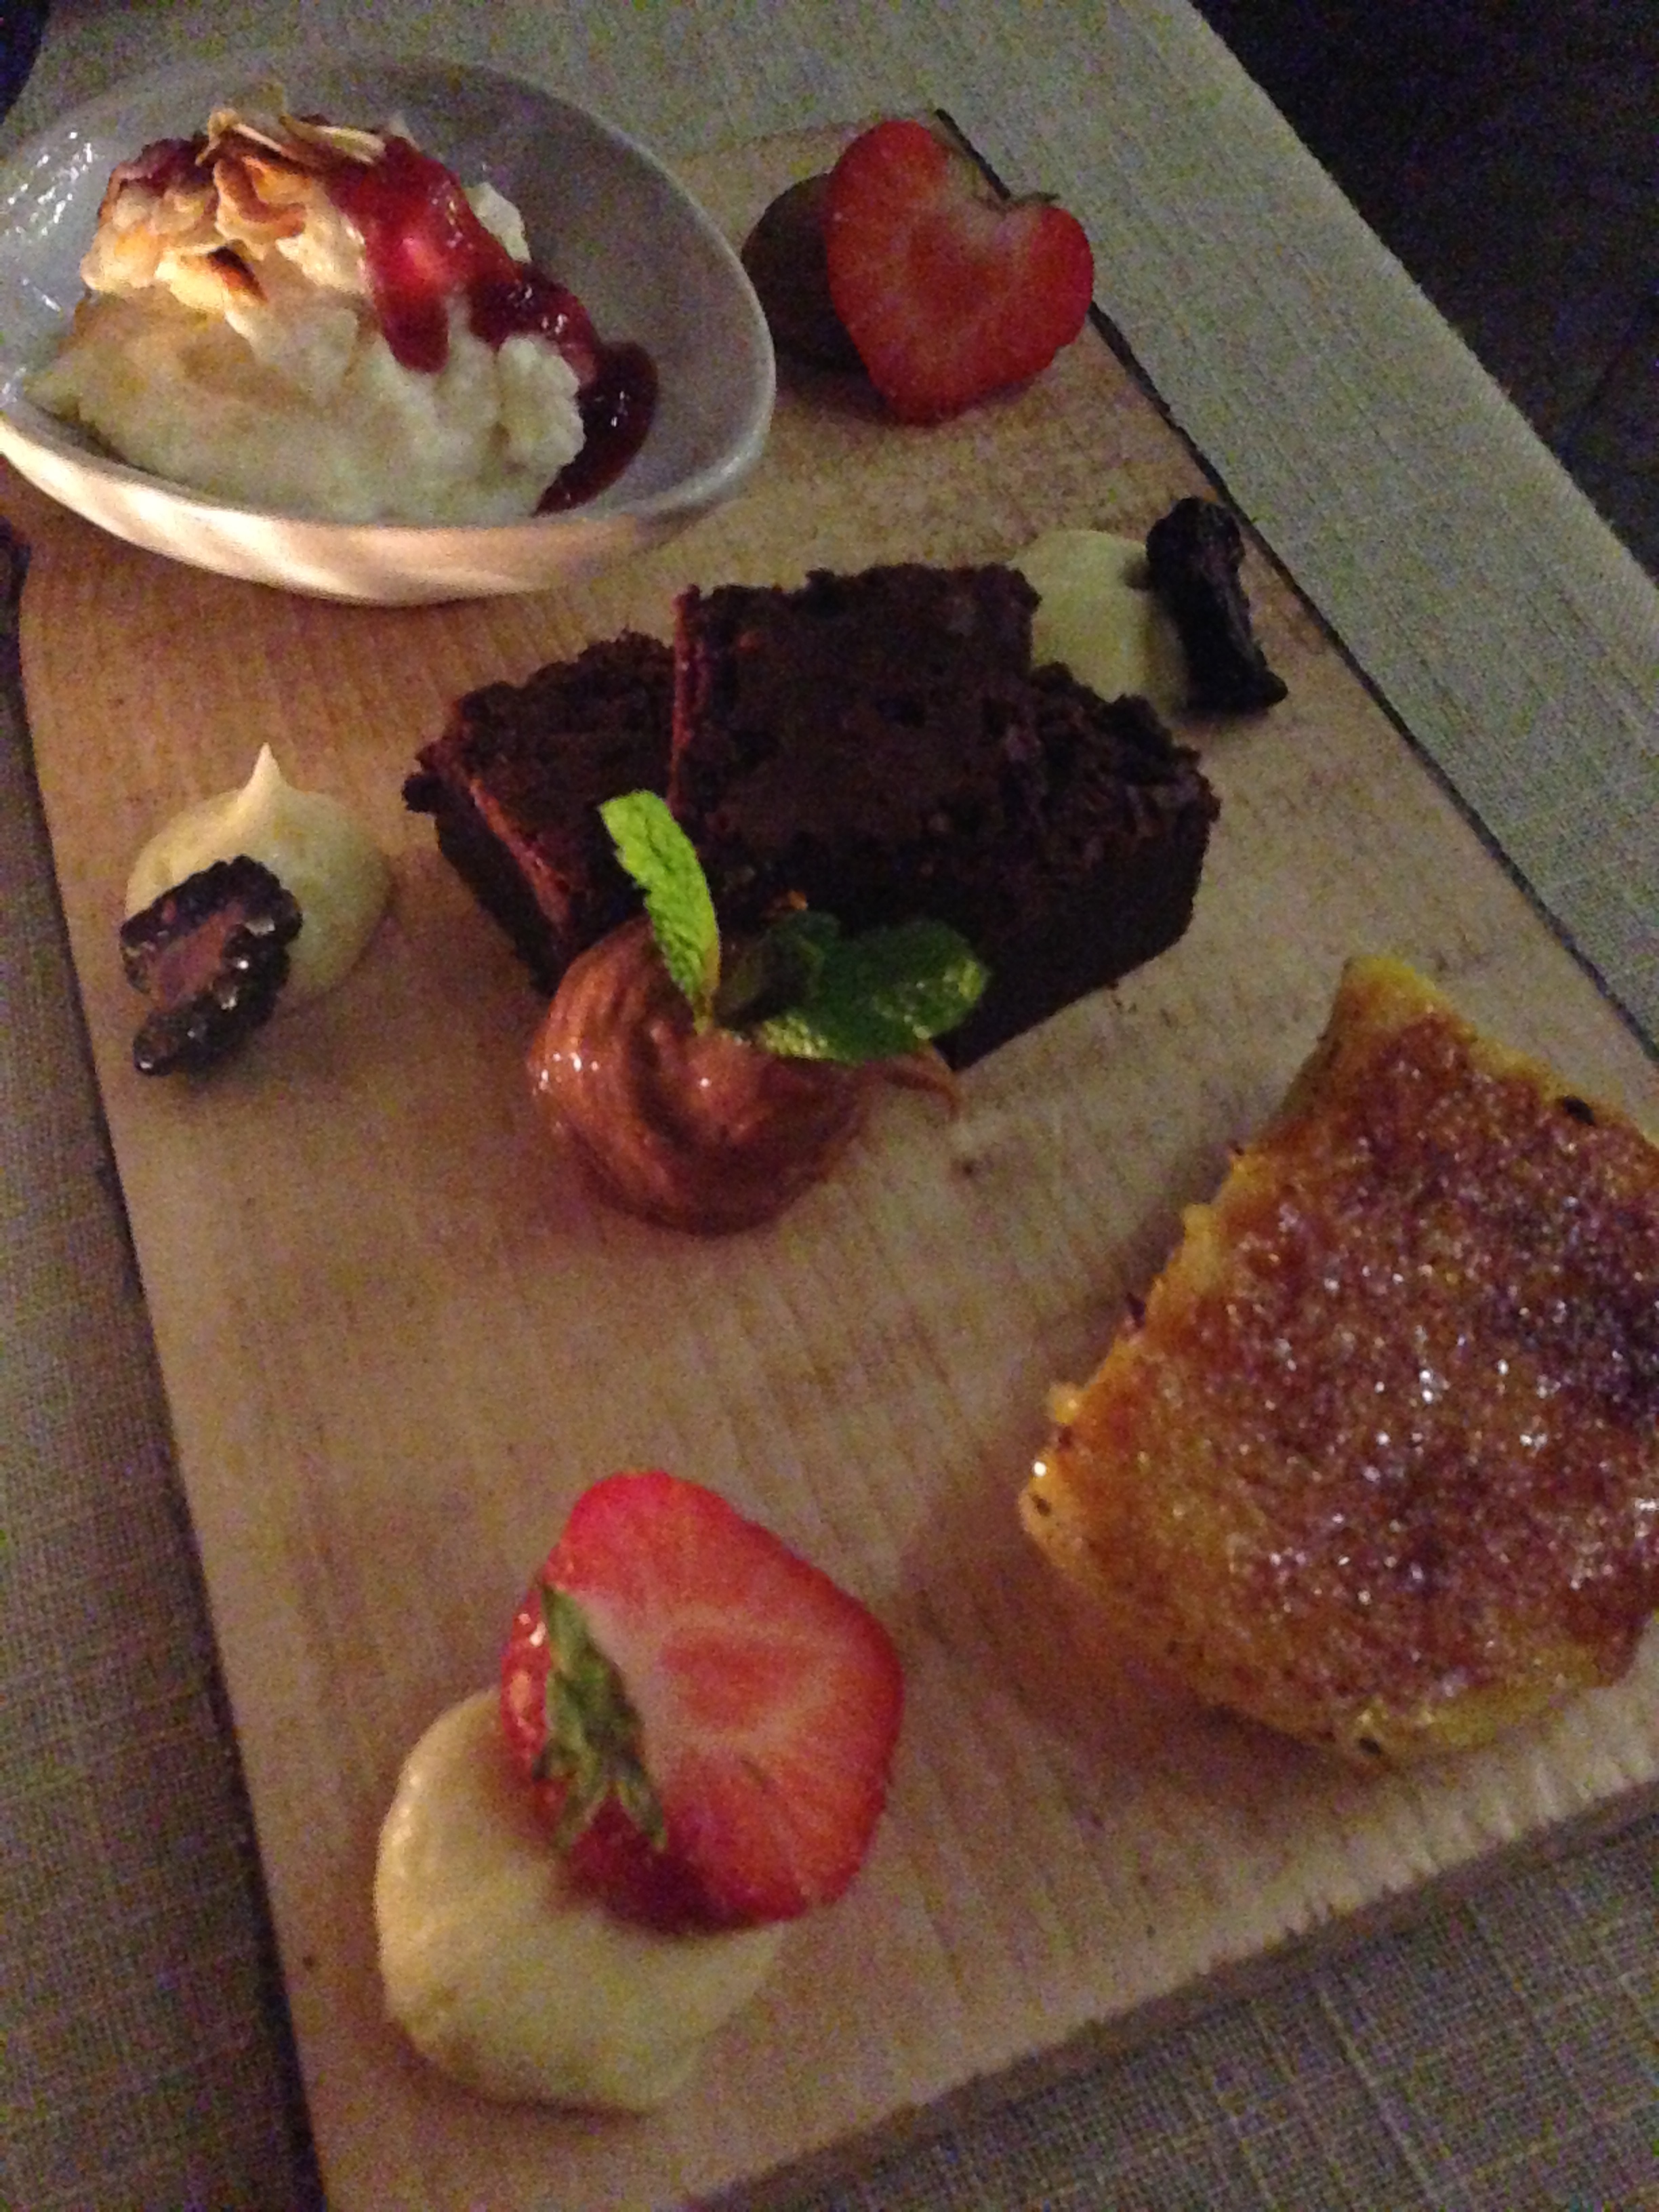
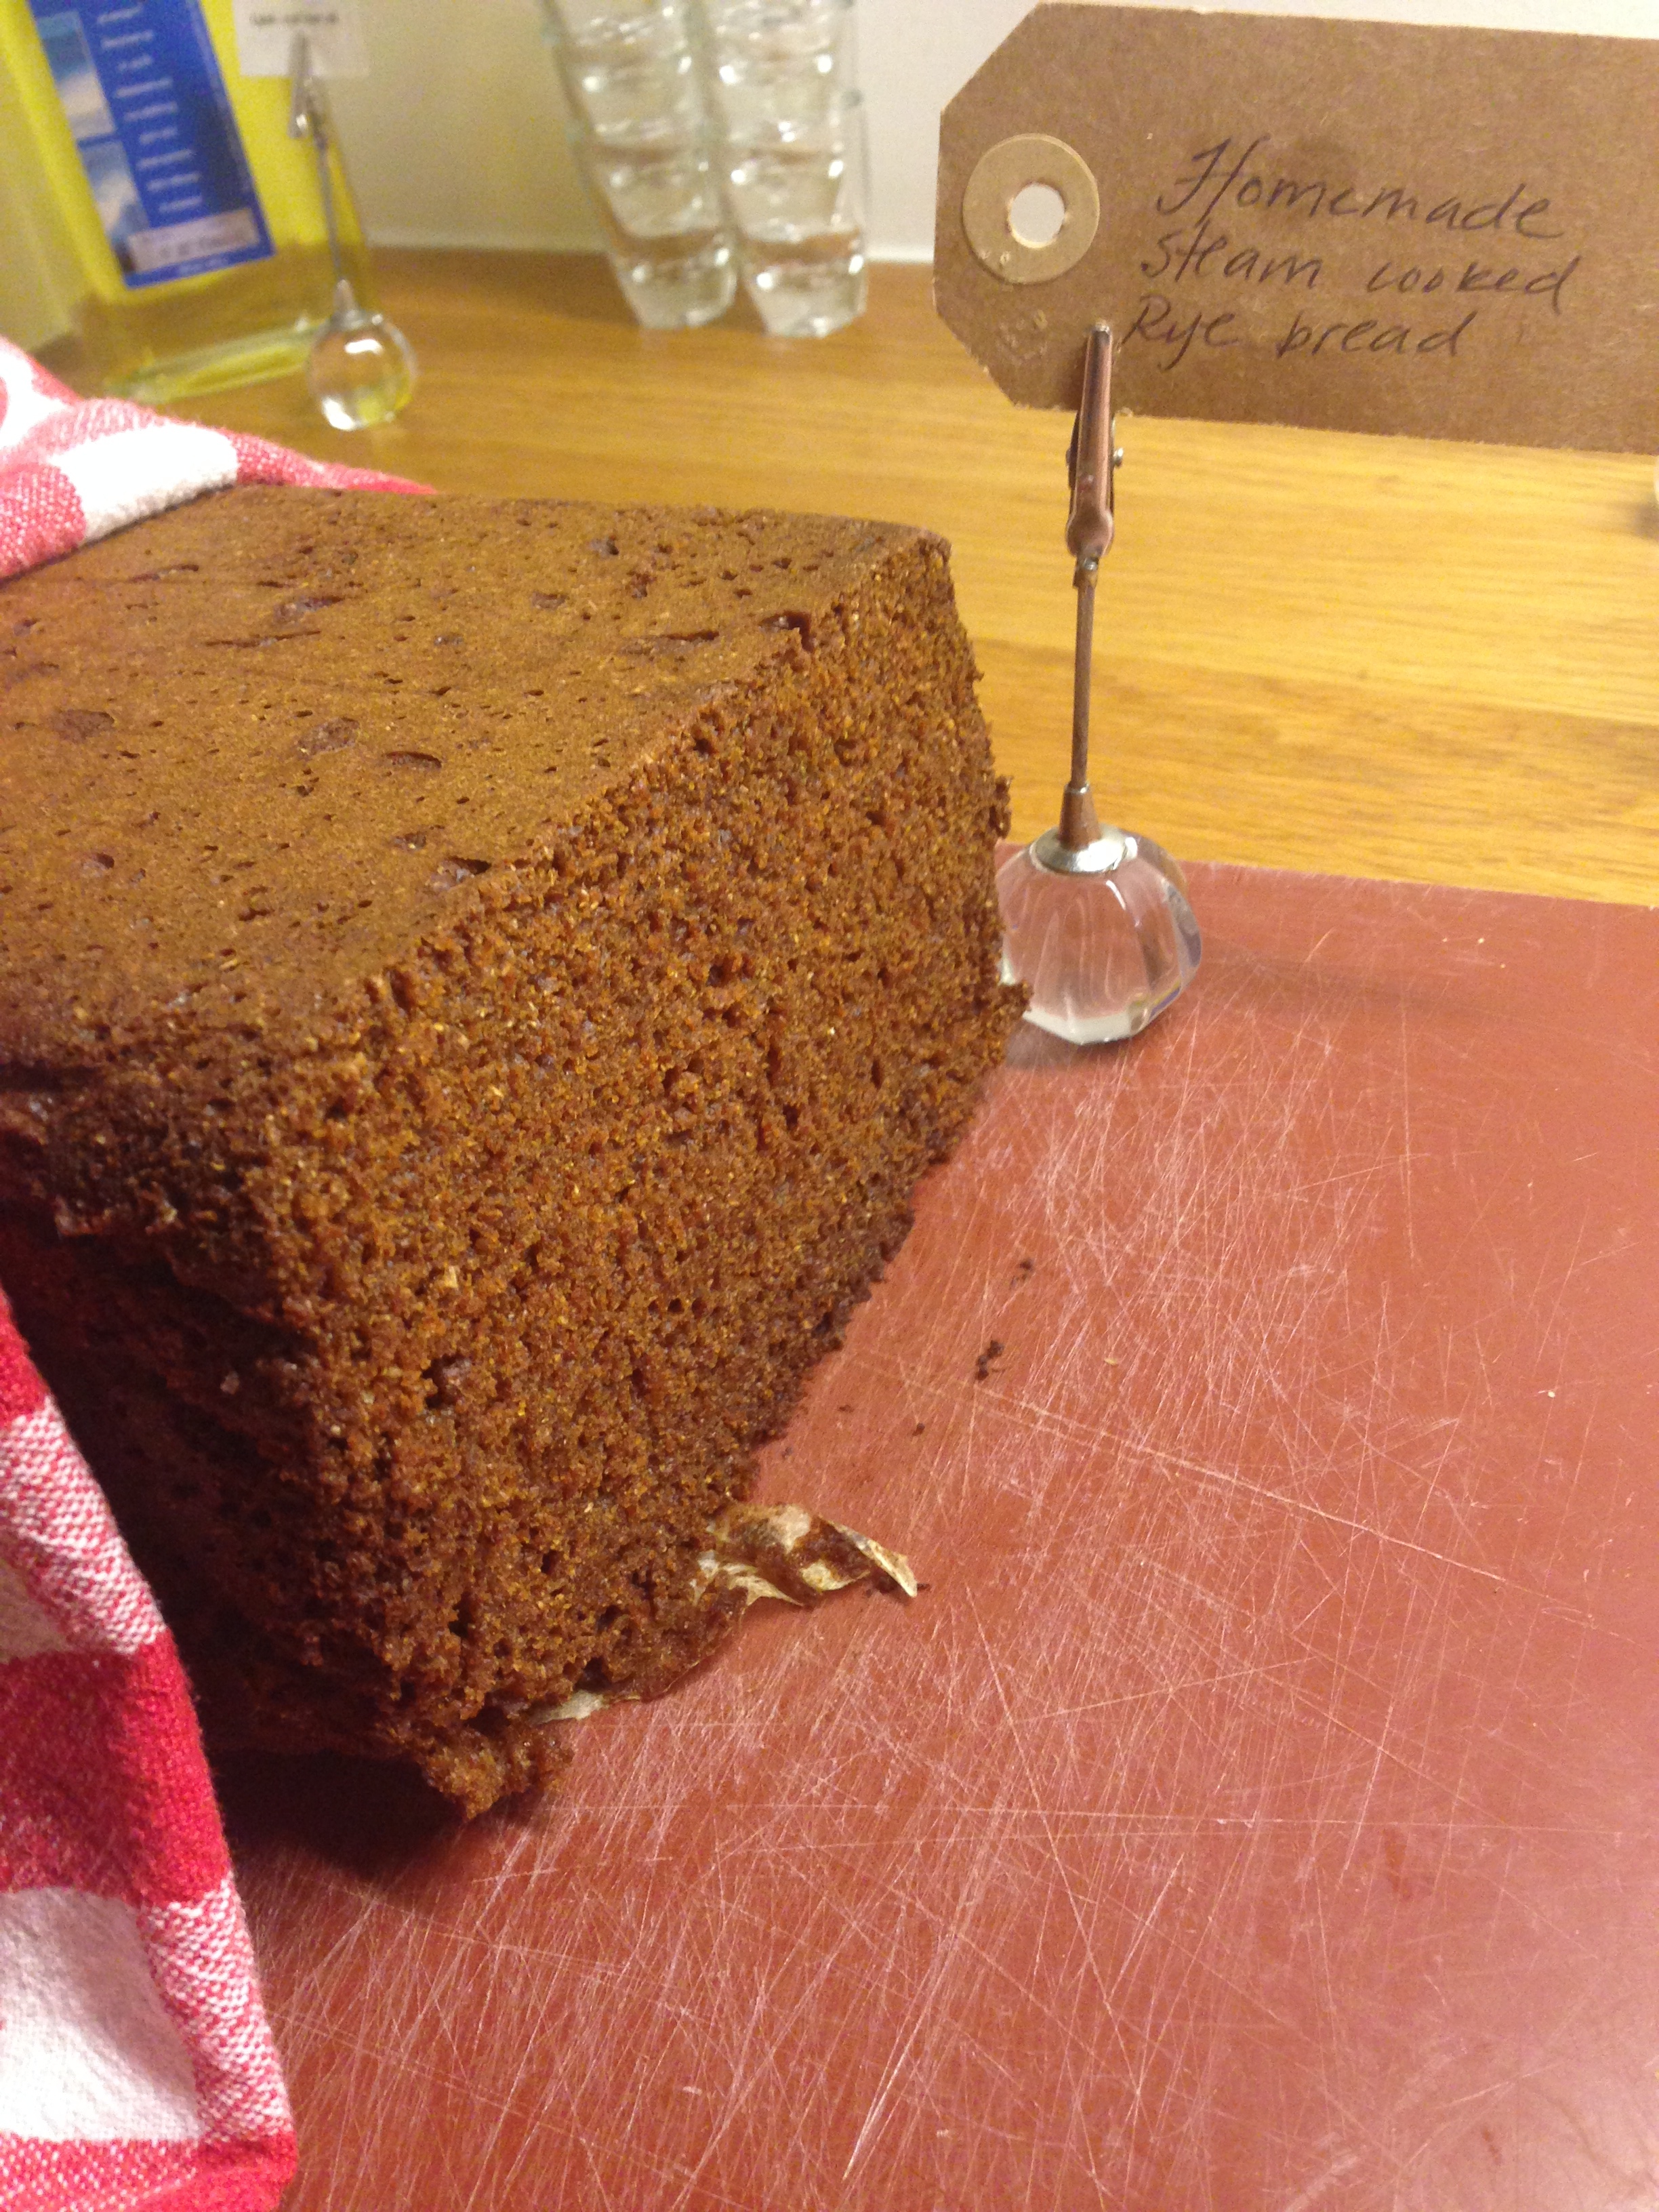
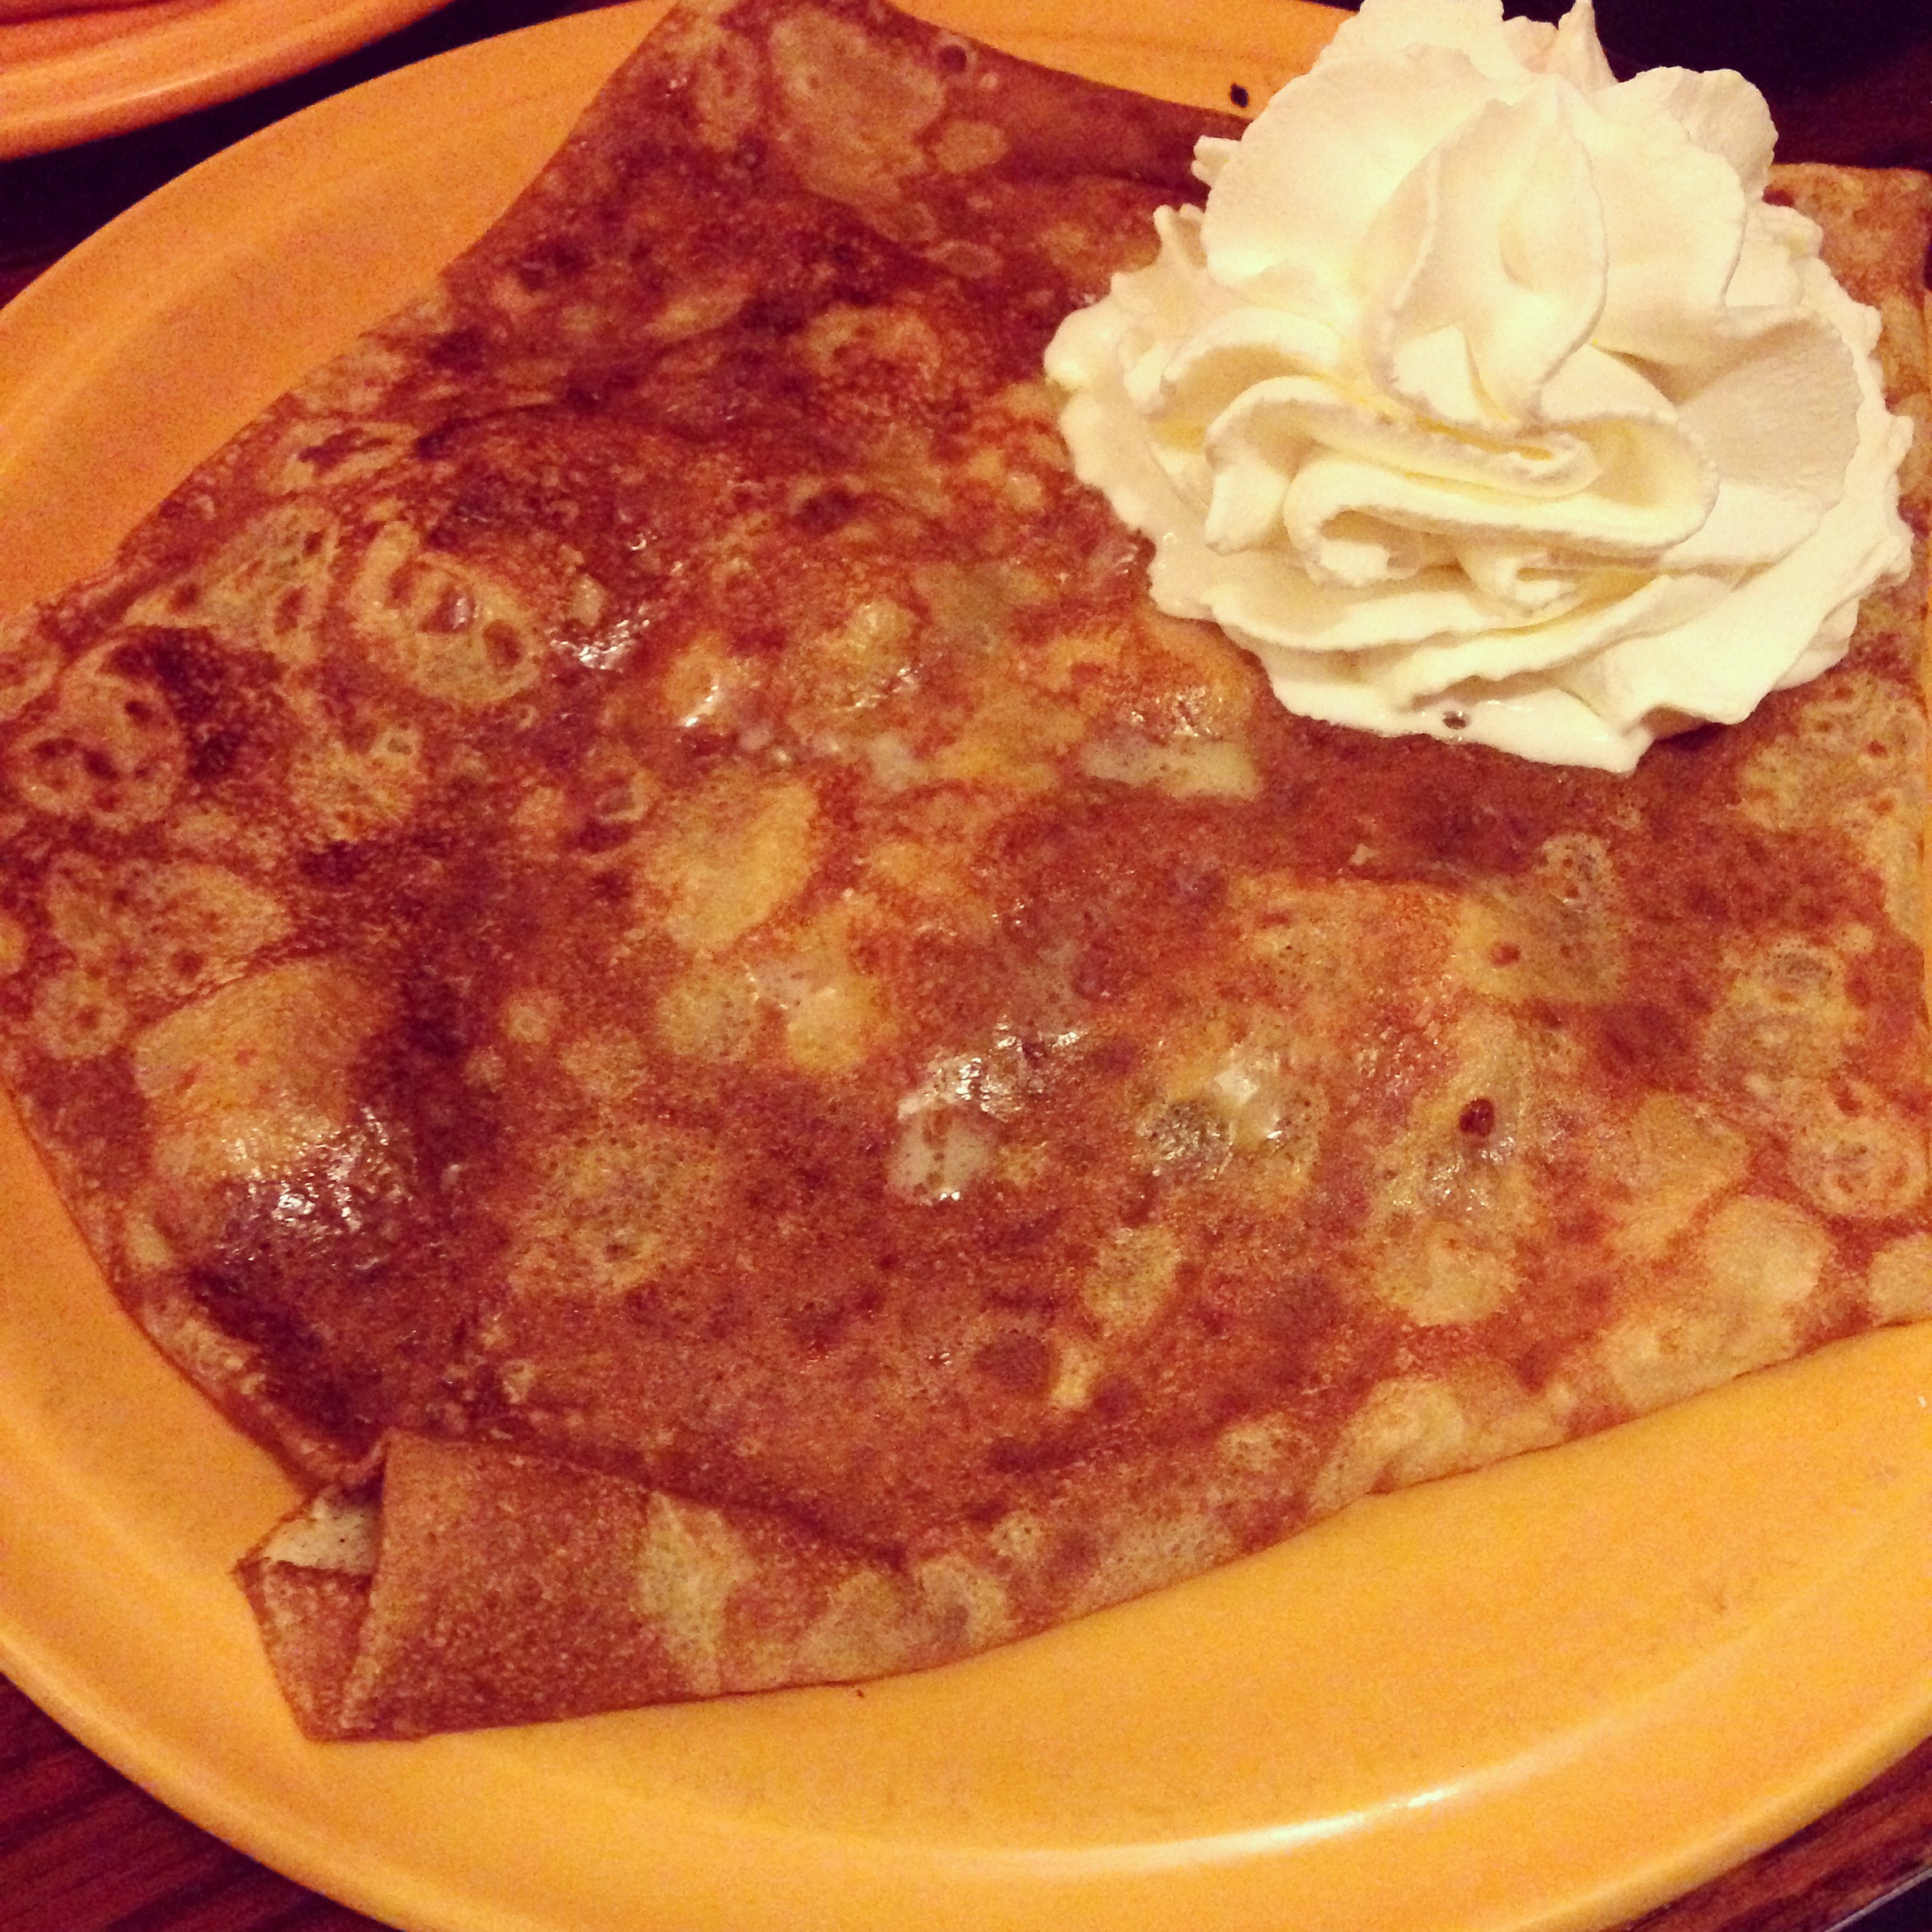
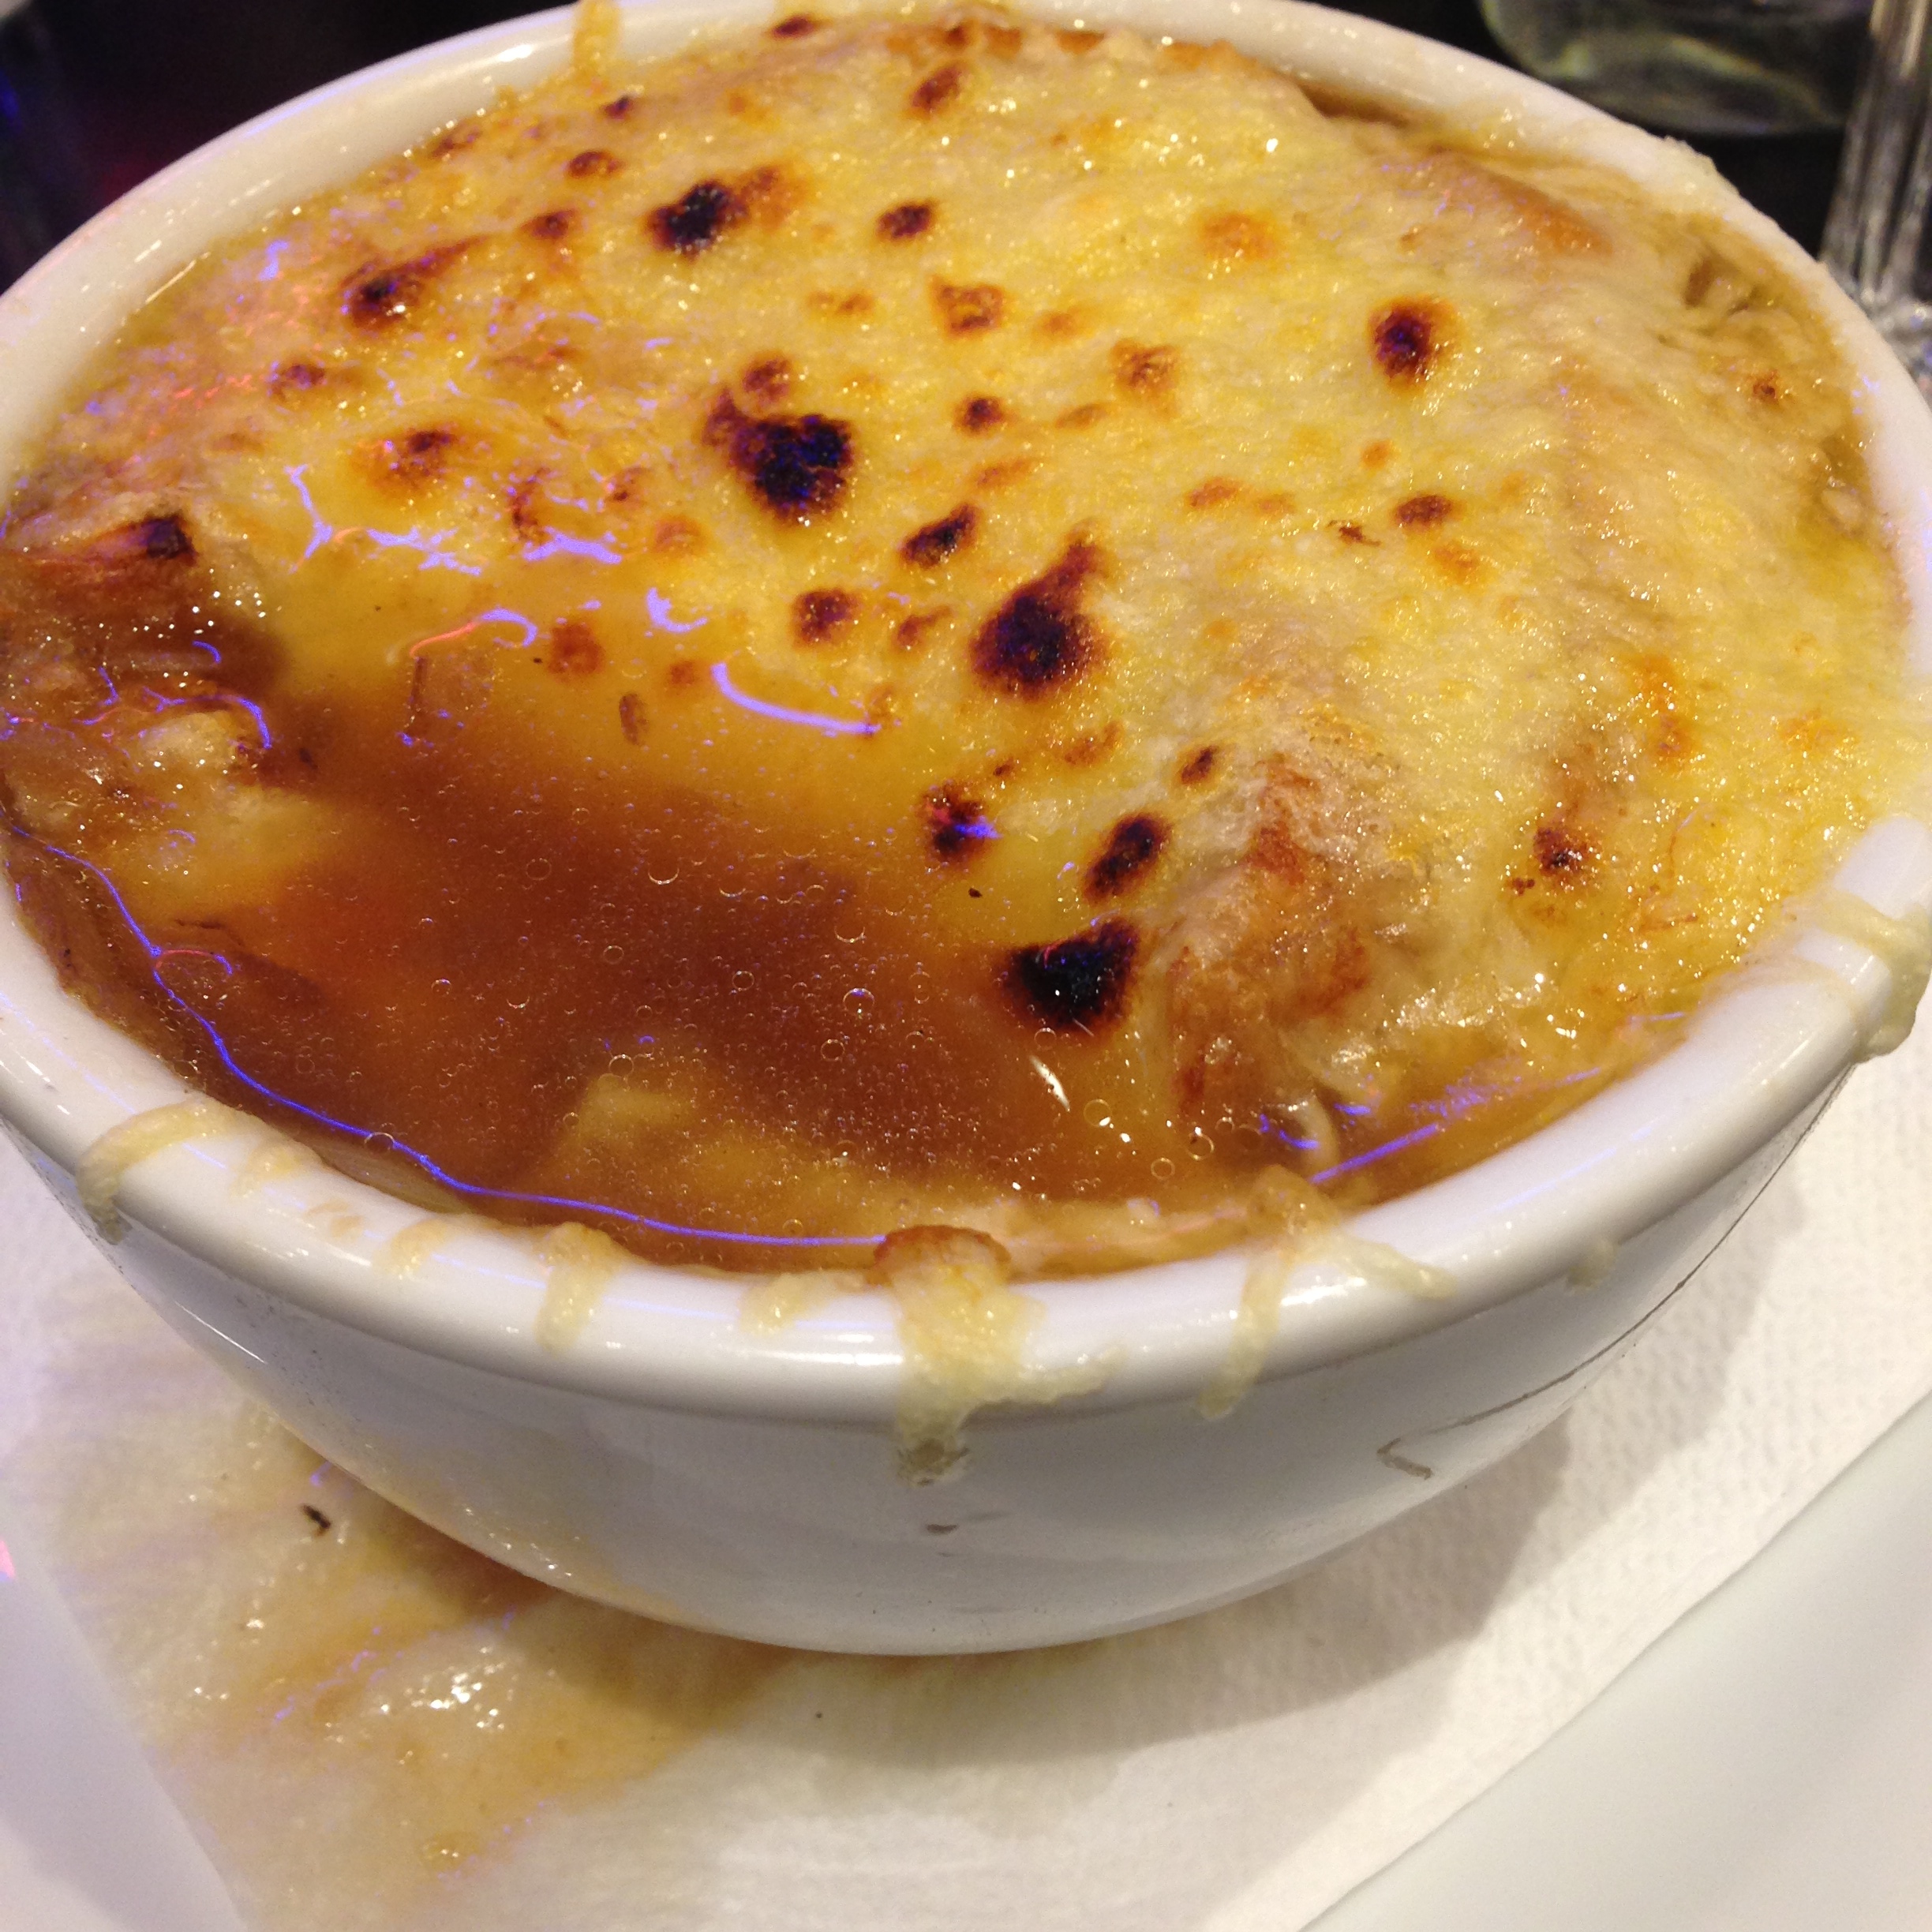
See below for the culinary highlights of our trip!

So You Think You Can't Cook

First of all, I have to apologize for not posting in a while.  But I promise I have a very good reason: my new puppy!  His name is Auggie and he's a 3 1/2 month old wire fox terrier.  Isn't he adorable?  

Auggie on his 3-month birthday!

Auggie on his 3-month birthday!

Now just because I haven't been blogging doesn't mean I haven't been baking!  In the month since Auggie arrived I've made many a scrumptious treat, but it's time to get back into the blogging saddle and share with you some of the recipes I made!  So here we go!


IMG_3490.jpg

It's summertime and that means neighborhood potlucks or picnics at concerts.  It seems every weekend there's an event to attend...and with them, the expectation to bring a dish.  An invitation to a party might have you thinking that all you're ever going to be able to contribute are cups or a bag of chips or a bottle of wine (well, bringing wine is always a desired culinary talent).  

Now I know some of you may look at this blog and enjoy the pictures and think "those look good but I could never make that" - well, consider this blog post for you.  If you can use a knife, you can make these two easy and delicious recipes, perfect for a picnic or potluck.

So let's start with dessert first - because, you know, it's the sweetest meal of the day, and who doesn't live for dessert?  Last weekend was my friend's birthday and he was having a little get together at his house for dessert.  I basically don't know how to show up to anyone's house empty-handed, so I wanted to bring something that was easy, summery and a little special for a birthday.  So I came up with these fruit and pound cake skewers.  

It all started with a very ripe pineapple I had sitting on my counter.  I wanted to use that in the dessert - but didn't have the time to bake.  I knew that pineapple and strawberries go well together and strawberries and pound cake go together.  So I did a little math, and thought "if A likes B and B likes C, then they call hang out together on a skewer!"  So I headed to the store and grabbed a loaf of pound cake from the bakery section and then a jar of hot fudge sauce - cause most everything is good with a little chocolate.

Then all that was left was the assembly!  I cut the cake into slices and then into cubes.  I used whole strawberries (but only the smallest ones in the container) and then cut the pineapple into cubes.  Using 4" skewers, I started with the pound cake on the bottom, a strawberry in the middle (figured they were less juicy and wouldn't make the cake too wet) and topped the whole thing off with a chunk of pineapple.  I plate all the skewers on a chip-and-dip platter and filled the dip well with hot fudge sauce.  O-YUM-G!

Now, these skewers can be flexible with whatever fruit you like and you can also swap out the cake for marshmallows or brownies.  The best part of this recipe is that there really is no recipe.  Just use what you have and shove it on a skewer!  Everyone loves food on a stick!


IMG_3503.jpg

For something a little more substantial, these easy and tasty sandwiches will have your friends thinking you are a gourmet chef in no time.  Four simple ingredients come together for a fresh and satisfying sandwich.  All you need is a fresh baguette, brie, sliced turkey or jam and the special ingredient: fig preserves.

Slice the baguette into 4 pieces and then slice each piece in half.  Open up the halves and spread the fig preserves onto the cut faces of the bread.  Layer 3-4 slices of turkey or ham onto the bottom side of each sandwich.  Top with 2-3 slices of brie and then the top piece of bread.  And voila! - an easy sandwich that tastes like a million bucks!  Your friends will be highly impressed.  These sandwiches have become my go-to for when my friends and I attend outdoor concerts or make visits to local wineries. 

IMG_3503.jpg

Notes: Trader Joes is one of my favorite grocery stores.  I love to buy their loaves of Ficelle bread.  They come two in a bag and are partially baked.  So you take them home and finish them off in the oven.  They get a perfect golden brown crust on the outside but stay nice and tender on the inside.  Plus, they're not too chewy and they have great flavor.  They also freeze well straight from the store - so I can always have fresh bread on hand.  Just let them thaw while the oven pre-heats to 425 and then bake for 10-15 minutes.  The other thing I love from TJs is their slicing brie.  It comes in a rectangle and allows for the cutting of perfectly sized slices of brie.  It's genius!  Lastly, if you don't like figs or can't find fig preserves, you can swap for a more savory flavor profile and use whole grain dijon mustard.  The mustard adds a bit of spice and tang and goes great with brie.

Next time you receive an invite for a potluck or go on a picnic, I hope you think you CAN cook and choose to bring one of these dishes - in addition to that bottle of wine.  After all, you've perfected that recipe.

Mustache Cake

As I mentioned in my post yesterday, this past weekend was full of baking.  One of the other projects I worked on was a birthday cake for a colleague of mine.  He sports a mustache as part of his signature look and thought it only fitting that his birthday cake feature a mustache (or two or seven!).

I've decorated many a cakes in my day - mainly using the Wilton method for piping out hundreds of little stars to make the design.  This past fall, I took a Wilton cake decorating course in fondant and gum paste and enjoyed using fondant and creating really cool layered and dimensional designs.  My final project was a fall leaf cake (check out the picture in the gallery!) which I was really pleased with.  I realized that I hadn't decorated with fondant since October, so I was WAY overdue for making another cake!
So here we go.  First, I made two chocolate cakes (I cheated and used a box mix).

image.jpg

Then cut off the tops to level them out for even stacking.

image.jpg

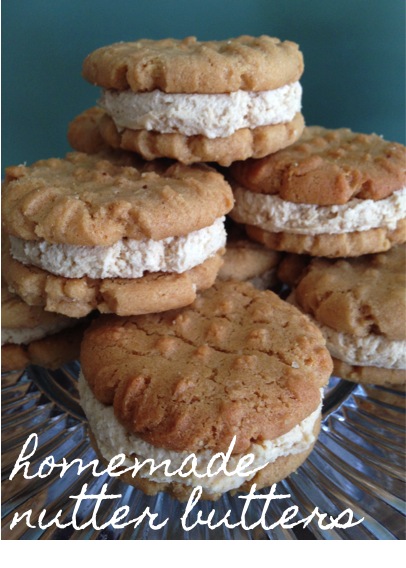
So when I made that peanut butter frosting for the homemade nutter butters, I knew that I wanted to use it for this cake as well.  So I made a double batch and spread a nice thick layer on the bottom cake.  Then topped it off with chopped up Reese's peanut butter cups. Yum.
image.jpg

Then added the top layer of cake and covered the whole thing in a thin "crumb coat" of frosting. Even though I am going to cover the whole cake in fondant, it's important to add a thin layer of frosting to the entire surface area of your cake - it acts like a "glue" to keep your fondant in place.  I've also read that you can add a "normal" amount of frosting as if you weren't covering in fondant.  I would just make sure that you let it set and/or chill the cake so that the fondant goes on smoothly and doesn't slide around.

image.jpg

Now we cover the whole thing in fondant.  Make sure you take into account the height of your cake (times two!) in addition to the diameter and then add on another inch or two to make sure the amount of fondant you're rolling out is big enough to cover the entire cake. 

image.jpg

And now the fun part - cutting out the decorative pieces to add to the cake!  I found an image of a mustache clipart online that I liked and used that as my template.  I just laid the template directly on my rolled out chocolate fondant, and using a small knife, cut out the shape. I then used a scaled down size of the mustache for the smaller ones that decorated the side.  For the letters, I used an alphabet cookie cutter set that I've had for years and finally got to use for the first time.  They worked so beautifully with the fondant - really easy to cut out and affix to the cake.  Speaking of which, all you need to get these decorative pieces to stick is a paint brush and a little bit of water.  Just lightly brush on a bit of water to each piece and it will act like a glue, keeping the decorations on the cake!

I really love working with fondant now - you can make a really impressive looking cake in a short period of time.  This took me a little over an hour to fully decorate (baking & cooling time not included). Now to think of my next excuse for a cake... Any suggestions?

image.jpg
image.jpg
image.jpg